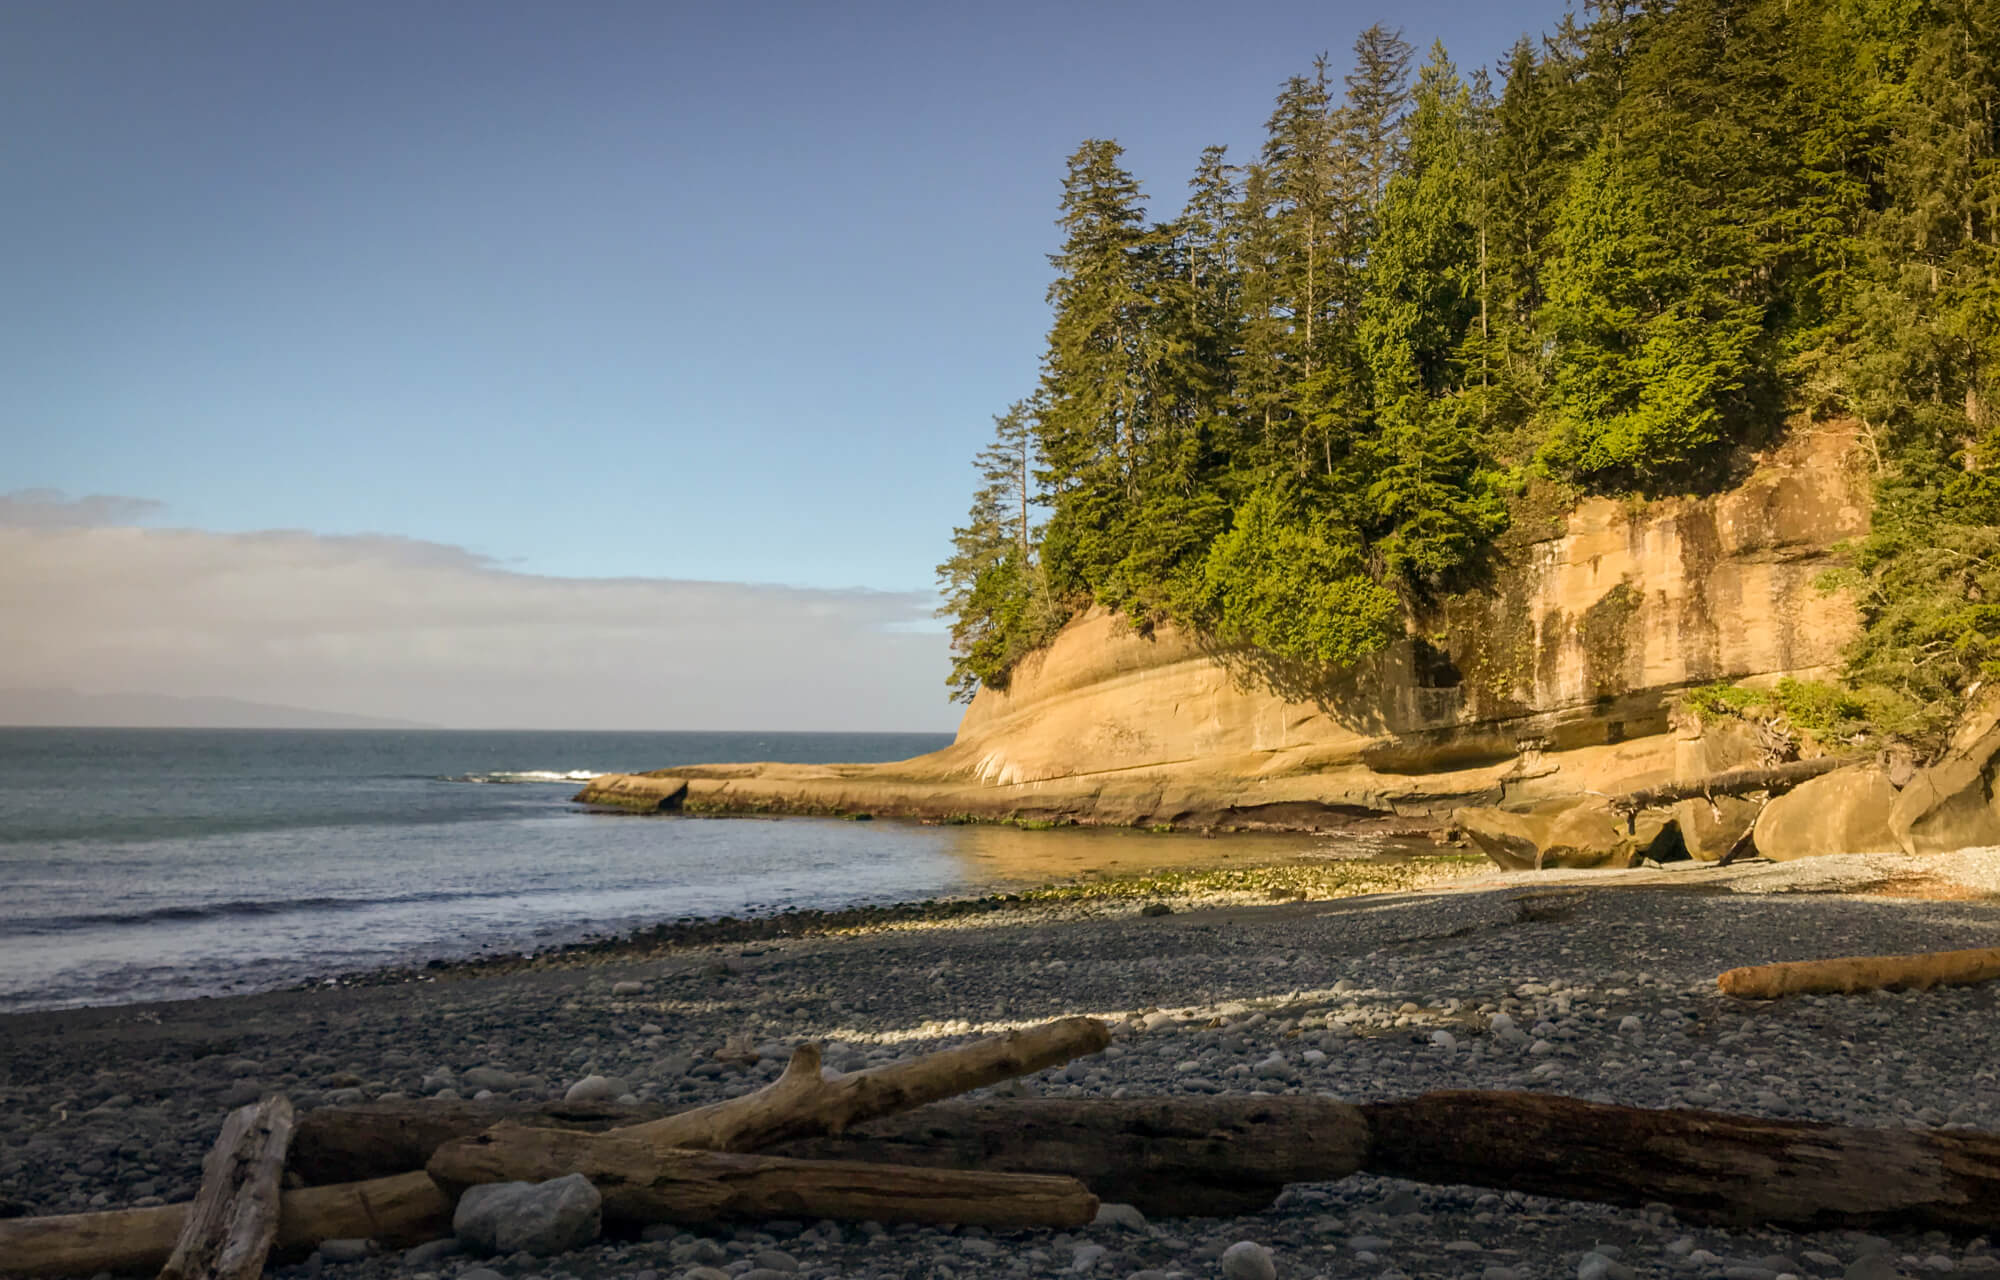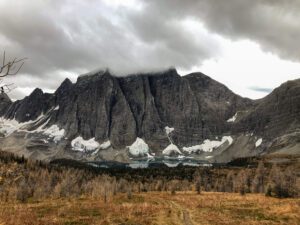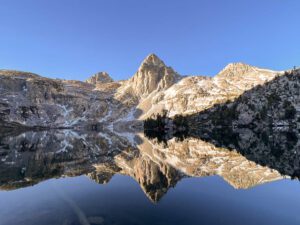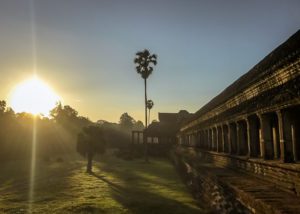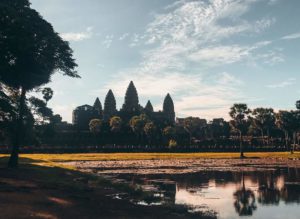
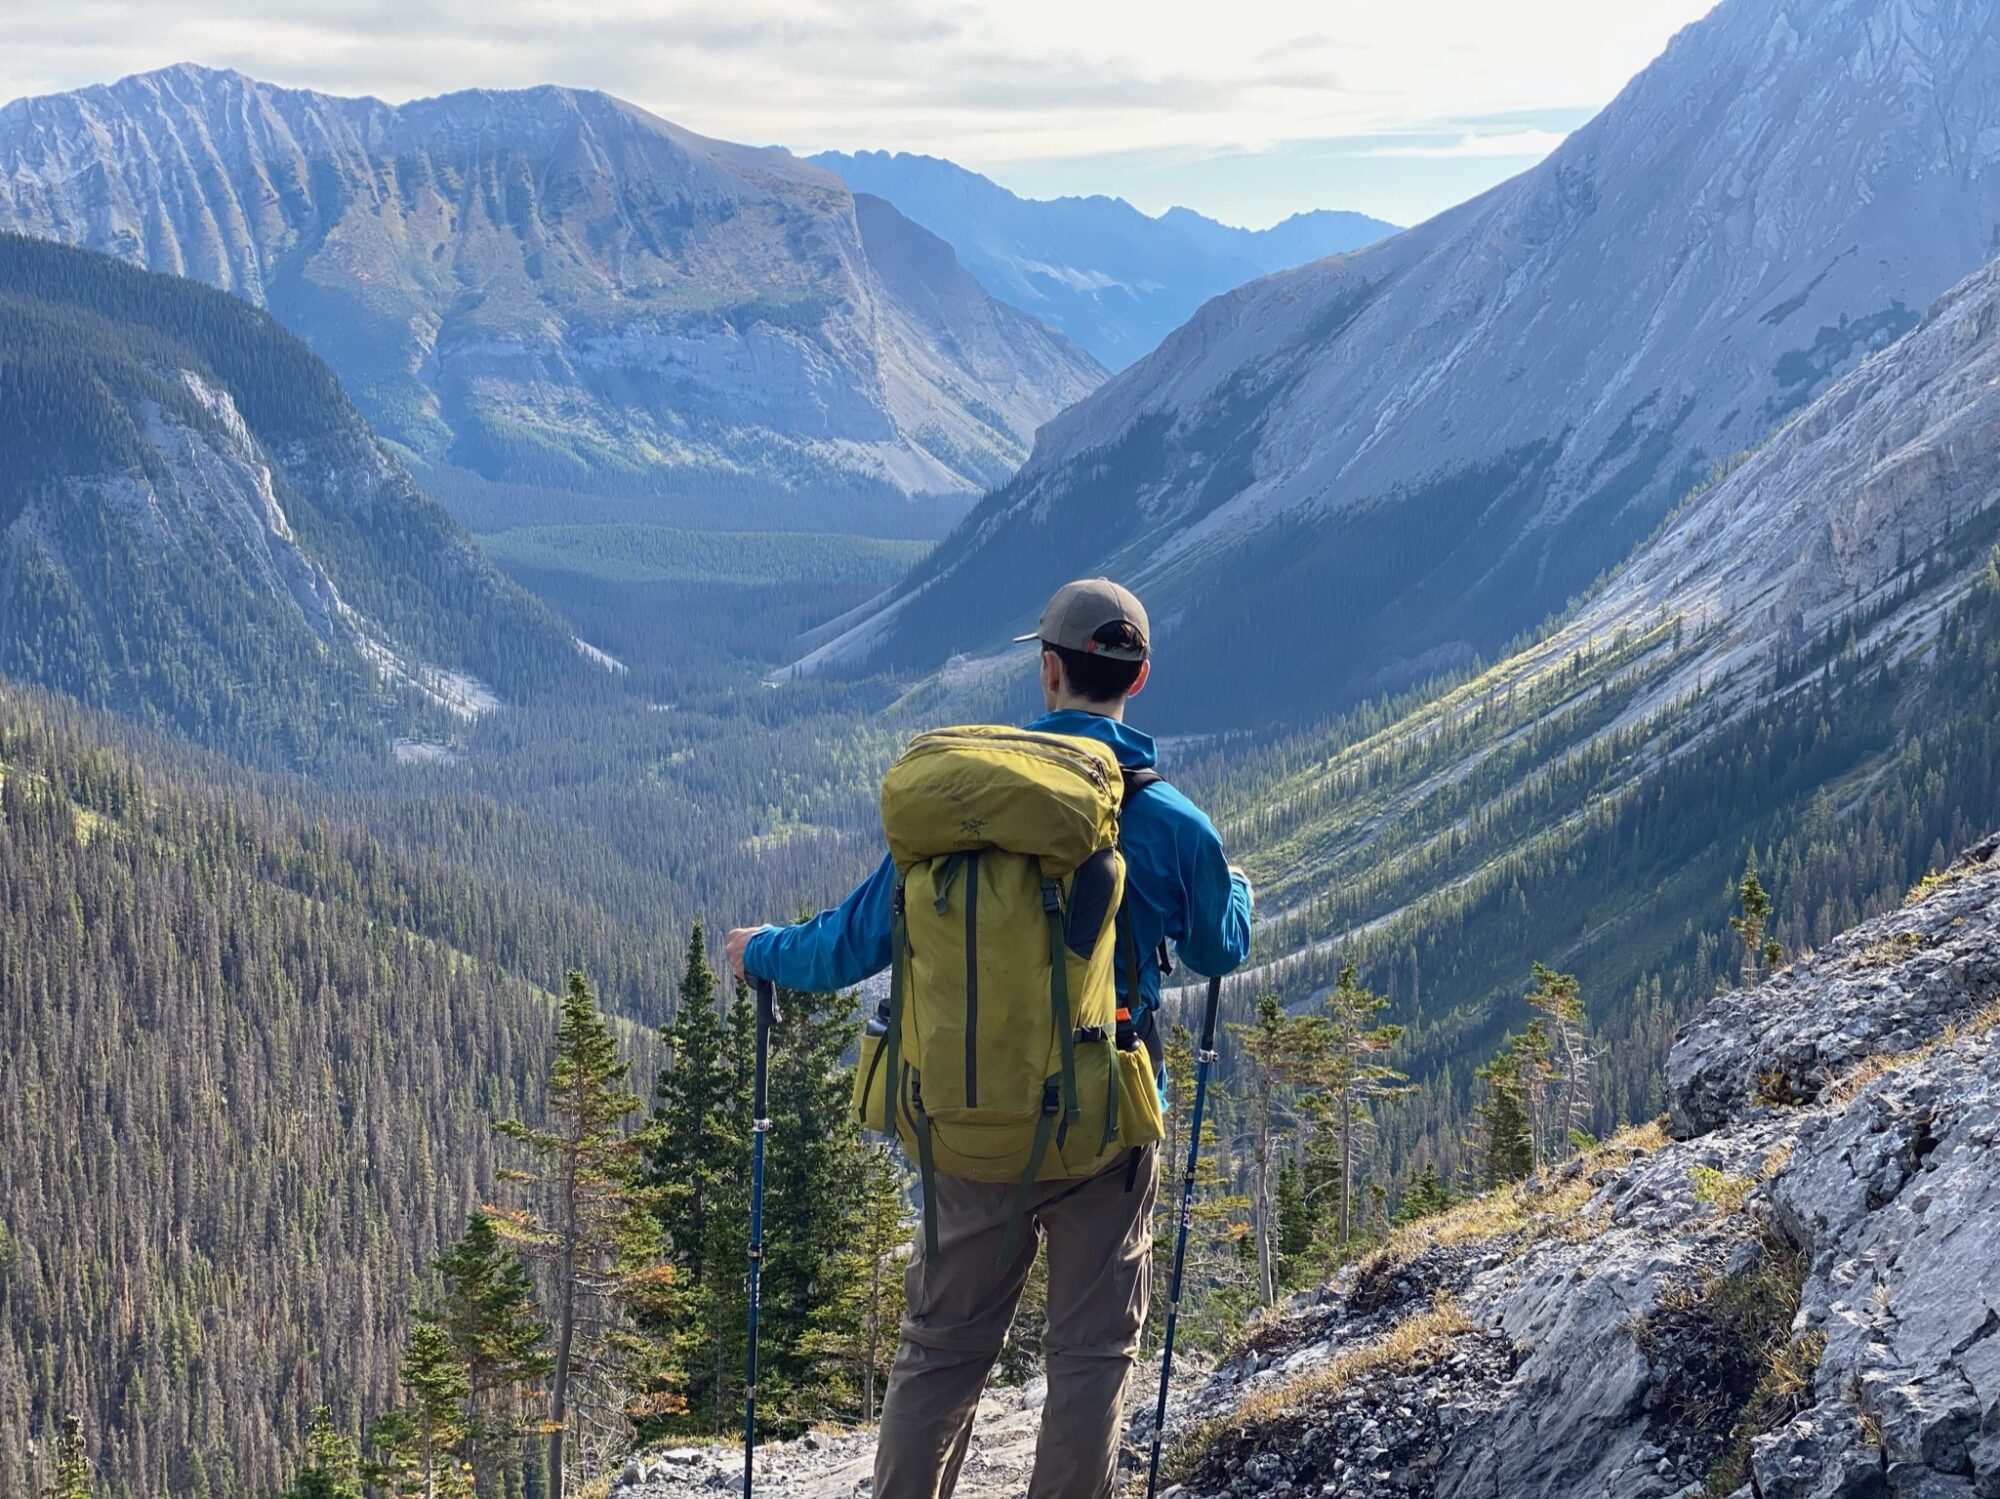

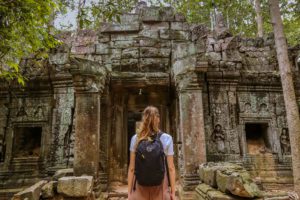
Solo Travel | 10 Must Visit Destinations for Independent Travel
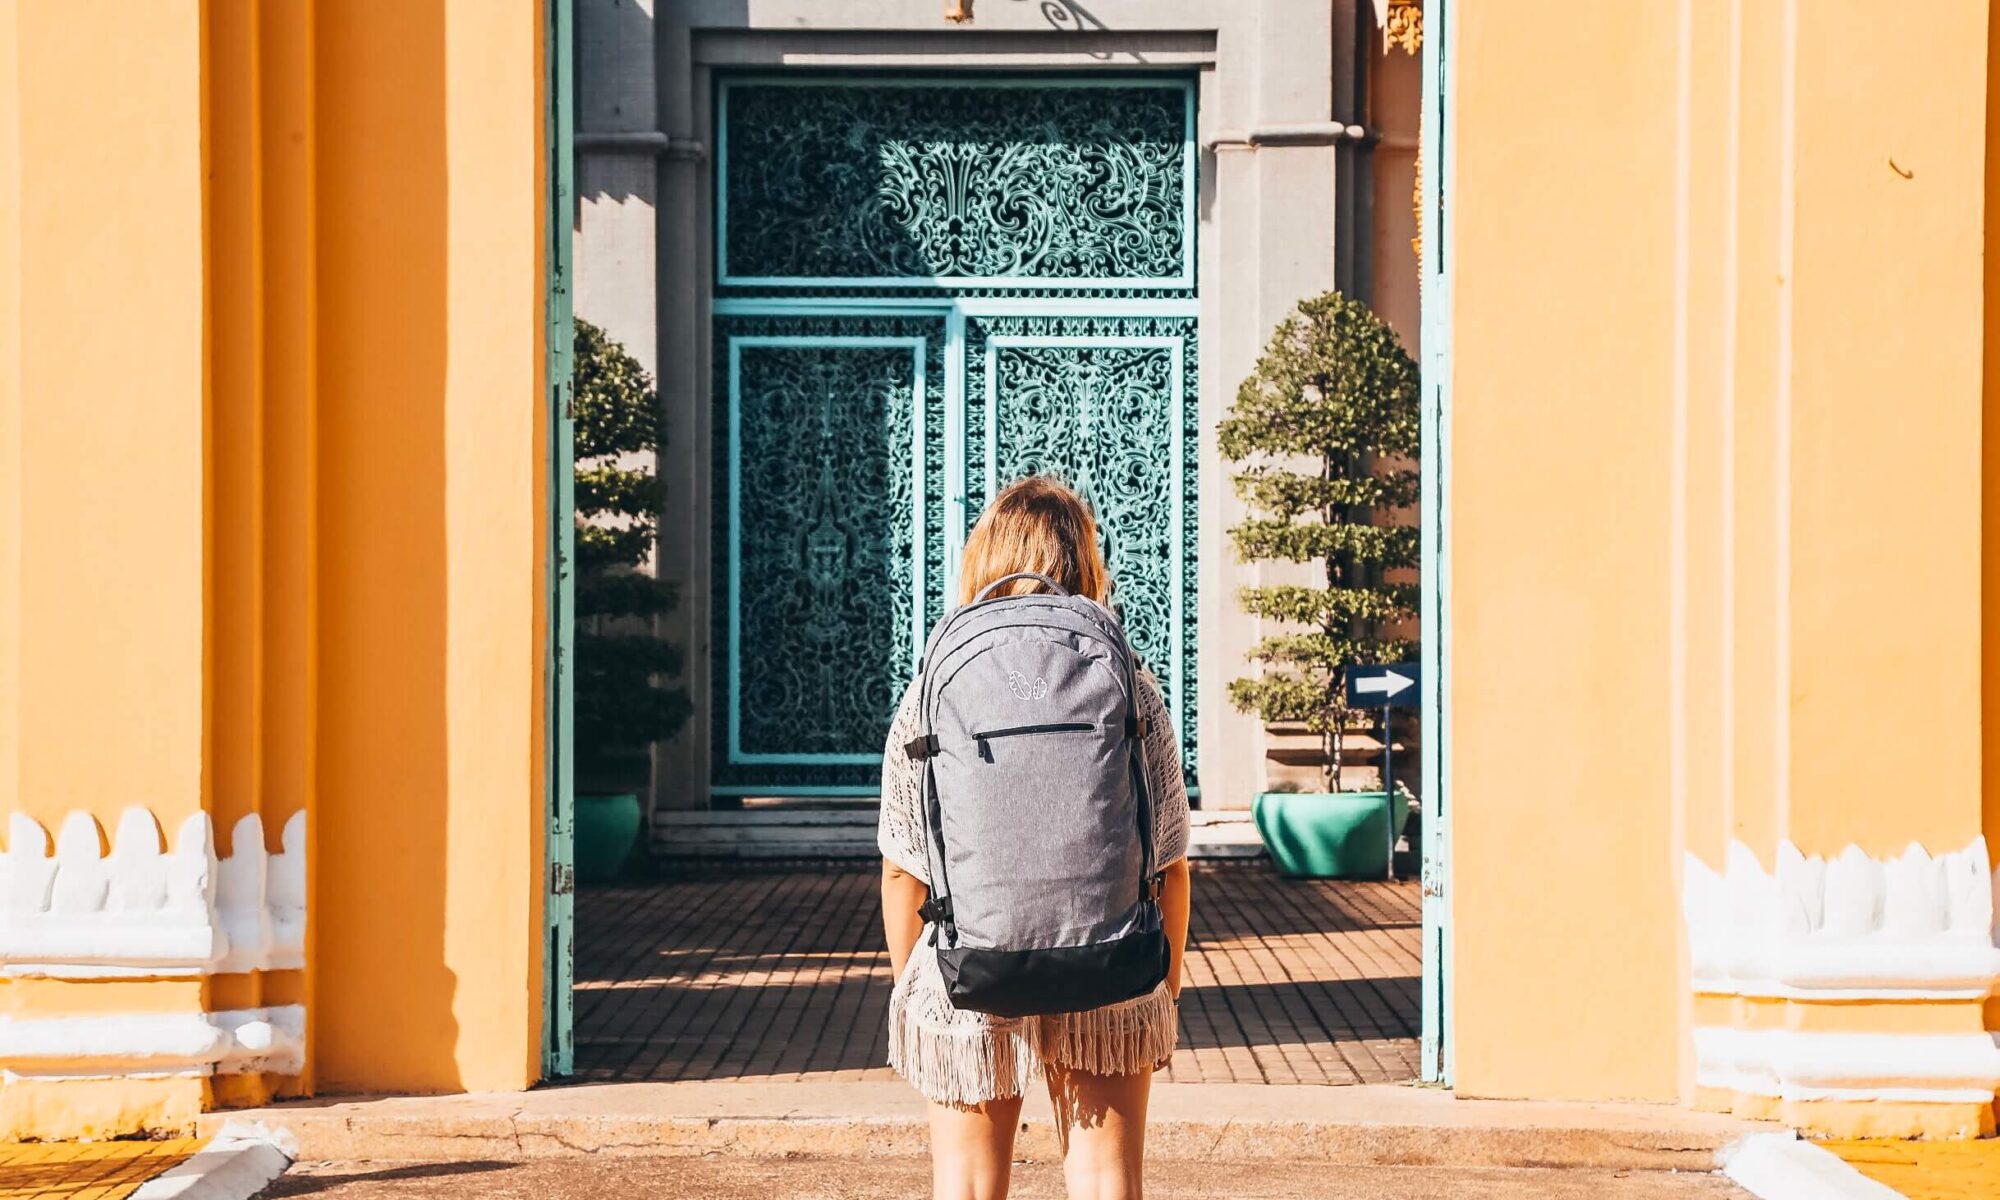
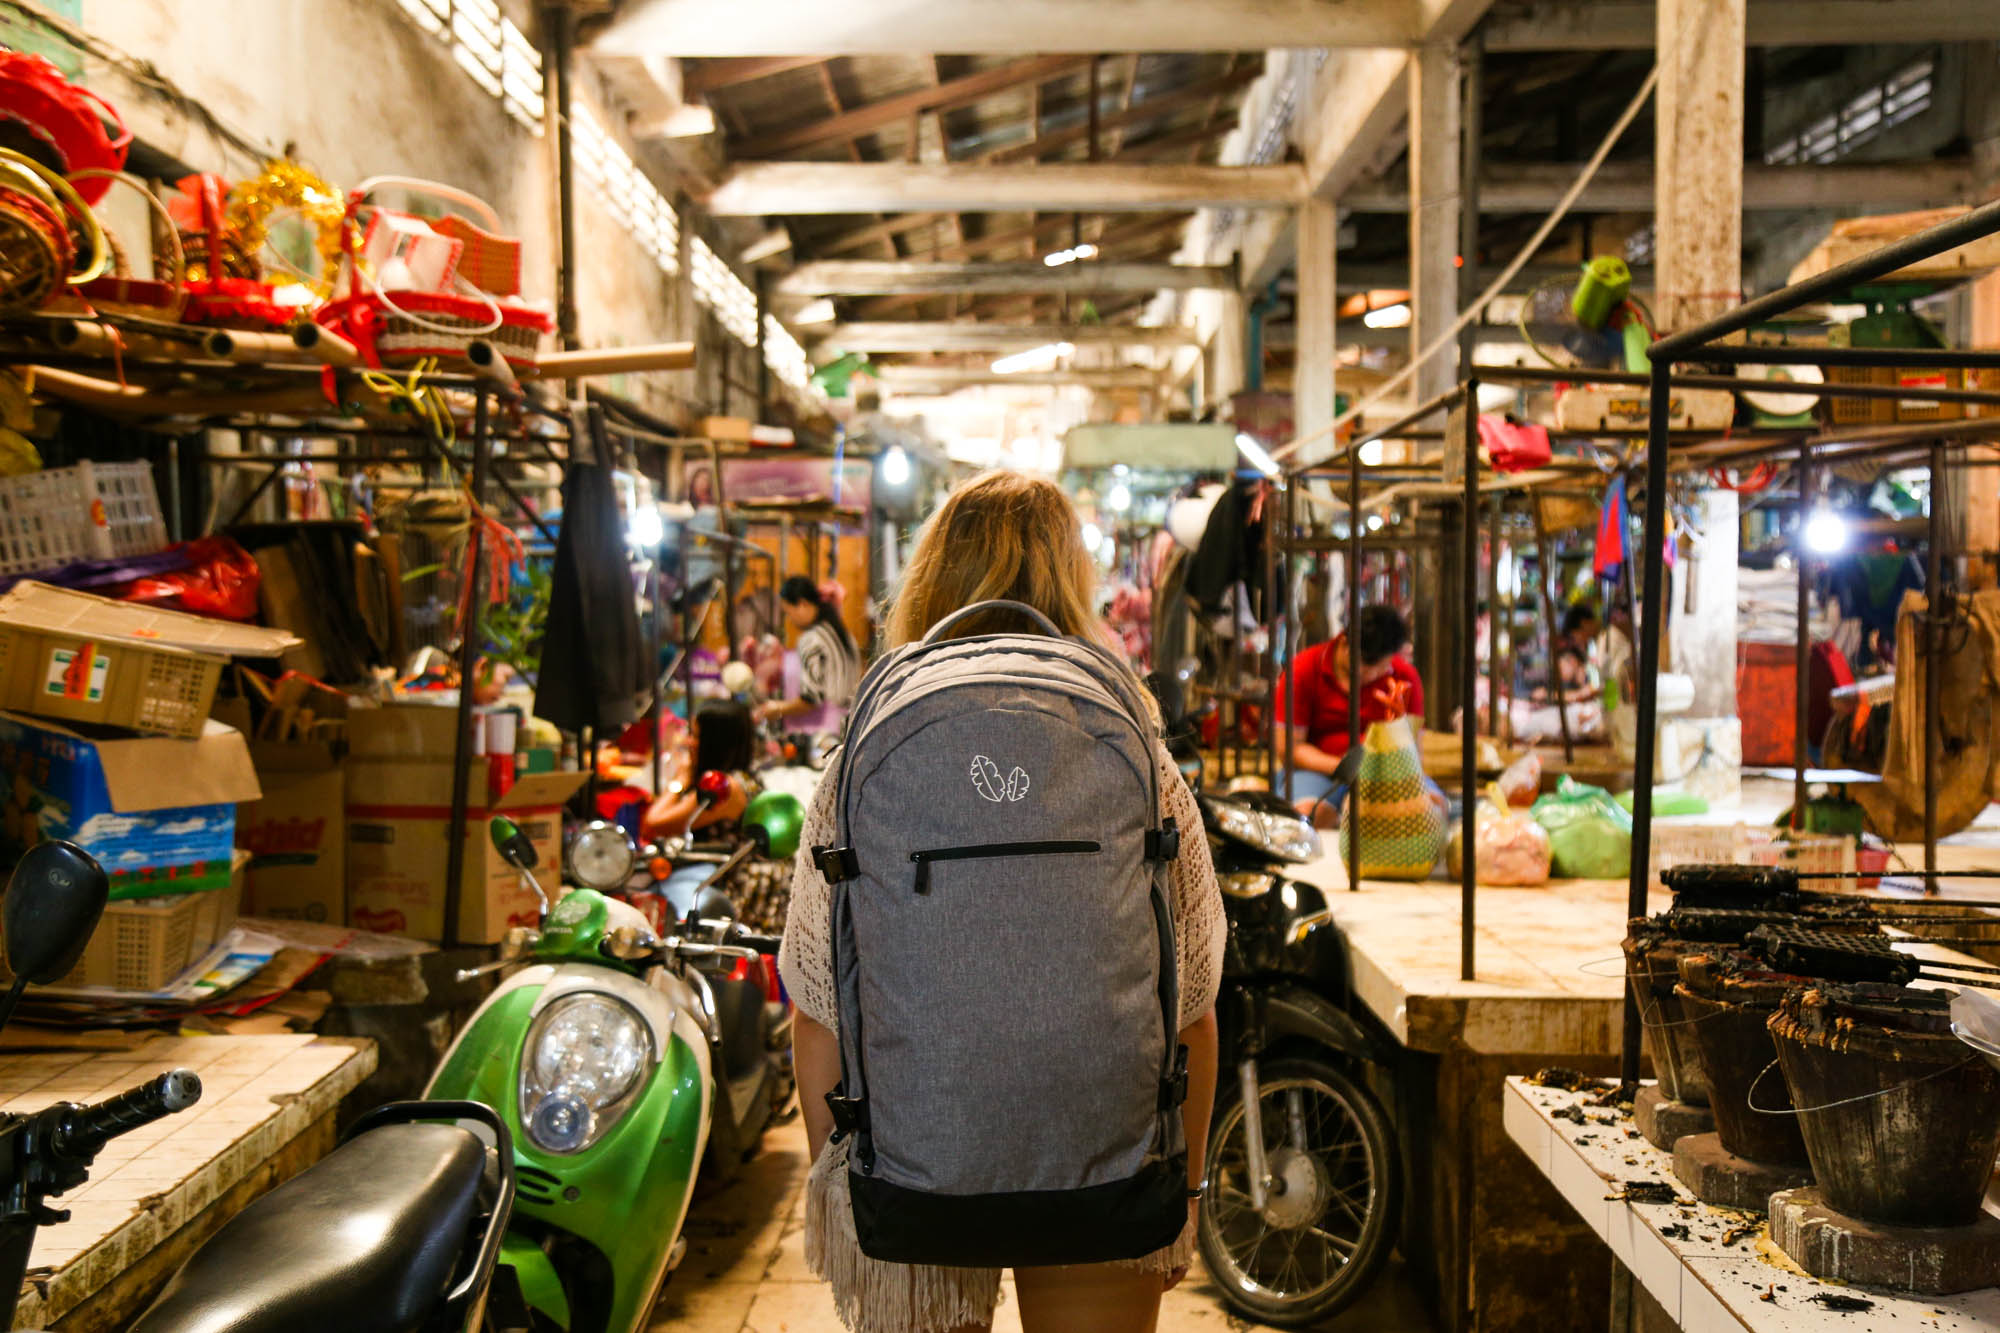
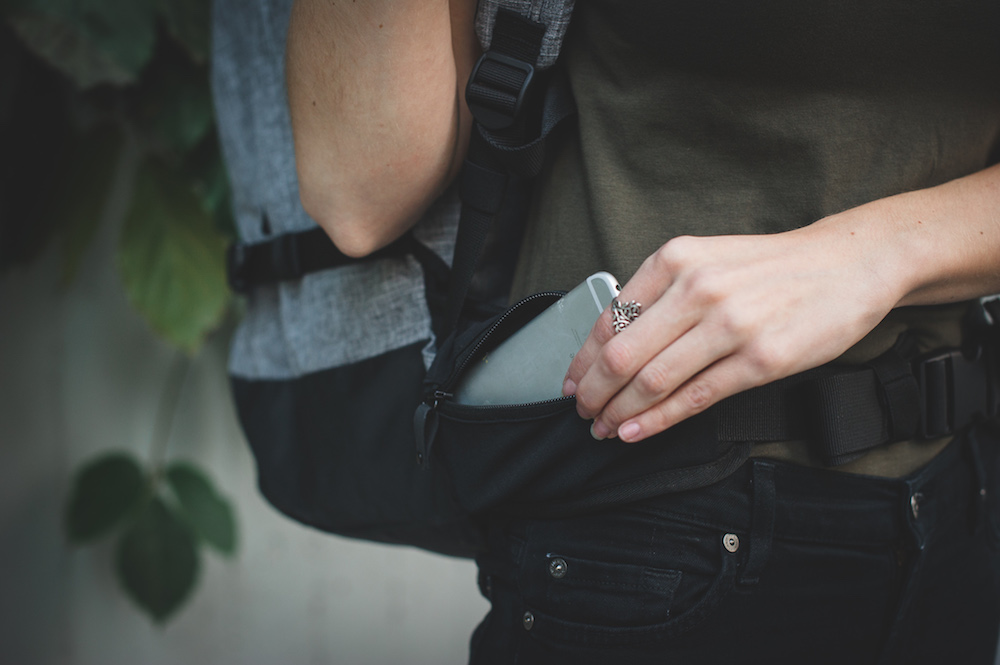
Setting out on an independent trip? From beach parties to mountain treks, these 10 destinations can’t be beat for solo travel.
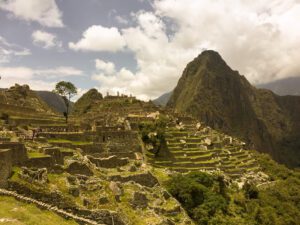
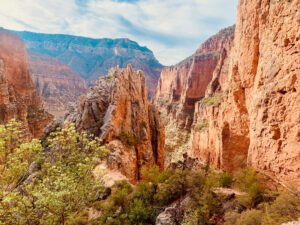
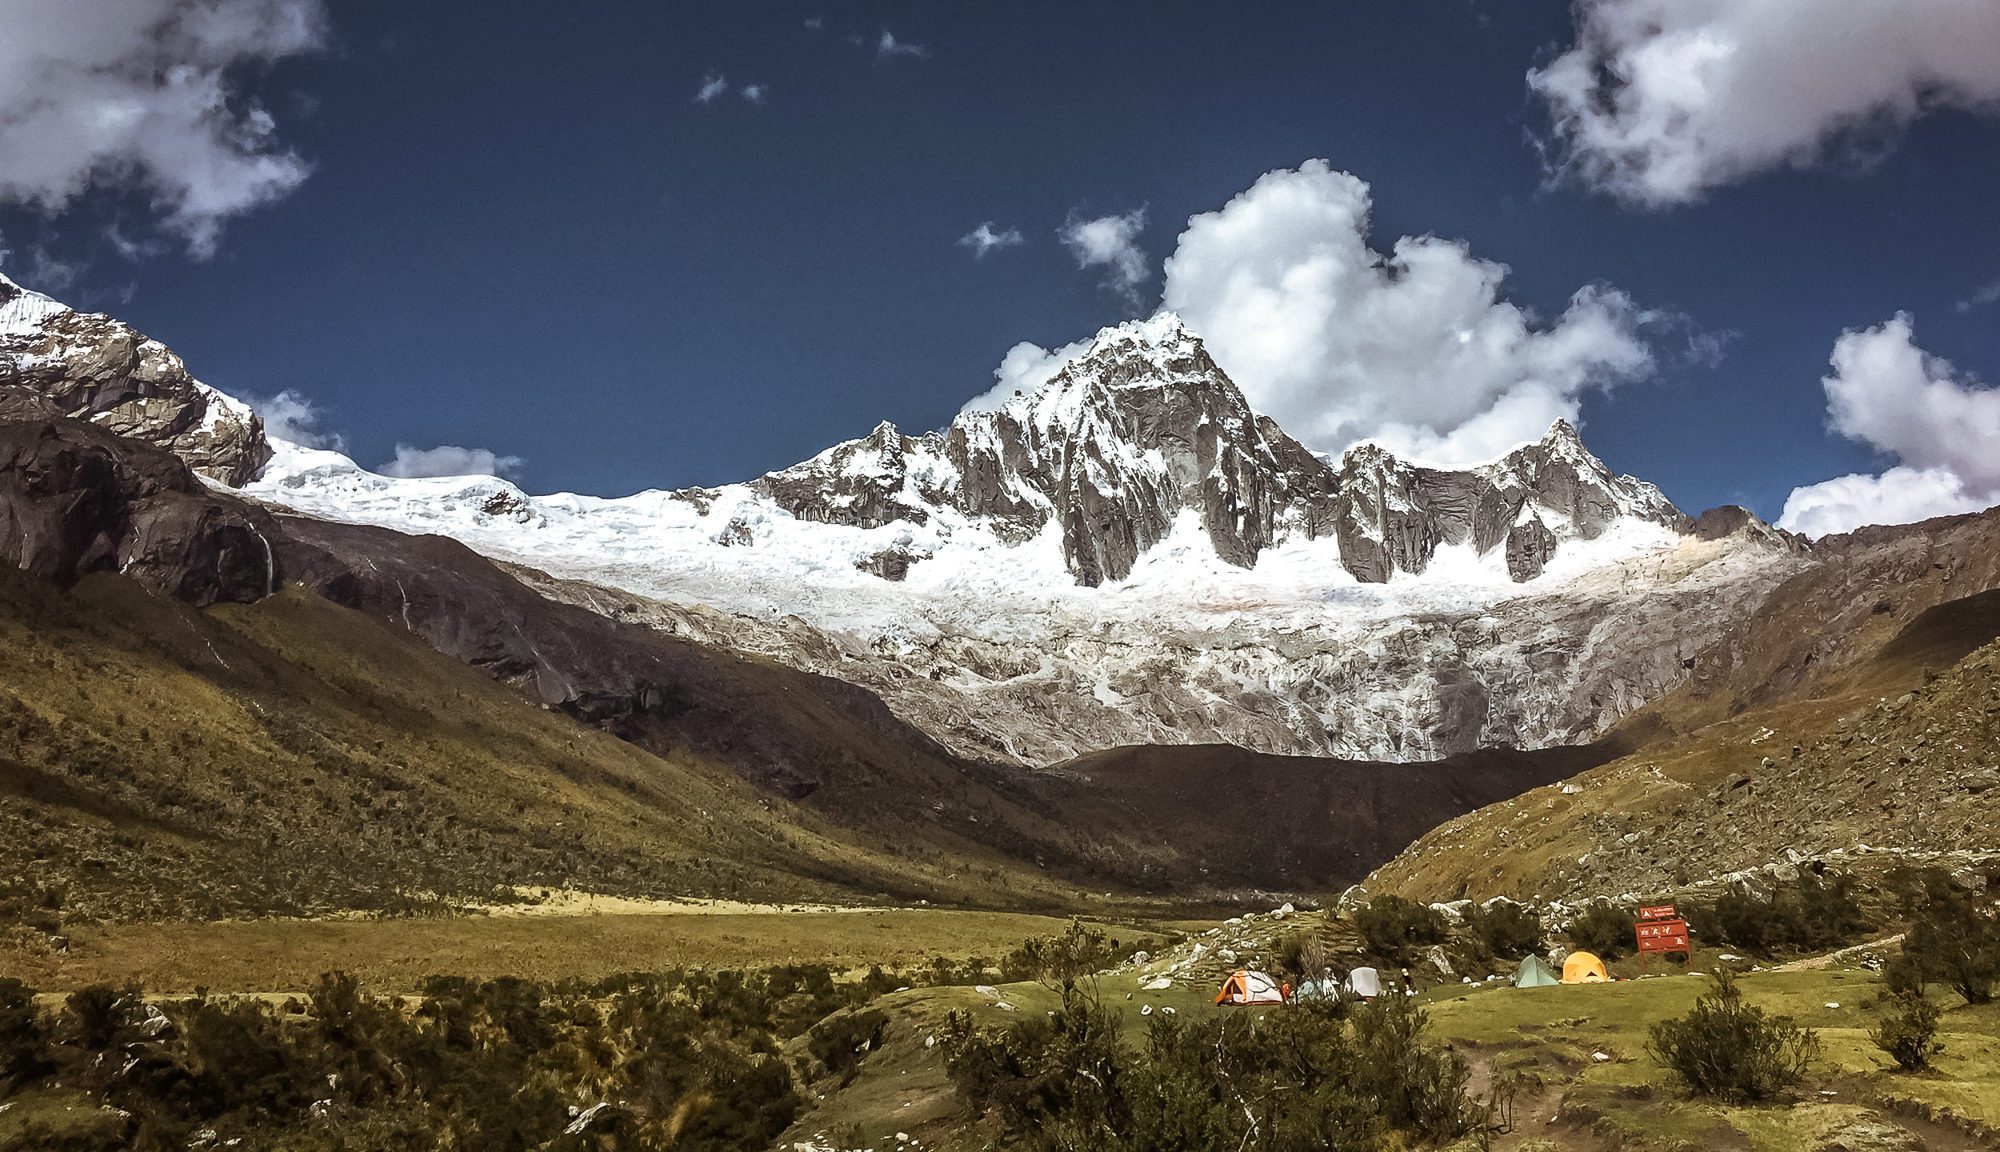
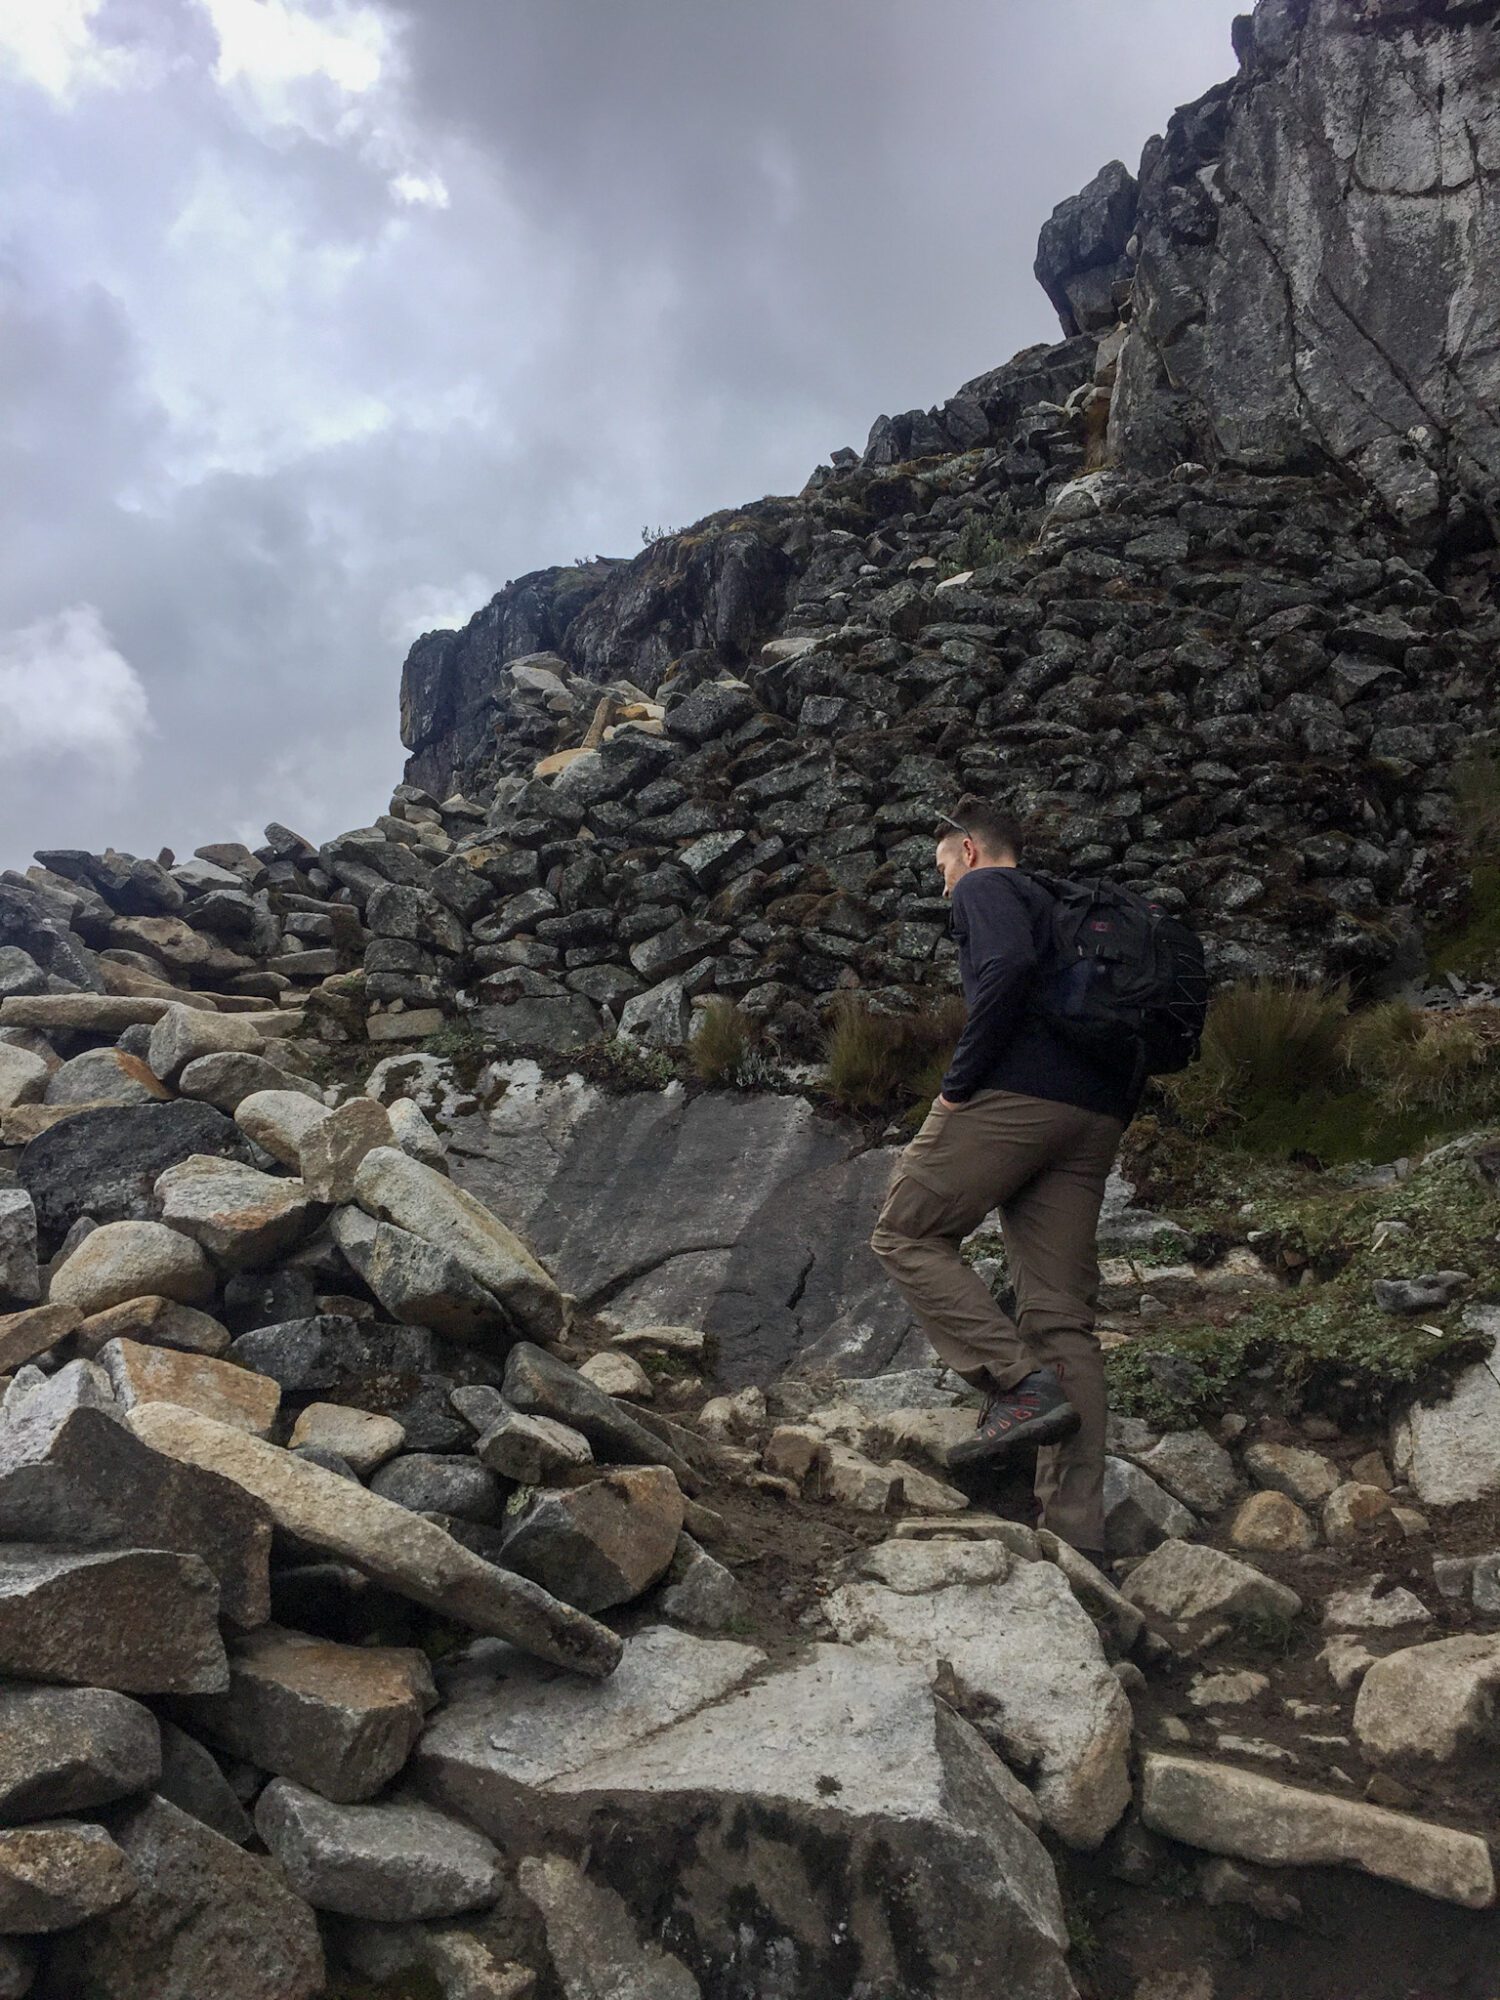
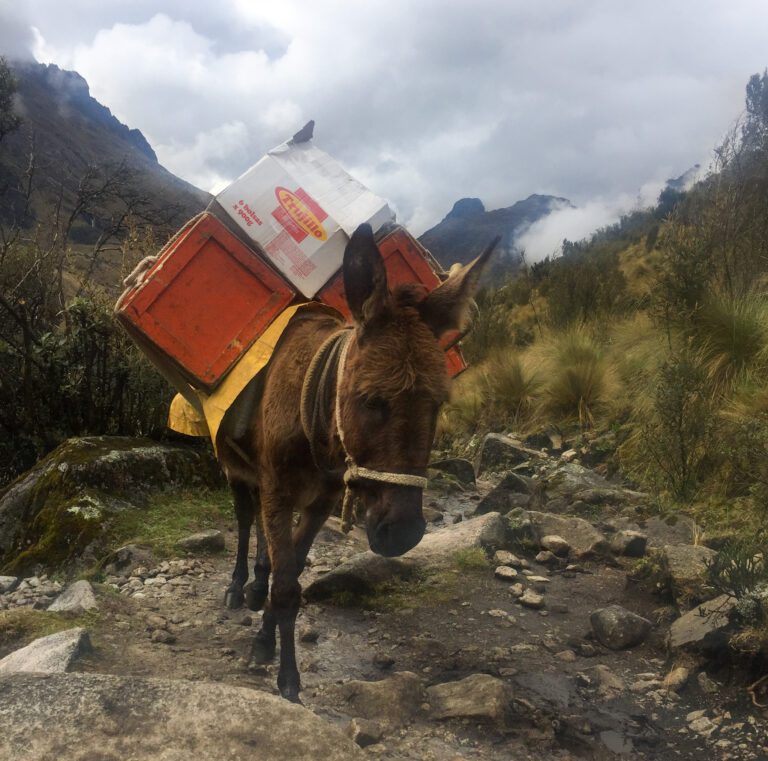
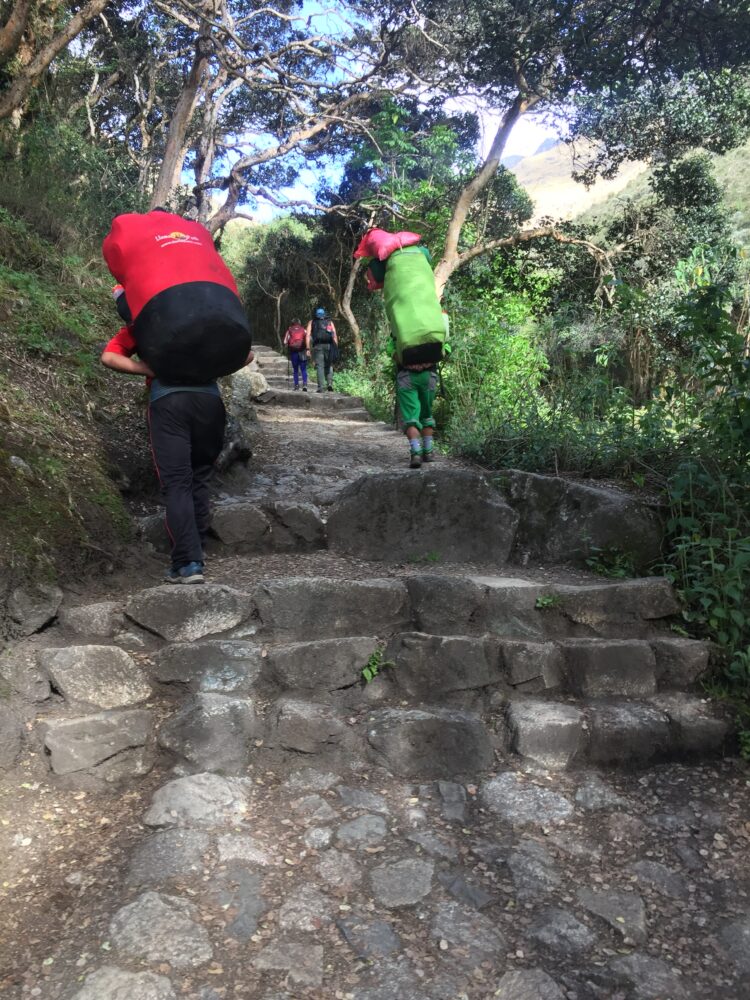
Inca Trail | What to Expect on the Hike to Machu Picchu
What’s the Inca Trail really like to hike? This firsthand account walks you through the day-to-day experience of hiking the Inca Trail.