
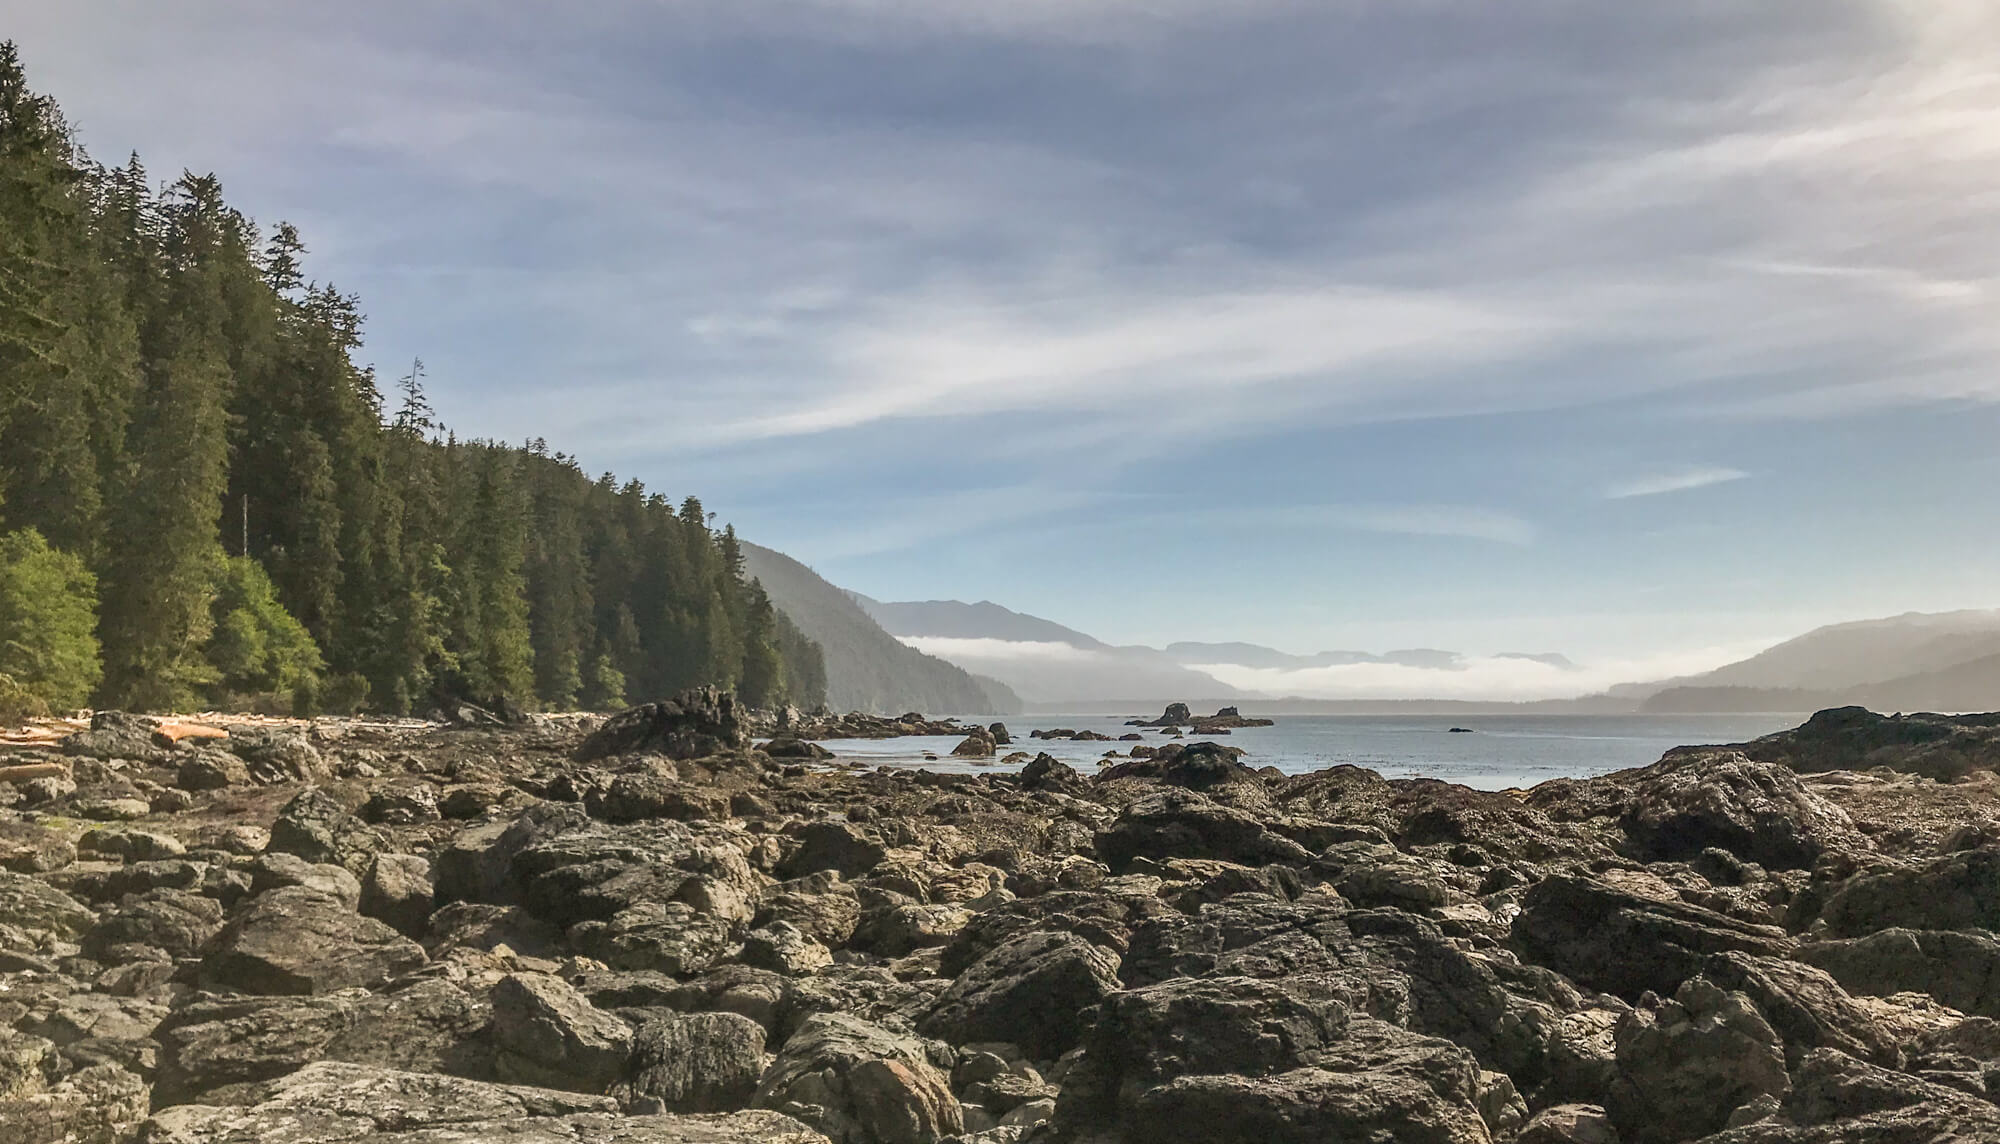
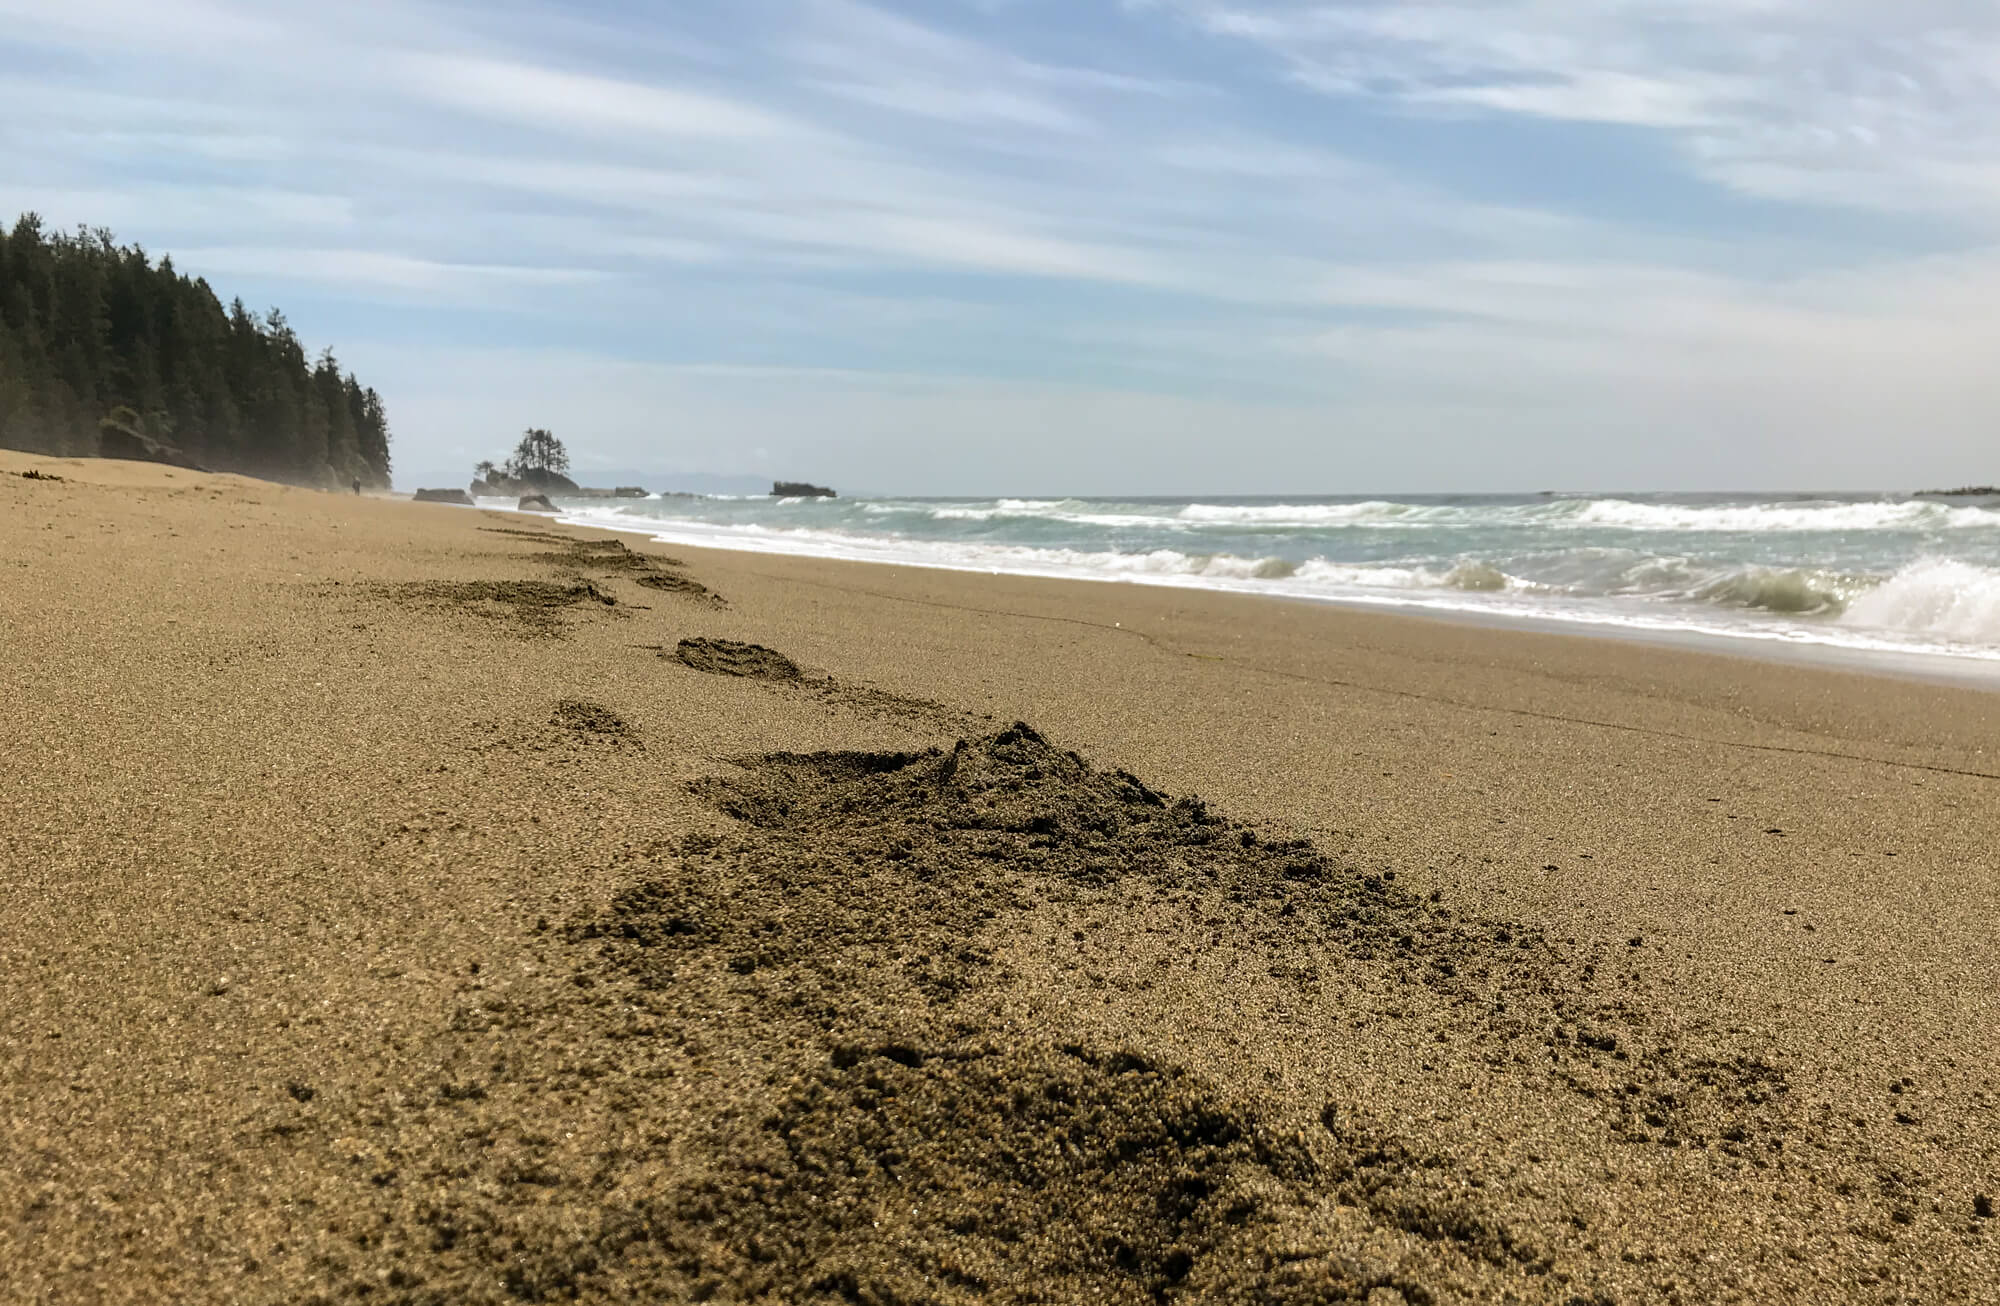
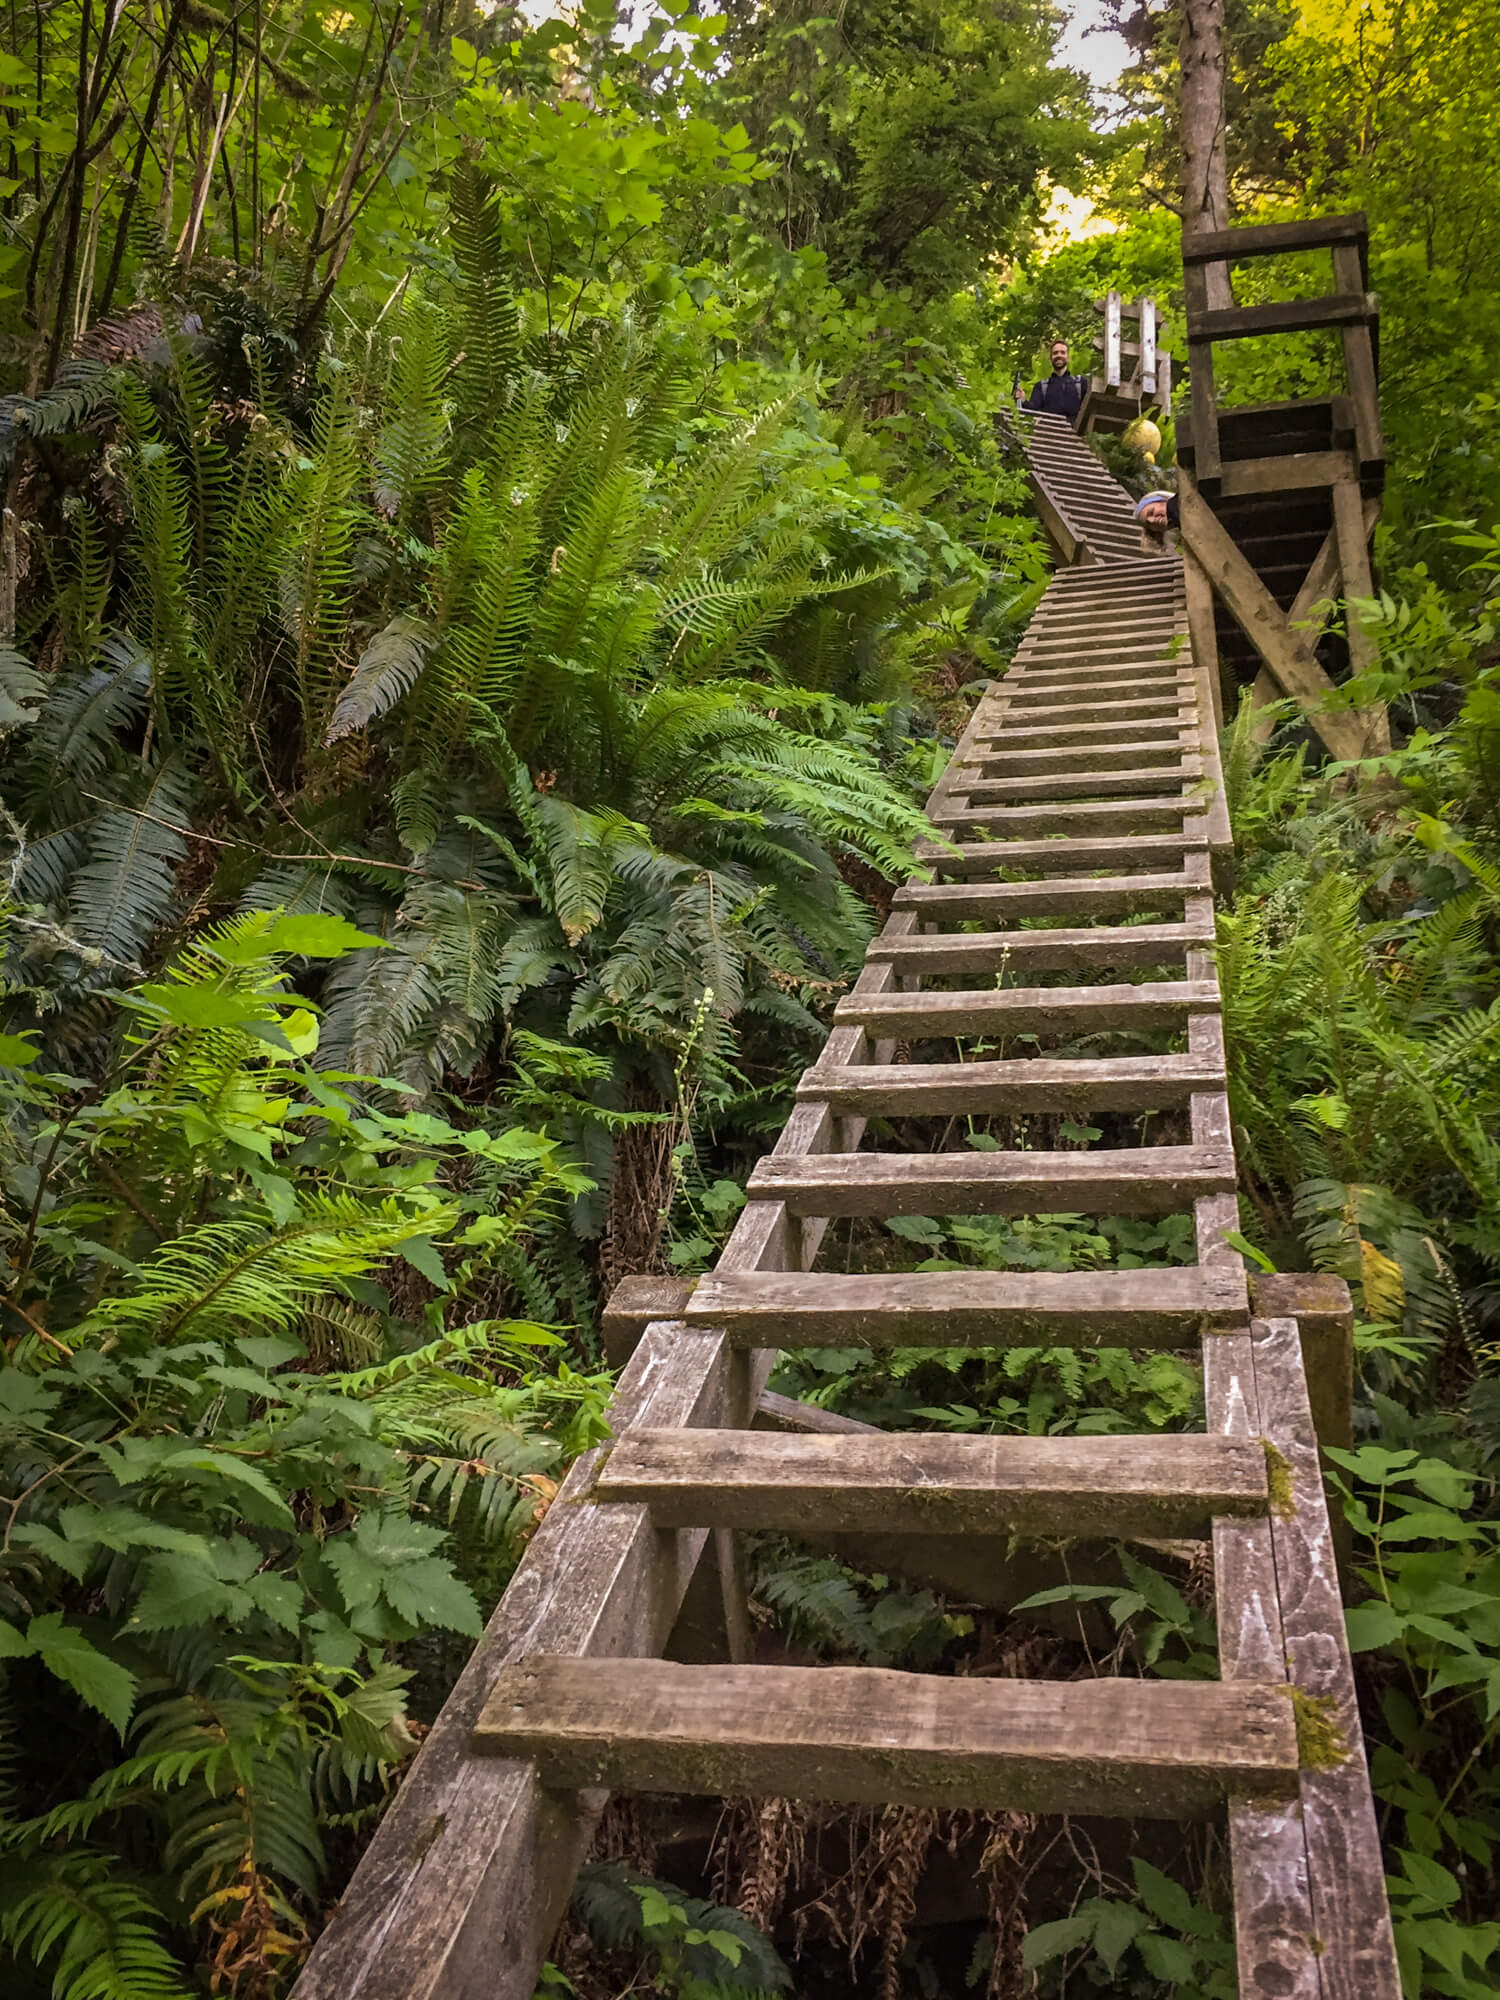
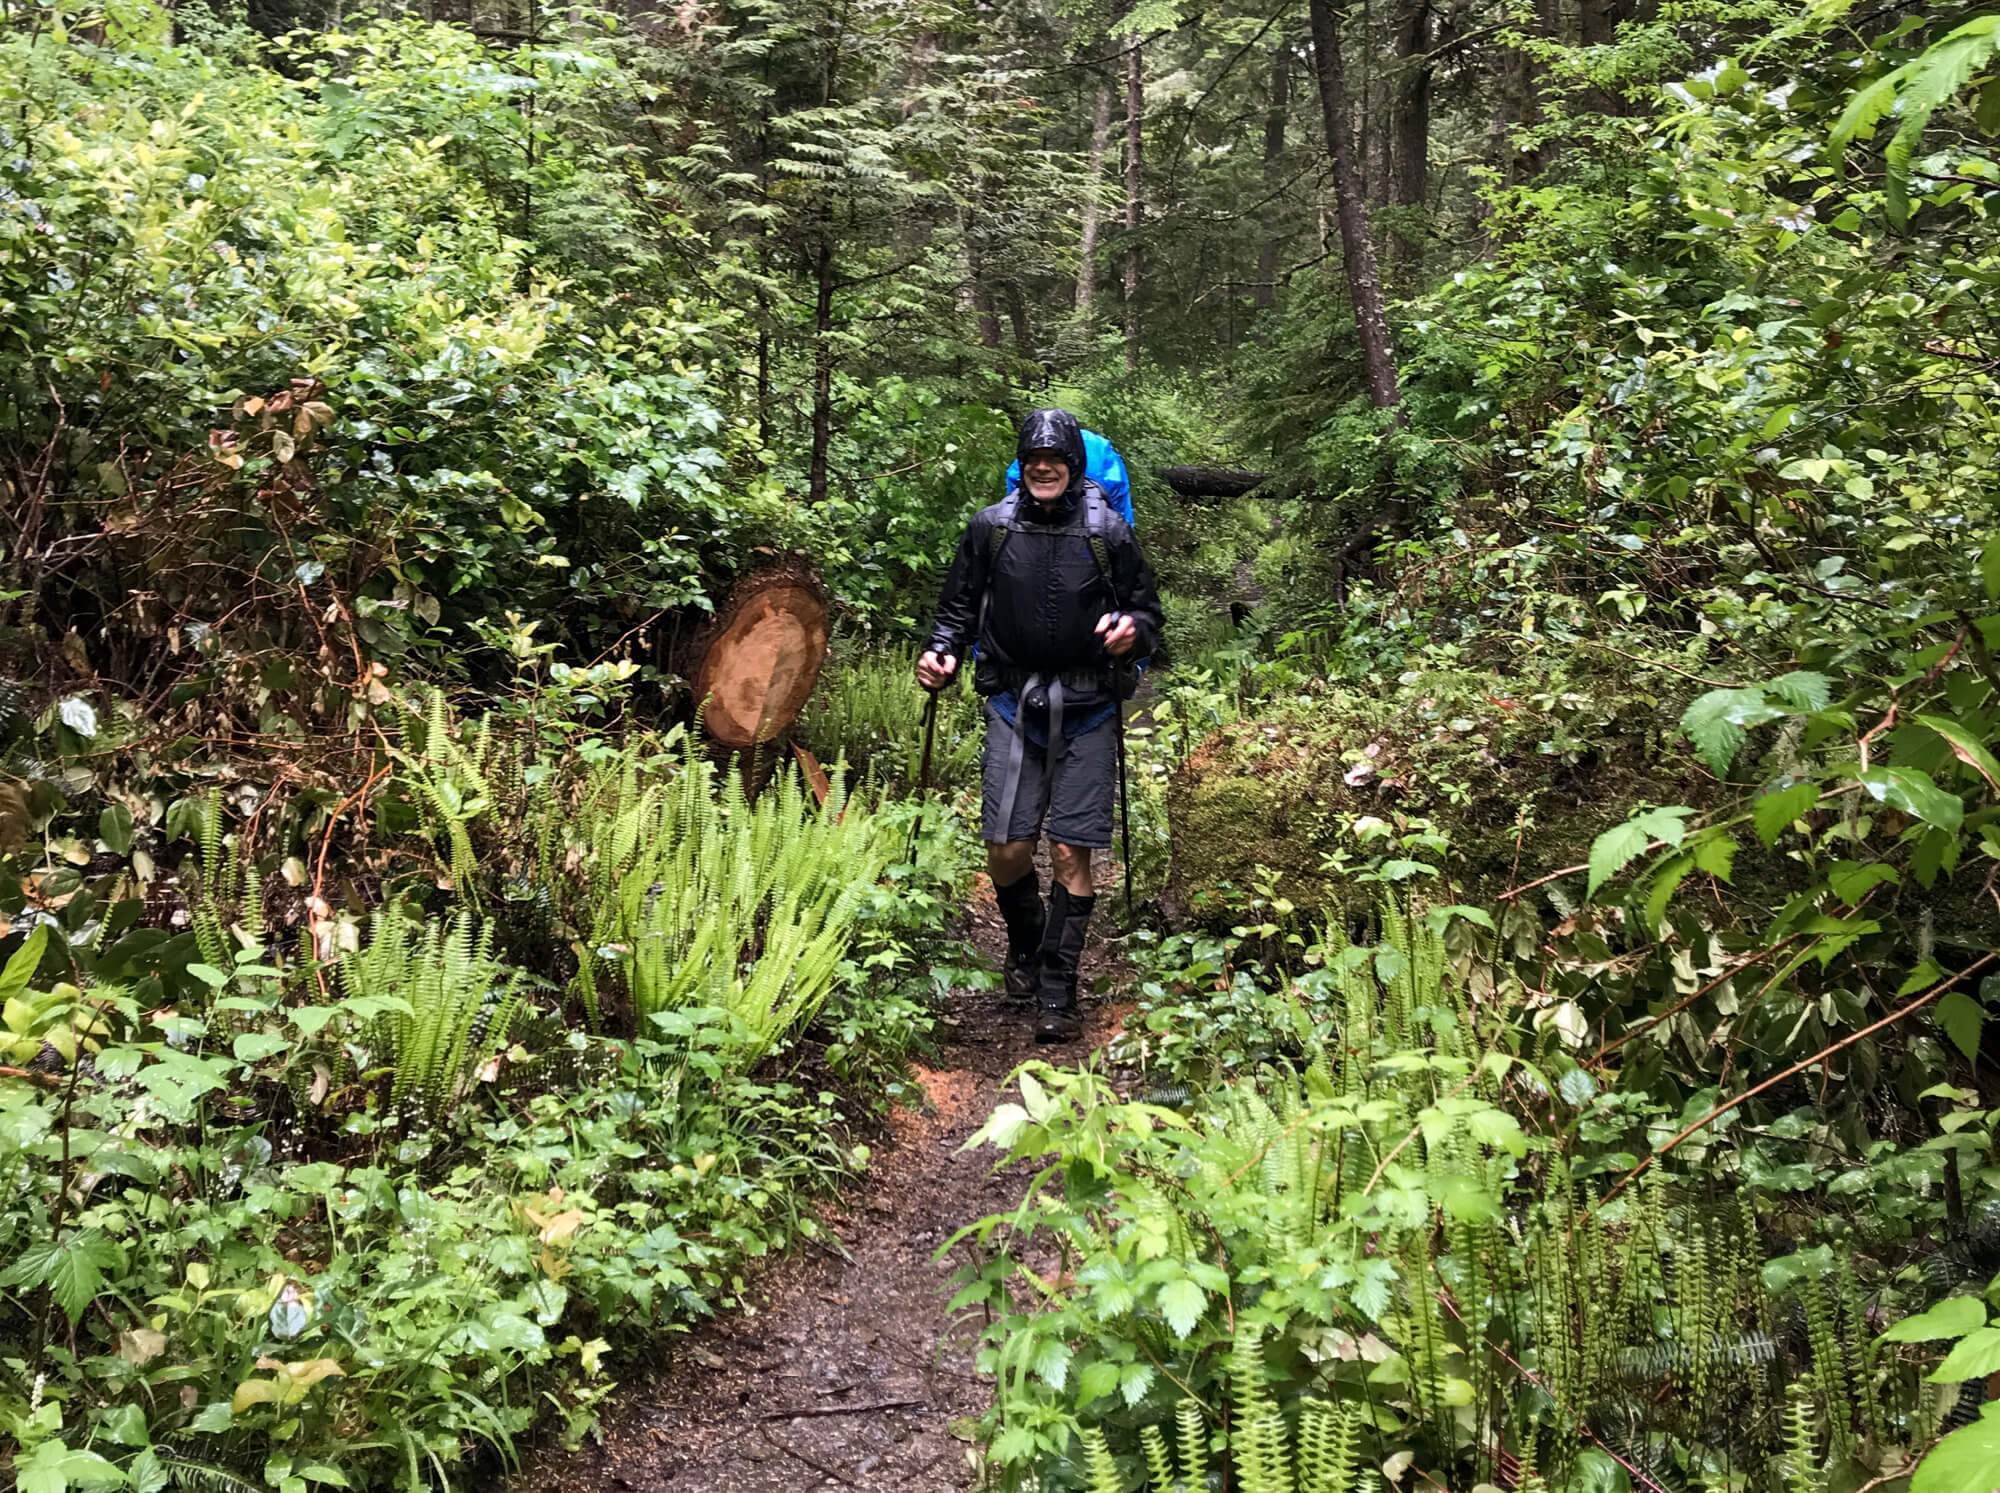
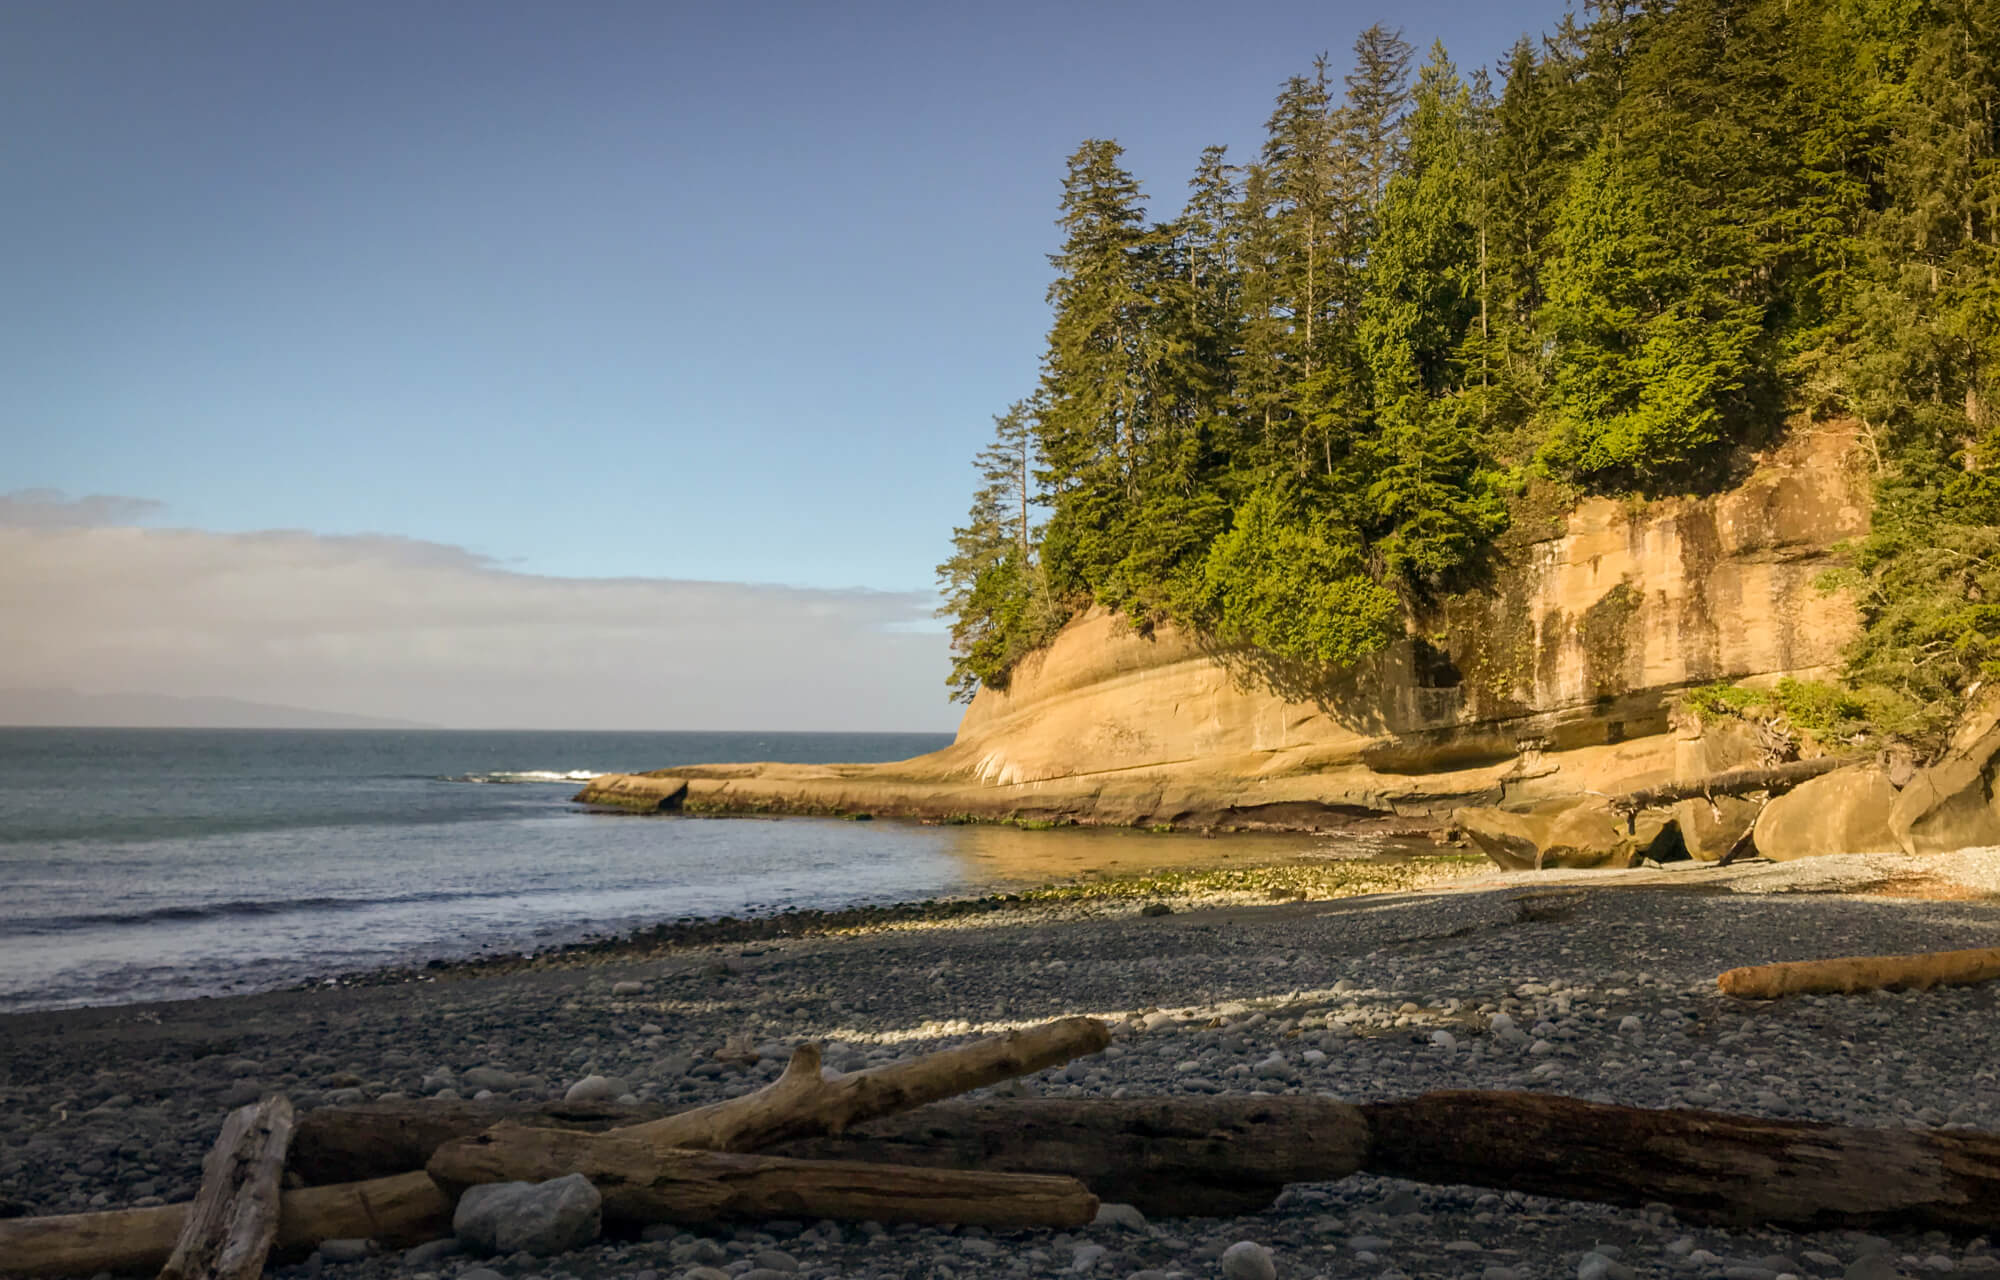
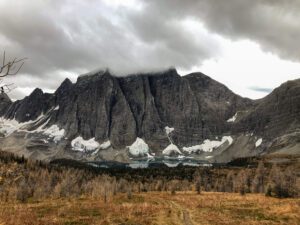
Canada’s West Coast Trail is a rugged 75 km backpacking trip that traverses a portion of the west coast of Vancouver Island in Pacific Rim National Park. Throughout the duration you’ll navigate through old growth forests, surge channels, ladders, mud bogs and miles of pristine beaches in the ultimate indoctrination to coastal hiking.
How do you pack for the West Coast Trail? How many pairs of underwear should you bring? How much should your backpack weigh? If these questions have been racing through your mind, you’ve come to the right place! In this epic West Coast Trail packing guide I’m going to deep dive into the gear that will help make this adventure a successful one whether you have 7 days of sunshine or 7 days of pouring rain. Best yet, I’m going to go about it way differently than the other packing lists out there!
Why trust this West Coast Trail Packing List?
By this point you’ve probably scoured the internet and read a blog post or 10 about the West Coast Trail. Why bother reading this one?
Well, if I’m being honest I really didn’t know jack s*** about packing for backpacking prior to catching the backpacking bug and signing up to hike the West Coast Trail as my first big overnight hiking trip. This ignorance led me to pack 60 lbs of gear and struggle my way up hundreds of ladder planks and across numerous ankle busting baby head boulders. Fortunately for you, I’m wiser now with years of backpacking experience under my belt! My packing list is dialed in, my backpacking setup is light and I’ve learnt the hard way with a lot of gear, so you don’t have to! So, whether you’re a naive newbie backpacker with the courage of a lion or a seasoned backpacking vet, there is something you in this ultimate guide to packing for the West Coast Trail!
For many items in this post, I’ll talk about what I used and then talk about what I use now or would pack differently if I were hiking the West Coast Trail again. From there you can make your own decision on whether to buy something new or use something you already have! This contrast should also provide a few laughs at my own expense and you can feel proud knowing that whatever unnecessary item you packed, it likely wasn’t a 4 lb bag of uncooked lentils…
Now let’s jump into the ultimate West Coast Trail packing list!
** Some of the links in this post are affiliate links. If you click one of the links and make a purchase we may earn a small commission at no cost to you. We’re very particular about products and we only recommend products, services, or accommodation we trust and use ourselves.**
Gear checklist for the West Coast Trail
If you’re here for the quick hits of what to pack, here is a quick summary with clickable links to everything I’m presently backpacking with/recommending for the West Coast Trail:
Don’t Forget
- Travel Insurance with Emergency Medical (if travelling from outside Canada)*
- Bear Spray
- West Coast Trail Permit
- National Park Pass
- Tide Tables (provided at your orientation)
Essential Items
- Backpack
- Tent
- Sleeping Mat
- Backpacking Pillow
- Sleeping Bag or Quilt
- Water Purification
- Trowel, TP, extra ziplock & Hand Sanitizer
- Swiss Army Knife
- Stove & Fuel Canister
- Lighter & Matches
- Firestarter
- Compact Backcountry Cookset & Spork
- Water Bottle or Reservoir
- Extra Water Storage Container
- First Aid Kit
- Trekking Poles
- Headlamp with red light mode
- GPS, Compass & Map
- Power Bank & Charging Cable
Clothing and Accessories
- Shell Jacket
- Puff Jacket
- Sun Hoodie
- Rainpants
- Convertible Hiking Pants
- Shorts (1 pair)
- Base Layer Top
- Base Layer Bottom
- Underwear (2-3 pair)
- Hiking Socks ( 3 pair)
- Hat &Toque
- Sunglasses
- Gloves
- Trail Runners or Hiking Boots
- Camp Shoes (optional)
- Low trail running gaiter (optional)
Additional Items
- Sunscreen & SPF lim balm
- Bug Spray
- Tooth Brush & Toothpaste tabs in ziplock
- Duct Tape (for repairs and blisters)
- Trash Compactor Bag
- Dry Bag for food storage in Cache/Pack
- Food
Luxury Items (optional)
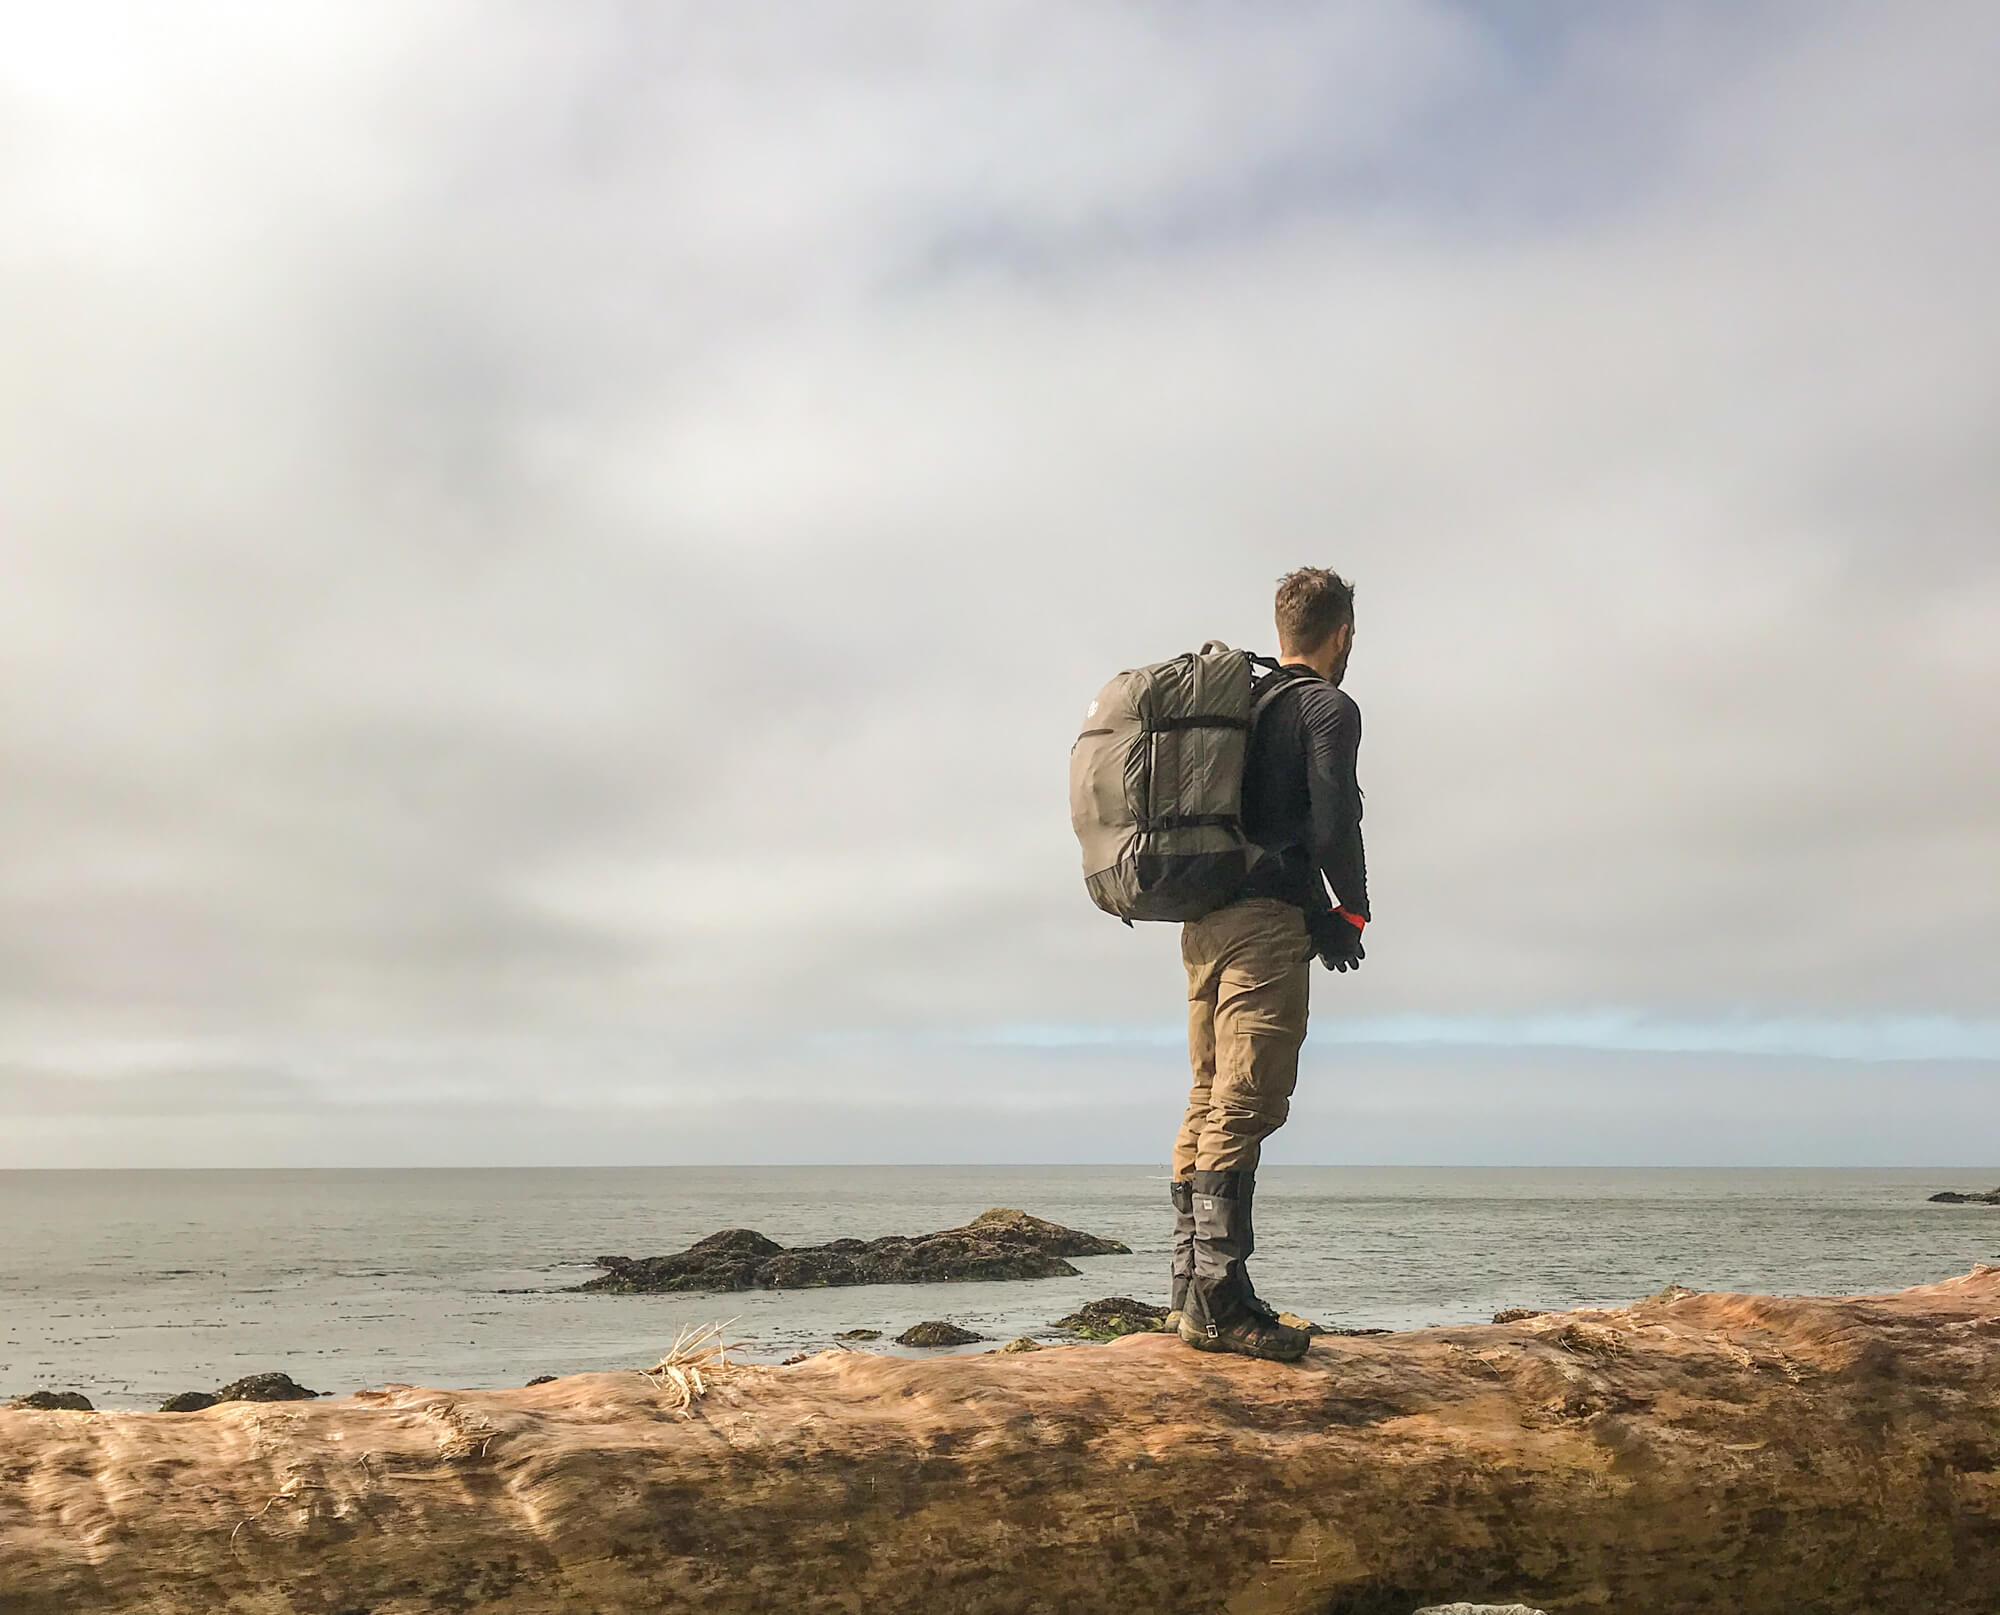
What's the best backpack for the West Coast Trail
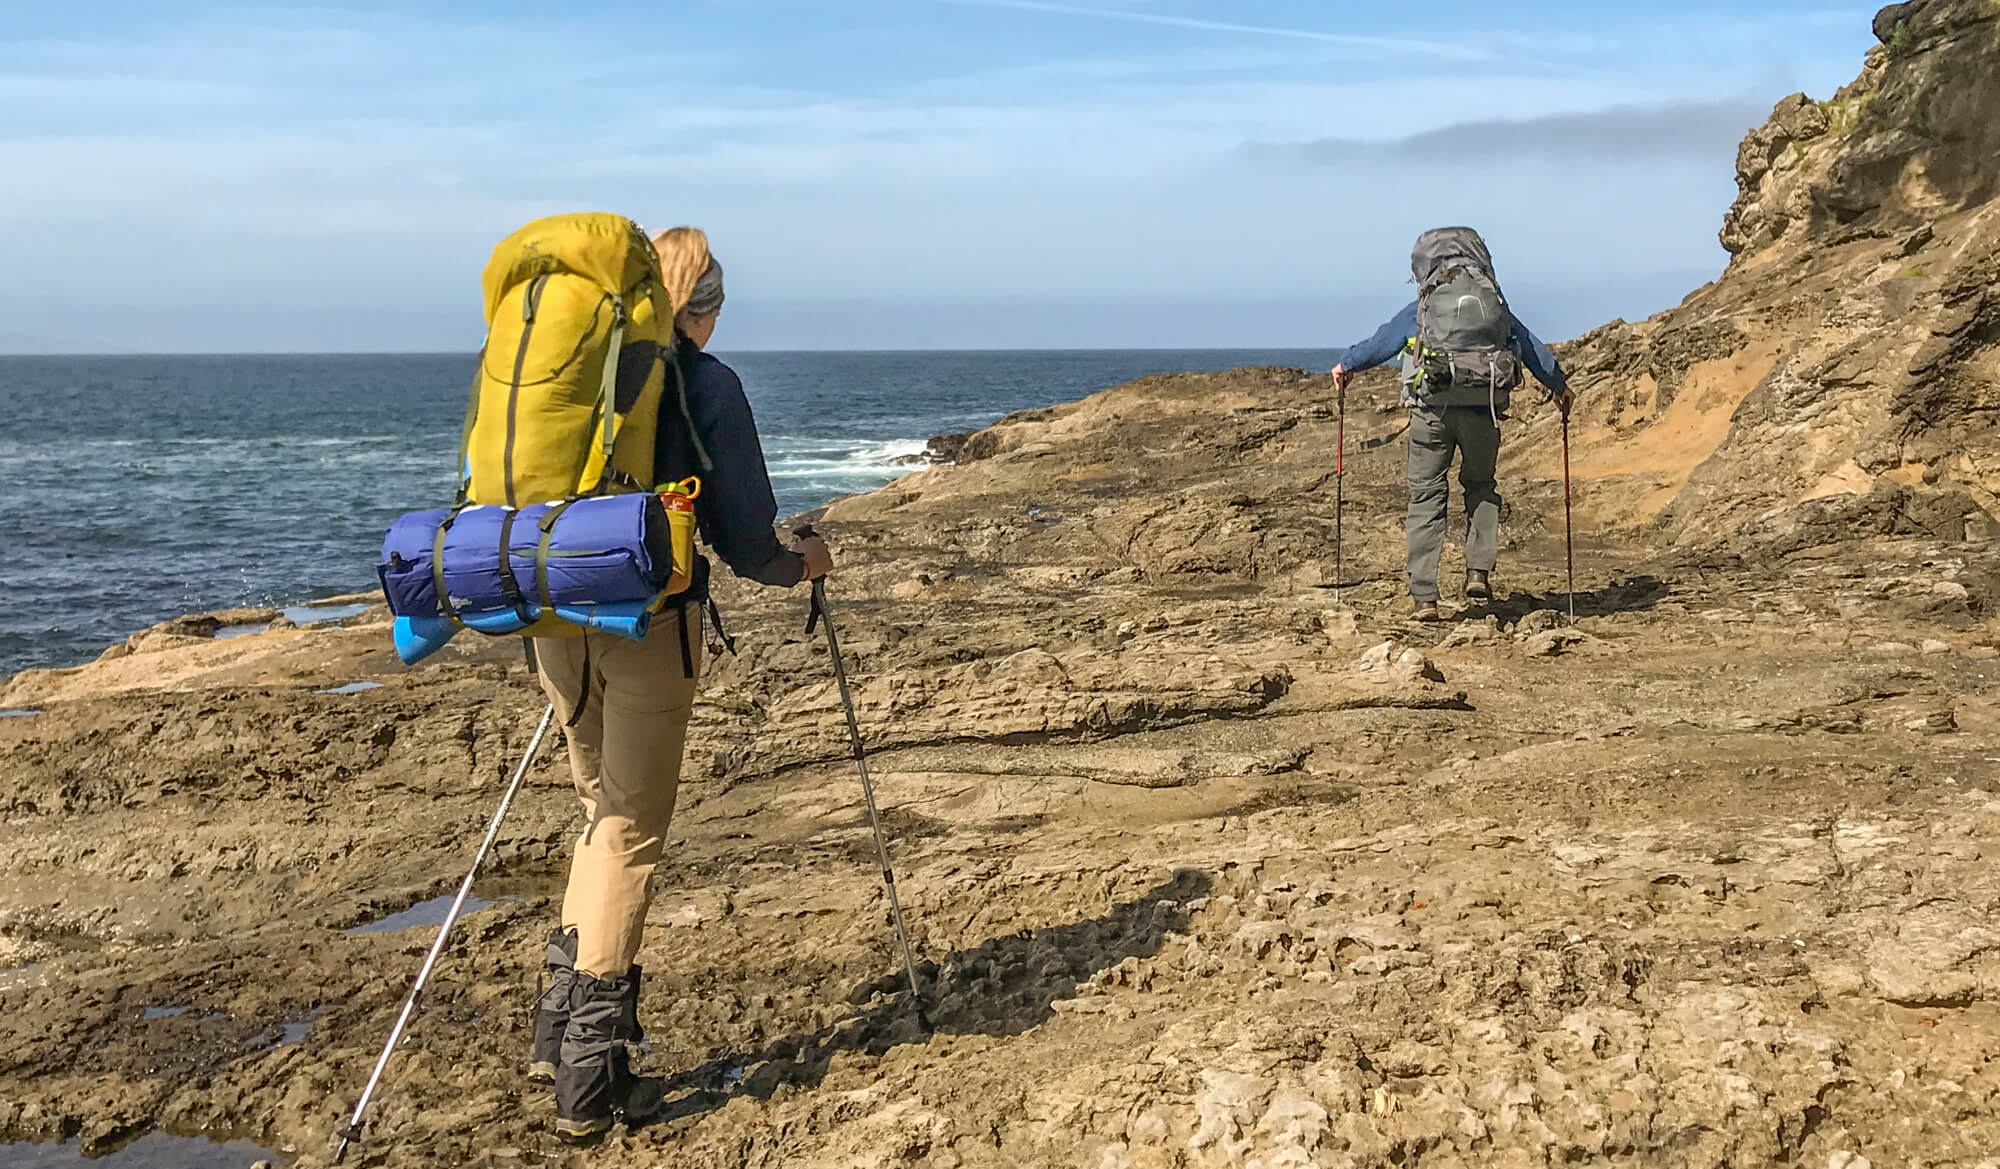
The fact that you are “backpacking” the West Coast Trail alludes to the fact that a backpack is is a pretty critical item on your packing list. Do you want the Cadillac of backpacks, the Osprey Atmost AG65? Maybe the Porsche of backpacks – the Hyperlite Southwest? Or perhaps the crossover/hatchback/Subaru – the Osprey Exos/Eja or Gregory Focal/Facet?

Which backpack did I use?
To save a buck and do some epic field testing, I used our 60L travel backpack, the Khmer Explorer on the West Coast Trail. I’m a big fan of repurposing items and if you’re only getting into backpacking a large travel backpack can definitely fit the bill! As great as our pack is for organization of travel gear and hiking from hostel to hostel, it weighs more (6 lbs) than purpose built backpacking packs and is better suited to organizing clothes than backpacking gear. Ultimately, this pack is my go to for travel, but for backpacking/hiking I now use something more purpose built for weight purposes.
What backpack should you use?
You’re going to see a lot of big and heavy packs on the West Coast trail, Cadillac style backpacks like the Osprey Atmos. You probably don’t want one of these. Weighing in at 5lbs, they’re just too heavy for a dedicated backpacking pack! A heavy pack means more effort exerted, more joint pain and more fatigue. All things you don’t want more of! So, we’re leaving the Cadillac dealership and moving on.
Usually, I’m in the lightweight, but not the count every gram ultralight camp. That means a pack like the Osprey Exos (women’s Eja) or Gregory Focal (women’s Facet) work well for my needs. They lack the same amount of organization and features as the heavier packs, but still provide incredible back ventilation which helps you avoid the dreaded swampy back. I own an Exos which I use on all my fast and light backpacking trips nowadays.
If I were choosing a pack specifically for the West Coast Trail though, I would go with the Ferrari, the Hyperlite Southwest.
I would choose the Southwest on this trip for 2 reasons.
- It’s made with ultralight and waterproof dyneema fabric. This saves you the hassle of using dry bags, trash compactor bags, or rain covers to keep your gear dry. This is a major plus on a trail that you’re likely to see a lot of rain on.
- Secondly, my major gripe with the Southwest is that in hot conditions, like the Grand Canyon, Sierra Nevada etc. the back doesn’t vent that well and you’ll get swampy. The typically mild temperature on the West Coast Trail mitigates this concern.
So there we have it, the best backpack for the West Coast Trail is the Hyperlite Southwest. Now, let’s look at the other stuff that goes inside and keep those as light as possible too!
Do you need a raincover for your pack?
Many backpacks offer a level of water resistance, but under a steady downpour they hit their limit of weatherproofing. Unless you’re using the Hyperlite Southwest (which is waterproof) you’ll need to use a rain cover or line your pack with a trash compactor bag to make sure nothing gets wet. I prefer using the trash compactor bag method as it’s lightweight, less bulky and completely covers everything I put inside it. Buy a compactor bag and line the inside of your pack with it for a quick, cheap and reliable waterproofing solution no need to buy a rain cover.
Best tent for the West Coast Trail
The next most important item on the list of the things to pack for the West Coast Trail is your shelter, here we’re going with a tent. Like all backpacking equipment it’s critical to balance weight and functionality. If you’re backpacking with another person or a group you can split the components of the tent up among your hiking companions that are bunking together to share the load.
What tent did I use?
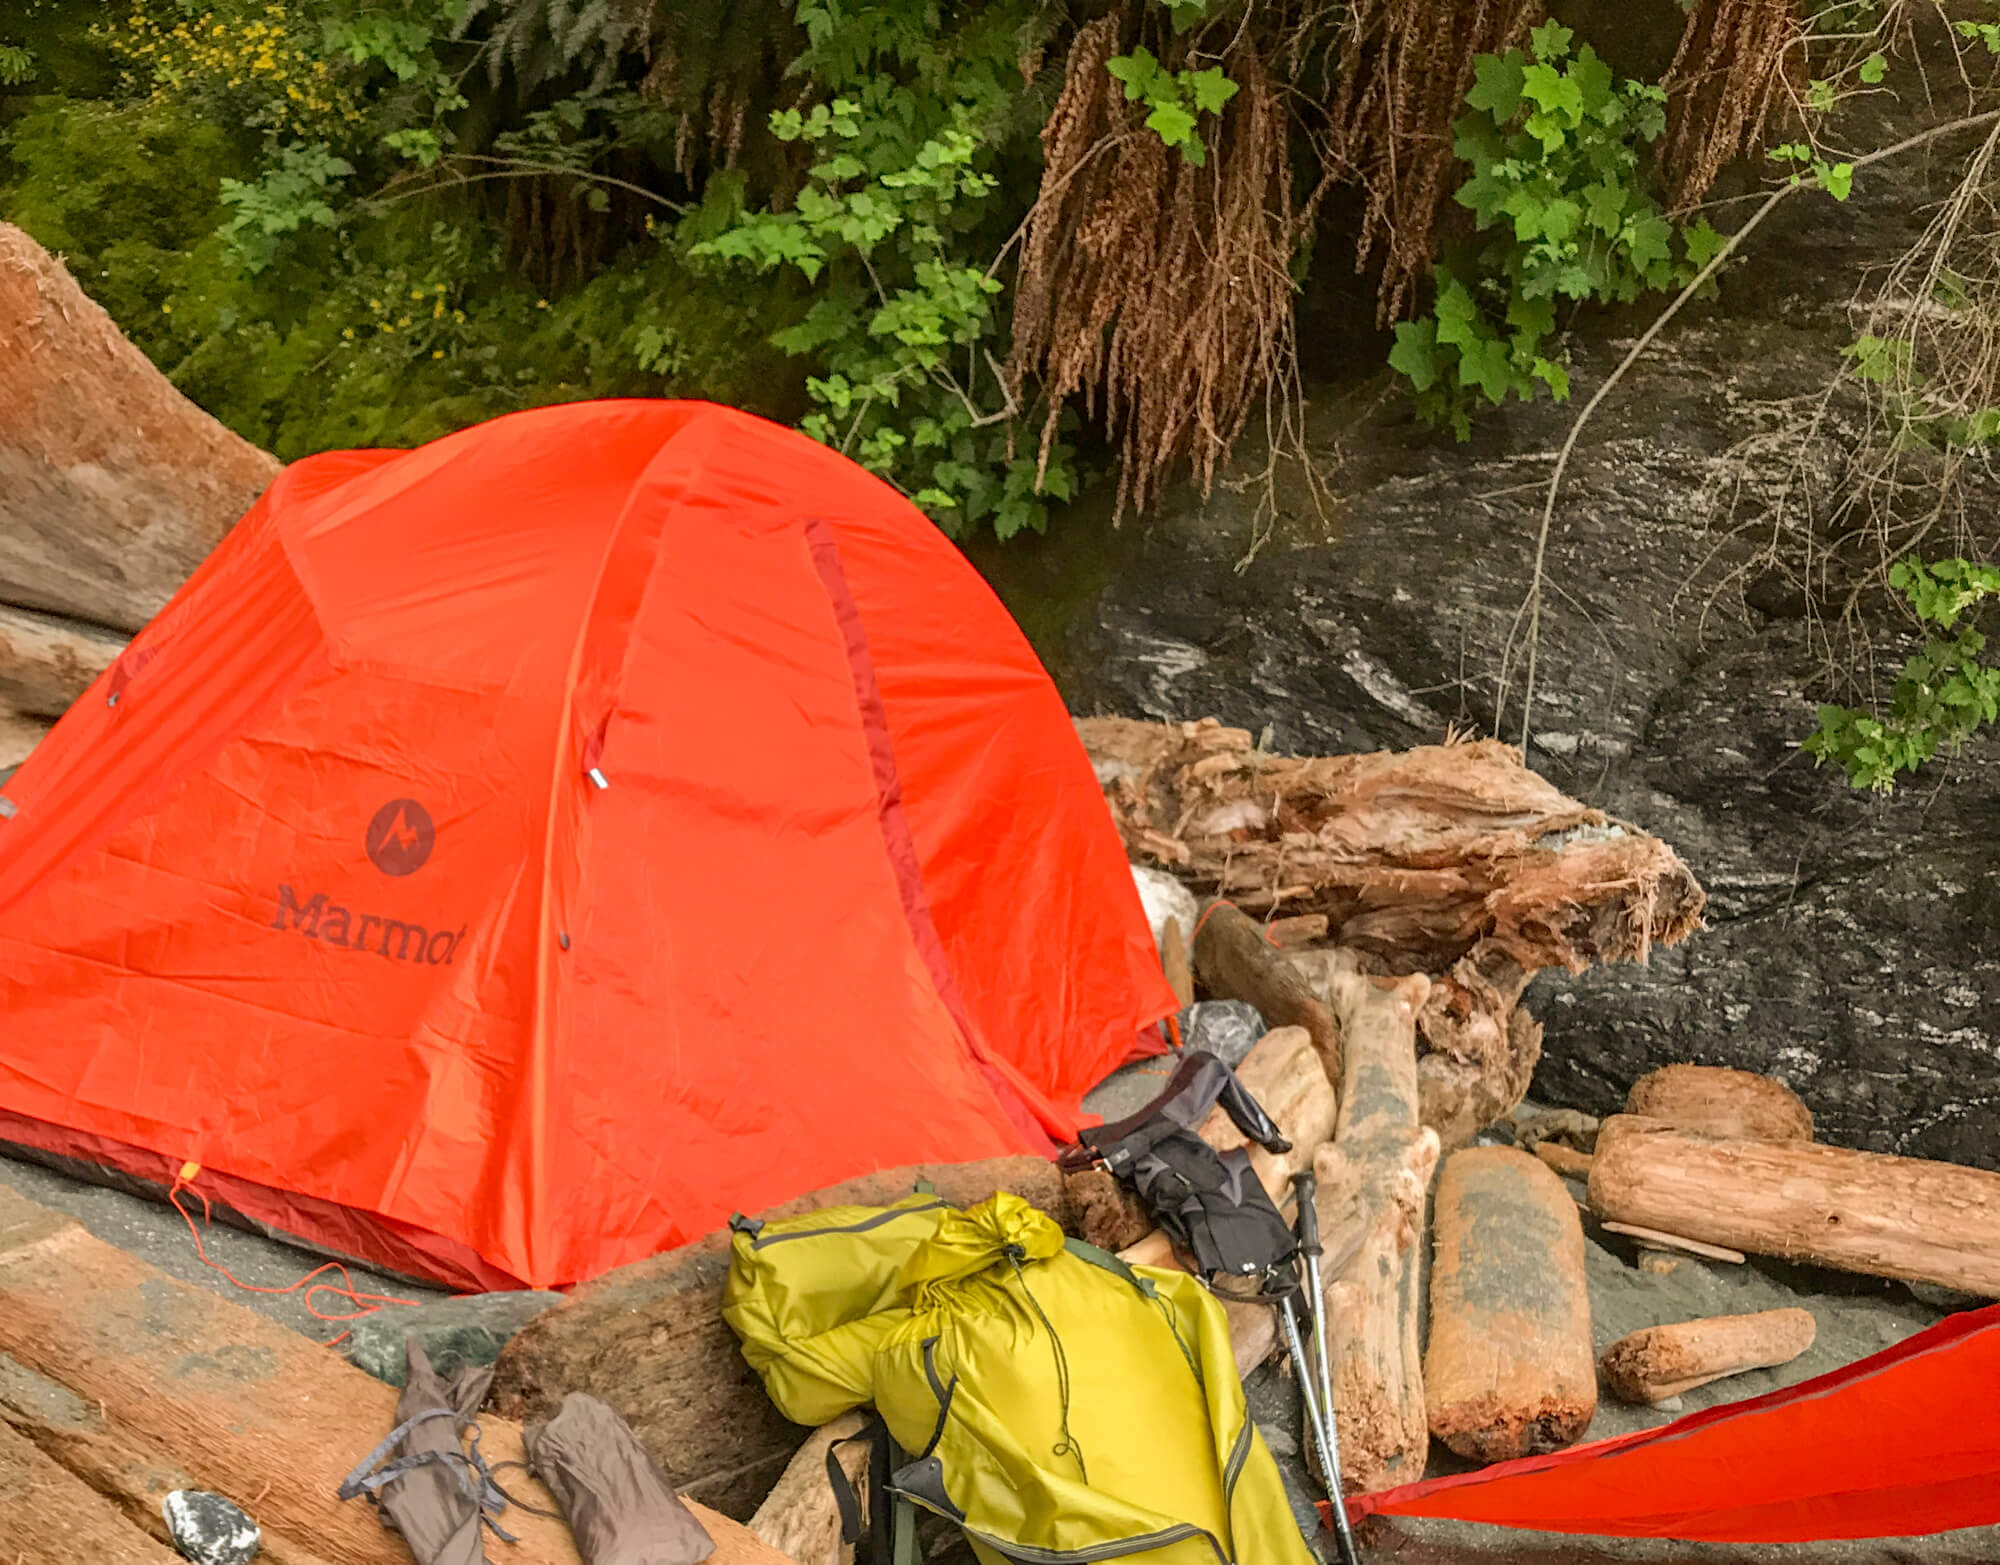
My first backpacking tent, the Marmot Catalyst 3P! It’s palatial in size for 2 people and was a great, affordable first backpacking tent that kept us dry and comfortable on the West Coast Trail. I love this tent so much I still use it for car camping! Unfortunately, at 6 lbs 5 oz it is bulky and far too heavy for backpacking the West Coast Trail.
What tent should you use?
Big Agnes Copper Spur HV UL2 - 1420 g
For the West Coast Trail, I would recommend a tent that is freestanding with superb weatherproofing. Typically gravitate towards a tent that must be staked out to save weight, but this can be an issue on the West Coast Trail given the frequency of beach camping that you’ll be doing. Stakes don’t work so well in sand, so for a tent that requires robust staking to pitch it is likely going to be get annoying to constantly seek out rocks and logs to help bolster your stakes. Additionally, as you can see from the photo of my rain fly above, getting a taunt pitch may be a challenge at some sites given the sand and campsite space available. On the West Coast Trail, the extra weight of a completely freestanding tent is worth the weight penalty. Additionally, go for a double walled tent to help to manage condensation, something that is especially important on trail where every dry moment is to be relished. The best tents for the West Coast Trail are:
- Big Agnes Copper Spur HV UL 2-Person Tent
- Nemo Dagger OSMO 2-Person Tent
- MSR Hubba Hubba 2-Person Tent
You can’t go wrong with any of these options for the West Coast Trail and backpacking in general. They’re rugged, durable, double-walled, freestanding tents that are lightweight and reasonably durable (at least for their weight). From the list, I’d gravitate towards the Big Agnes Copper Spur. Big Agnes offers an incredible warranty, product support, and customer service, ensuring that you’re happy with your investment for years!
Additional thoughts on tent selection
2-person tents are very, very cozy for 2 people, so keep that in mind and consider leveling up to a 3 person if you place a premium on comfort over the weight savings. All the above tents are also available in 3 person models.
Whichever tent you go with, make sure you set it up in advance at least once. Ideally for a night at at campsite, but in the worst case In your backyard, a park, or even your living room. The last thing you want is to get to your first campsite and realize you forgot a poles, stakes, or rainfly. Plus by setting a new tent up in advance you save yourself a bit of the embarrassment of broadcasting that it’s your first time using a new tent!
Best sleeping bag for the West Coast Trail
The West Coast trail has a consistently temperate climate with a large amount of humidity and rain. The biggest question you face in choosing a sleeping bag is the age-old one: Should you get a sleeping bag with synthetic or down fill? In most cases, I find myself on team down, but in really wet climates like the West Coast of Vancouver Island there is a strong case to be made for using synthetic bags. When down gets wet it loses its insulating properties and you get cold fast! Given that it can be nearly impossible to dry anything out on the West Coast Trail, once your bag gets wet you’ll be stuck with a cold, wet bag for the entire trip. That said while a litte bit warmer, a synthetic bag is still not comfortable wet. Plus, if you’re following this packing list you’ll have invested in a well ventilated double walled tent and be using a waterproof or trash compactor lined pack, which should minimize the chance of your bag getting wet regardless of the fill! I used my current down bag on a 10-day Kayaking Trip in Haida Gwaii (equally rainy place) and had zero issue keeping it dry!
What sleeping bag did I use?
If you’re old enough to remember a time when Macdonald’s used a cartoon character named Grimace to help convince children to get their parents to bring them in to eat their garbage food, that’s pretty much what my sleeping bag looked like. This was my childhood bag with extremely patchy remaining synthetic insulation. However, it did the trick and I didn’t freeze! It wasn’t even the most uncomfortable part about sleeping (more on that later)! The moral of the story here is, don’t freak out or blow the bank for this item for the West Coast Trail. The temperature is mild with a narrow range. Bring an old bag, rent one, or borrow one from a friend as long as it isn’t too heavy. You can always use a sleeping bag liner for hygienic reasons in a rental or layer up for extra warmth.
What sleeping bag should you use?
Now I get to gush! A couple years ago I upgraded to a Patagonia Fitz Roy Sleeping Bag and this thing has been nothing short of amazing. It weighs a mere 850 g, features a DWR finish to keep moisture out and has an Internal chest pocket to keep your phone warm and prevent the cold from draining the battery. If you’re looking for a new bag, you won’t regret this one! It’s available in 30°F / -1°C or 20°F / -7°C version. The -1 C has been perfect for most 3 season adventures, plus you always have the option to layer up further if cold weather strikes.
Another option I’d strongly consider is a sleeping bag quilt. Quilts were designed under the theory that your sleeping mat provides a large amount of insulation on its own and the bottom part of your sleeping bag looses a lot of its’ insulating quality when it’s compressed (as you lay on). These two facts mean that there is a lot of material and grams that an ultalighter can lose to bring down pack weight. The Flicker UL Quilt by Feathered Friends receives top marks for its’ innovative design that fuses sleeping bag and quilt. On warm nights it can function as a quilt, as it gets cooler, the footbox can be partially zipped, and lastly it can function as full zip (without the hood) sleeping bag in the coldest weather. This award winning setup weighs in as little as 550g and with temp ratings as cold as 20ºF / -6.67ºC the only thing you’re loosing here is weight in your pack.
Best sleeping pad for the West Coast Trail
The snores of all the other campers weren’t to fault for the bad sleeps I had on the West Coast Trail, neither was my sleeping bag. The sleeping pad you choose makes a huge difference in the quality of rest you get, so don’t skimp on this item like I did!
What sleeping pad did I use?
I used a MEC sleeping pad almost identical to this one (like the photo above). Huge mistake! It was bulky, hard to pack, heavy and uncomfortable. When I finally upgraded I couldn’t believe the difference it made in my sleep quality.
What sleeping pad should you use?
There is no better sleeping pad than the Therm-a-Rest NeoAir Xlite. It weight just over 1lb and packs down to the size of a Nalgene water bottle. It’s also unbelievably comfortable and will change the way you sleep in the backcountry. The only downside is it does tend to make a bit of crinkling noise, like crumpling up a bag of chips. If you’re sensitive to this type of thing consider ear plugs. Get one. You’ll be better rested and ready to take on another day of ladders and mud on the West Coast Trail!
Best backpacking pillow for the West Coast Trail
It’s possible to find a pillow backpacking that is not just a folded up puffy jacket.
What backpacking pillow did I use?
Here’s another area that I erred gravely. Despite my deep love for my Therm-a-rest sleeping pad, I cannot say the same about their Compressible Cinch Pillow. This pillow may work fine as car, bus, plane pillow, but it’s probably the worst pillow I’ve ever used backpacking. The weight is not atrocious coming in anywhere between 200 and 400g depending on the size. Unfortunately, it fails miserably in size and packability. You’d be lucky if you can get it down to the size of a 1.5 x a Nalgene water bottle, the baseline comparison item used in all backpacking product photography. Beyond its grotesque size, it’s not comfortable. My new setup (Nemo Fillo Elite) weighs a mere 85g or half a Nalgene as per the photograph on the product website. So, please do not use a compressible foam pillow. You’re better off with a stuff sack filled with clothes or your puffy jacket. Can you tell me how many Nalgene bottles that is equivalent too?
What backpacking pillow should you use?
As I mentioned above, the Nemo Fillo Elite is the backpacking pillow you need to use. It weighs a mere 85g and only takes up half a bottle when it’s not blown up. You wouldn’t think a blow up pillow this light and small would be this comfortable, but it is. Buy it you won’t regret it, but if for some reason you don’t just make sure you follow the sage wisdom that under no circumstances should ones pillow equate to a larger number of Nalgene bottles than ones sleeping pad.
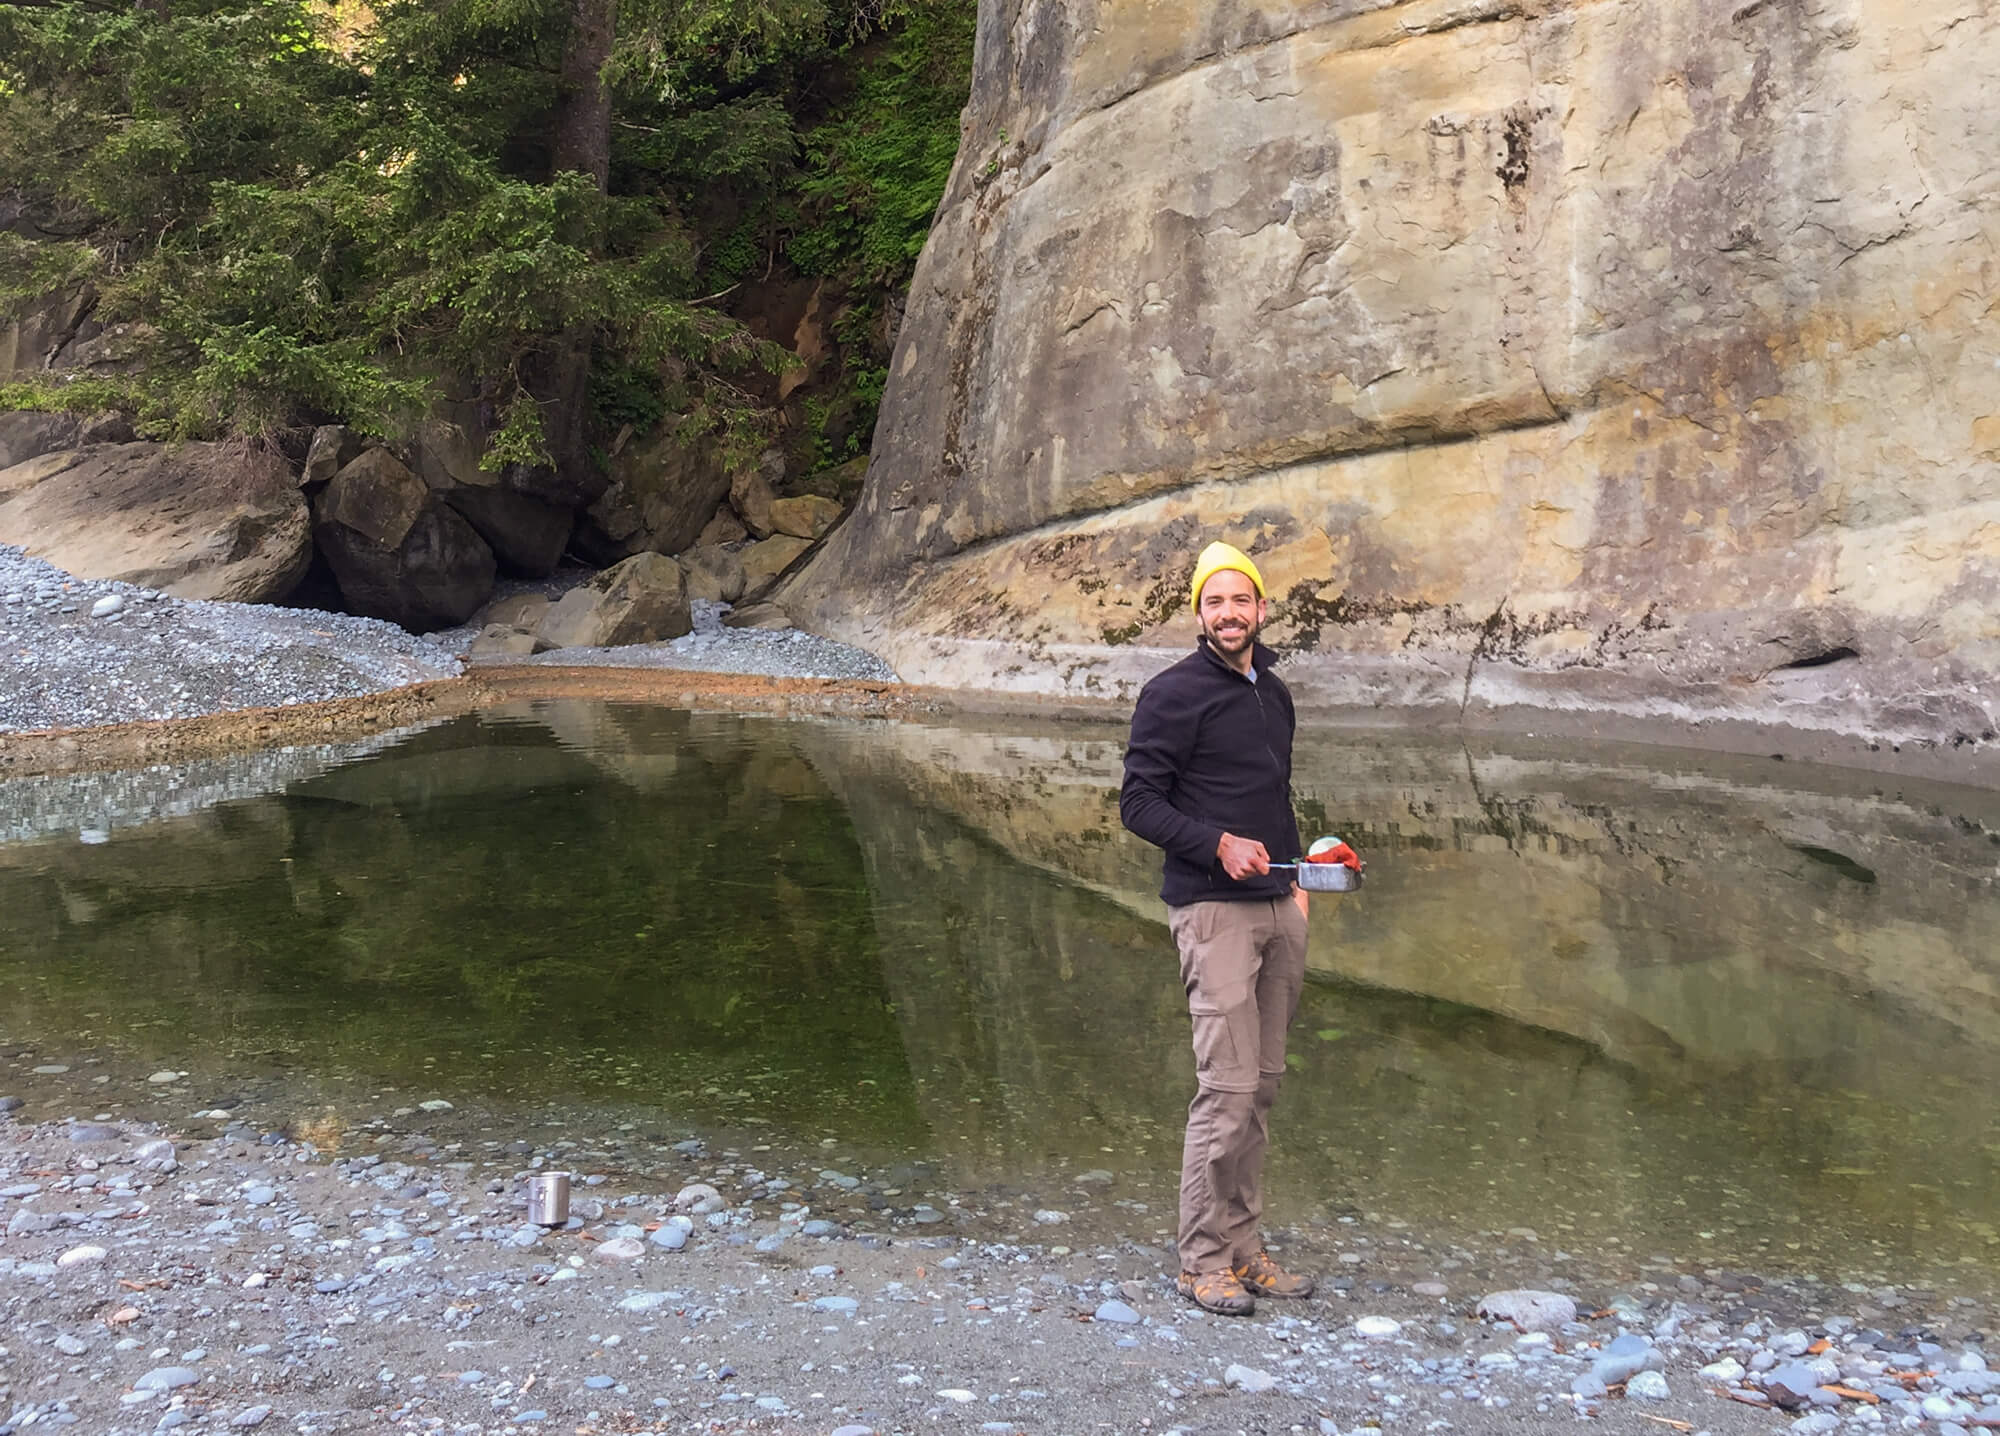
What is the best way to purify water on the West Coast Trail?
Yes, you’ll need to treat your water on the West Coast trail. Sometimes I’m a stream cowboy and love to fill up and drink it straight. Rocky mountain tang straight off an ice sheet is a personal favorite. Unfortunately, when you’re hiking the West Coast Trail not nearly enough of the watersheds here are protected or untouched, so we must filter/treat.
A couple notes on treating water on the WCT
- Make sure you go up a ways at any stream you’re filling from to make sure you’re not getting brackish water from where the tide mixes the seawater and freshwater.
- For backpacking newbies, you don’t have to treat the water that you’re using to cook, make coffee or tea. Bring it to a solid rolling boil and that is typically sufficient to make it safe.
What water treatment method did I use?
When I hiked the West Coast Trail, I used a combination of an MSR TrailShot Pocket-Sized Water Filter and tablets. This filter was a solid 5/10. Acceptable for 1 person as an emergency backup on a day hike. For backpacking it was awful and felt like the effort required to manually milk a cow (from what I’ve heard, it’s hard). My backpacking companions and I would conduct daily bets to decide who had to “milk the utter” that day. Don’t buy this filter.
As for the chemicals or tablets, they are an easy, cheap and reliable option. I really hate drinking water that tastes like a pool though…
What water treatment method should you use?
Nowadays, I use a Steripen to treat my water. This little thing weighs almost nothing and uses UV light (the same method used in commercial water treatment) to purify your drinking water. Fill your bottle, hit the button, stir for a couple minutes and you’re enjoying potable water in a flash. The only downside to the Steripen is you don’t get the same volume in one go as some of the larger gravity style filter systems, it’s also a bit fragile with a glass lamp that requires a bit of vigilance and you need to pre-filter if you have silty water. Most disadvantageous is the fact that it is an electronic device with batteries making it more prone to failure or more commonly, a dead battery. Overall it works great, but always bring purification tablets as a failsafe.
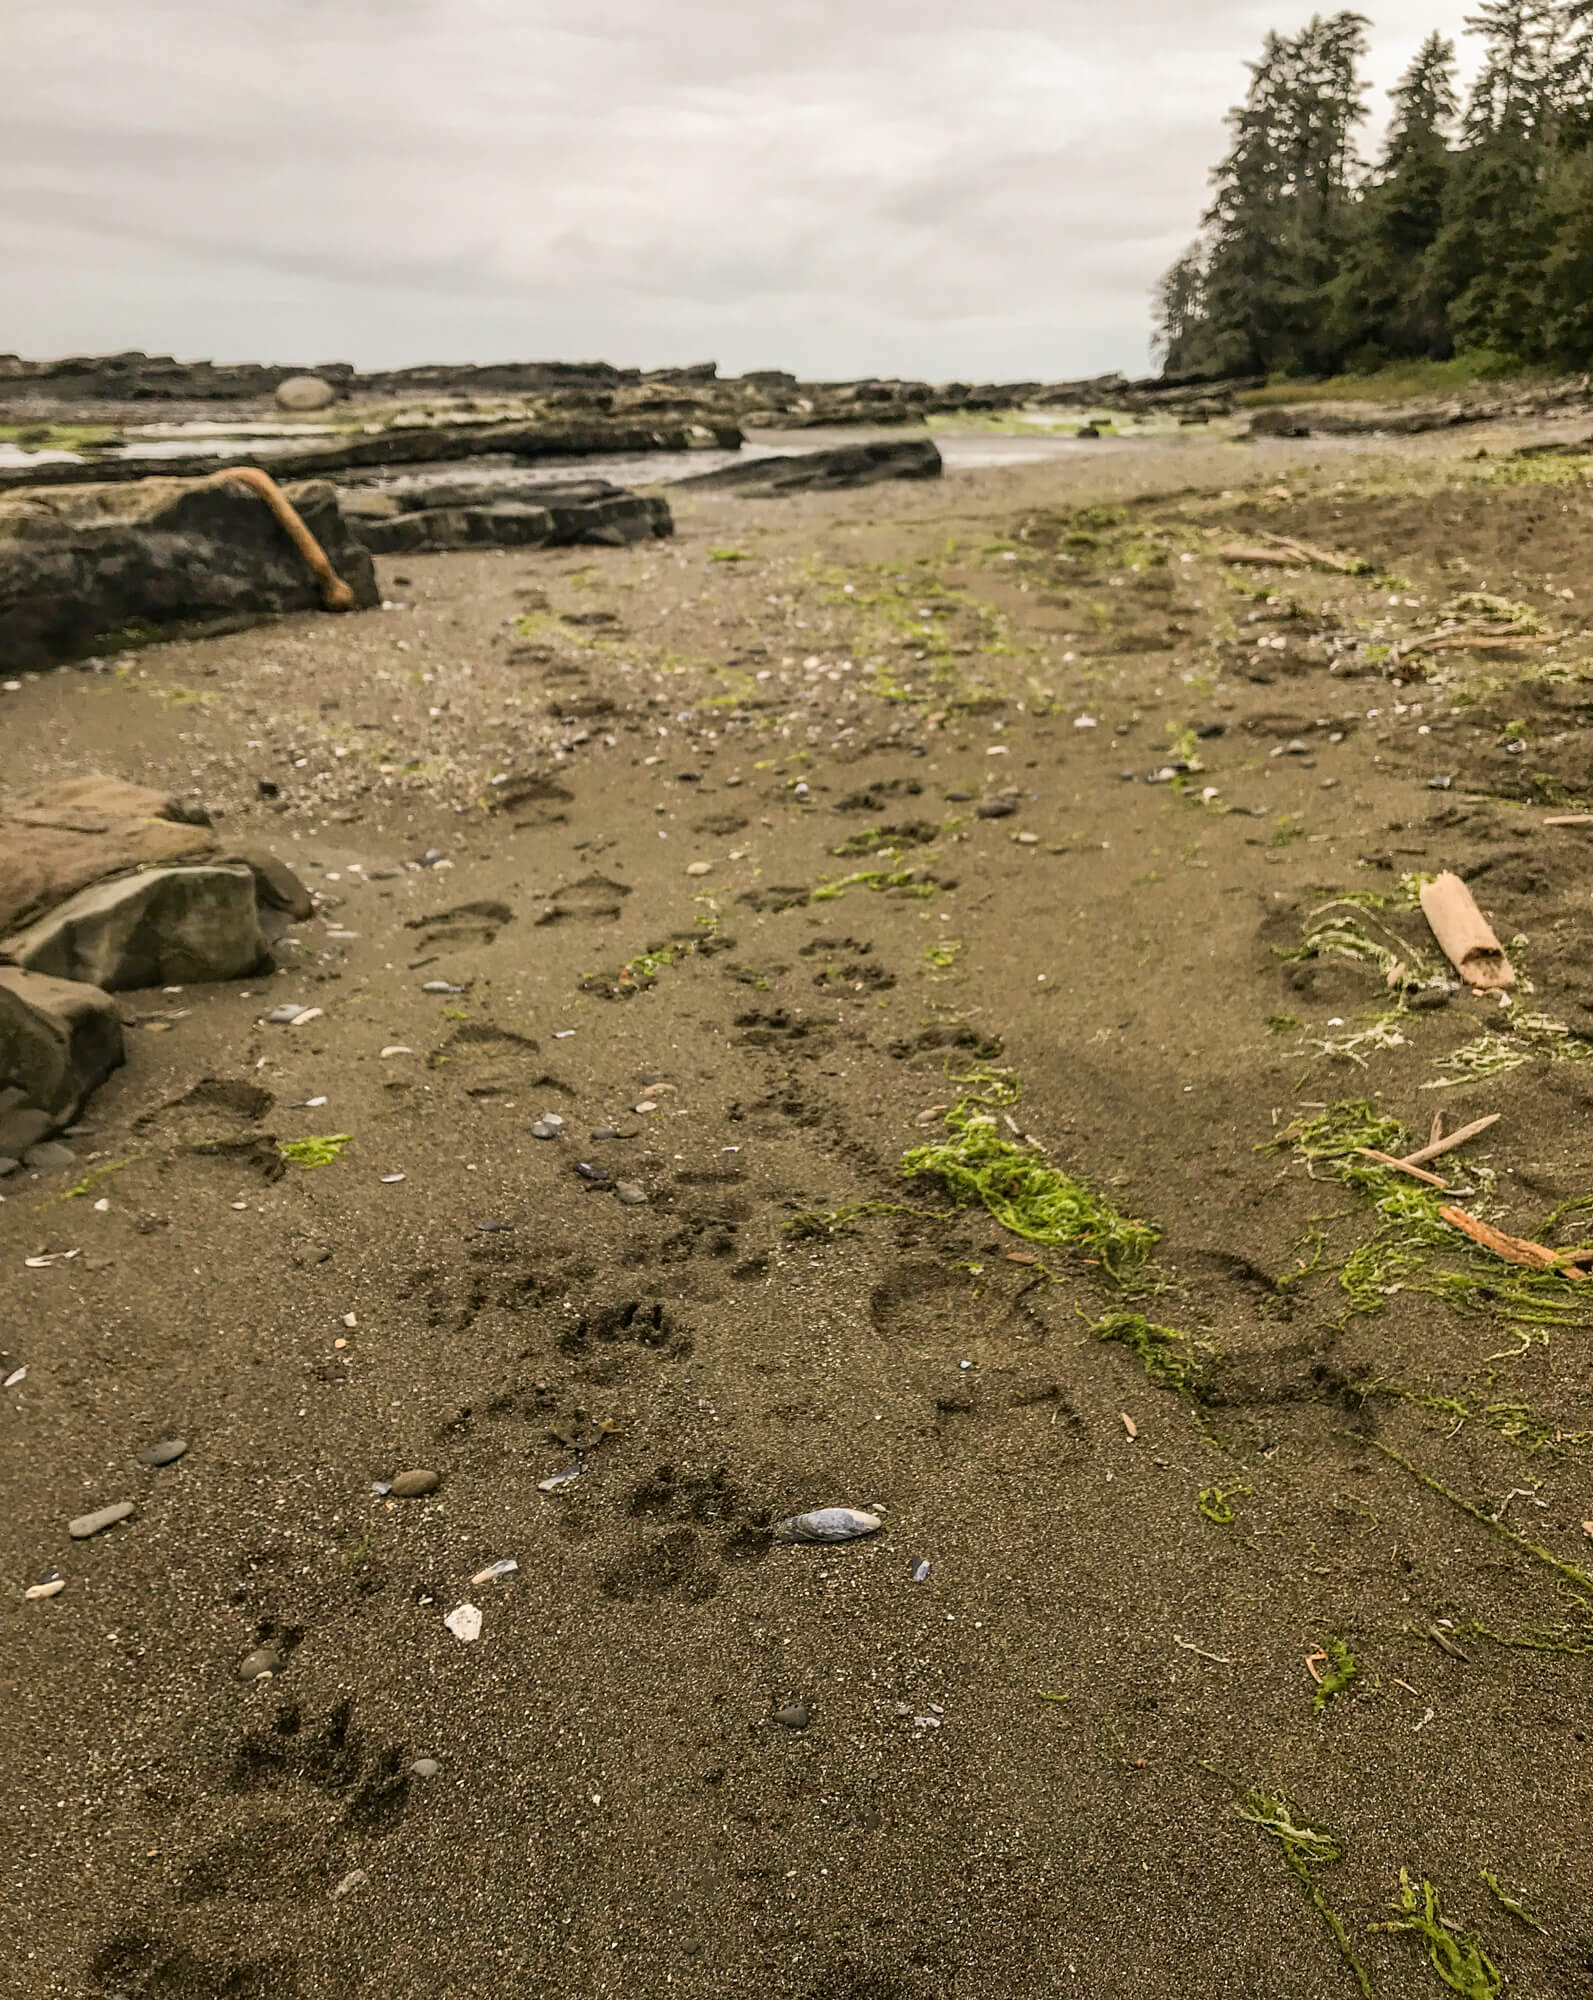
Where do you poop on the West Coast Trail? Do you need a trowel to dig a cathole?
The West Coast trail is such a busy hike, it’s wonderful that Parks Canada equipped it with fantastic composting toilets at every campsite. I can’t imagine the land mines that would be lurking if only the tidal flush method (where you poop below the hide tide line) was employed…
The restrooms are very accessible and you should do everything in your power to use them. If an emergency bowel movement situation occurs I would recommend the following course of action:
- If beach hiking use the intertidal flush for a spin. Don’t leave the TP, behind though bring a small ziplock, and drop your used TP at the next toilet you encounter.
- If you’re inland, it’s trowel time so make sure you bring a trowel and TP along. Once again, don’t leave the TP, bring a small ziplock, and drop your used TP at the next toilet you encounter.
What did I use?
Fortunately, nature never called at any unexpected times. The composting toilets were successfully employed and I must say they were far more pleasant than a typical outhouse. I did pack my trowel though, but it remained dirt free!
What should you use?
Do the same! As convenient and surprisingly nice as the toilets are, as a responsible backpacker you need to bring the trowel just in case.
Don’t forget to pack TP, a dedicated ziplock for packing any out in (should you not make the outhouse) and hand sanitizer.
Swiss army knife
This little item hasn’t changed for me since I started backpacking. It’s convenient, small and does everything a knife should. What more could you ask for? One like this is perfect.
Best stove & fuel cannisters for the West Coast Trail
So far you’ve seen a lot of packing mistakes that I made when I hiked the West Coast Trail. Fortunately, I’m still using the same MSR Pocket Rocketstove and canister setup! Well, almost the same less one egregious error…
What did I use?
Terrified of running out of cooking fuel I packed a staggering two 16 oz canisters of fuel! This amount is nearly 4 times the volume that I’d use now on a trip like this for 2 people, and that’s still a liberal amount of fuel. The pocket rocket stove was great, I just way over budgeted on the fuel front!
What stove should you use? How much fuel should you bring?
I love the MSR Pocket Rocket and am still using my original one! Its ultra compact and ultra-light.
As for fuel, take a read through this article by REI on how to estimate your fuel amount. I’m usually lazy and don’t go through this whole drill. I’ll be liberal with the amount I take, but that usually means a 4oz (110g) canister for a 2 night trip (for 2 people) and a larger 8 oz (220g) canister for a 4-6 night trip. Even if you err on the side of caution and pack extra, you’re still going to be way lighter than the 32 oz (900g) I lugged along…
Lighter and Matches
Mini Bic Lighter - 12g
A basic mini bic lighter is usually my go to for backpacking, but I’ll also bring a few waterproof matches as well as a backup as there is nothing more frustrating than when your hands are cold and the lighter got wet and just won’t work.
Firestarters
A few strikeable fire starters taken out of main packaging - 30g
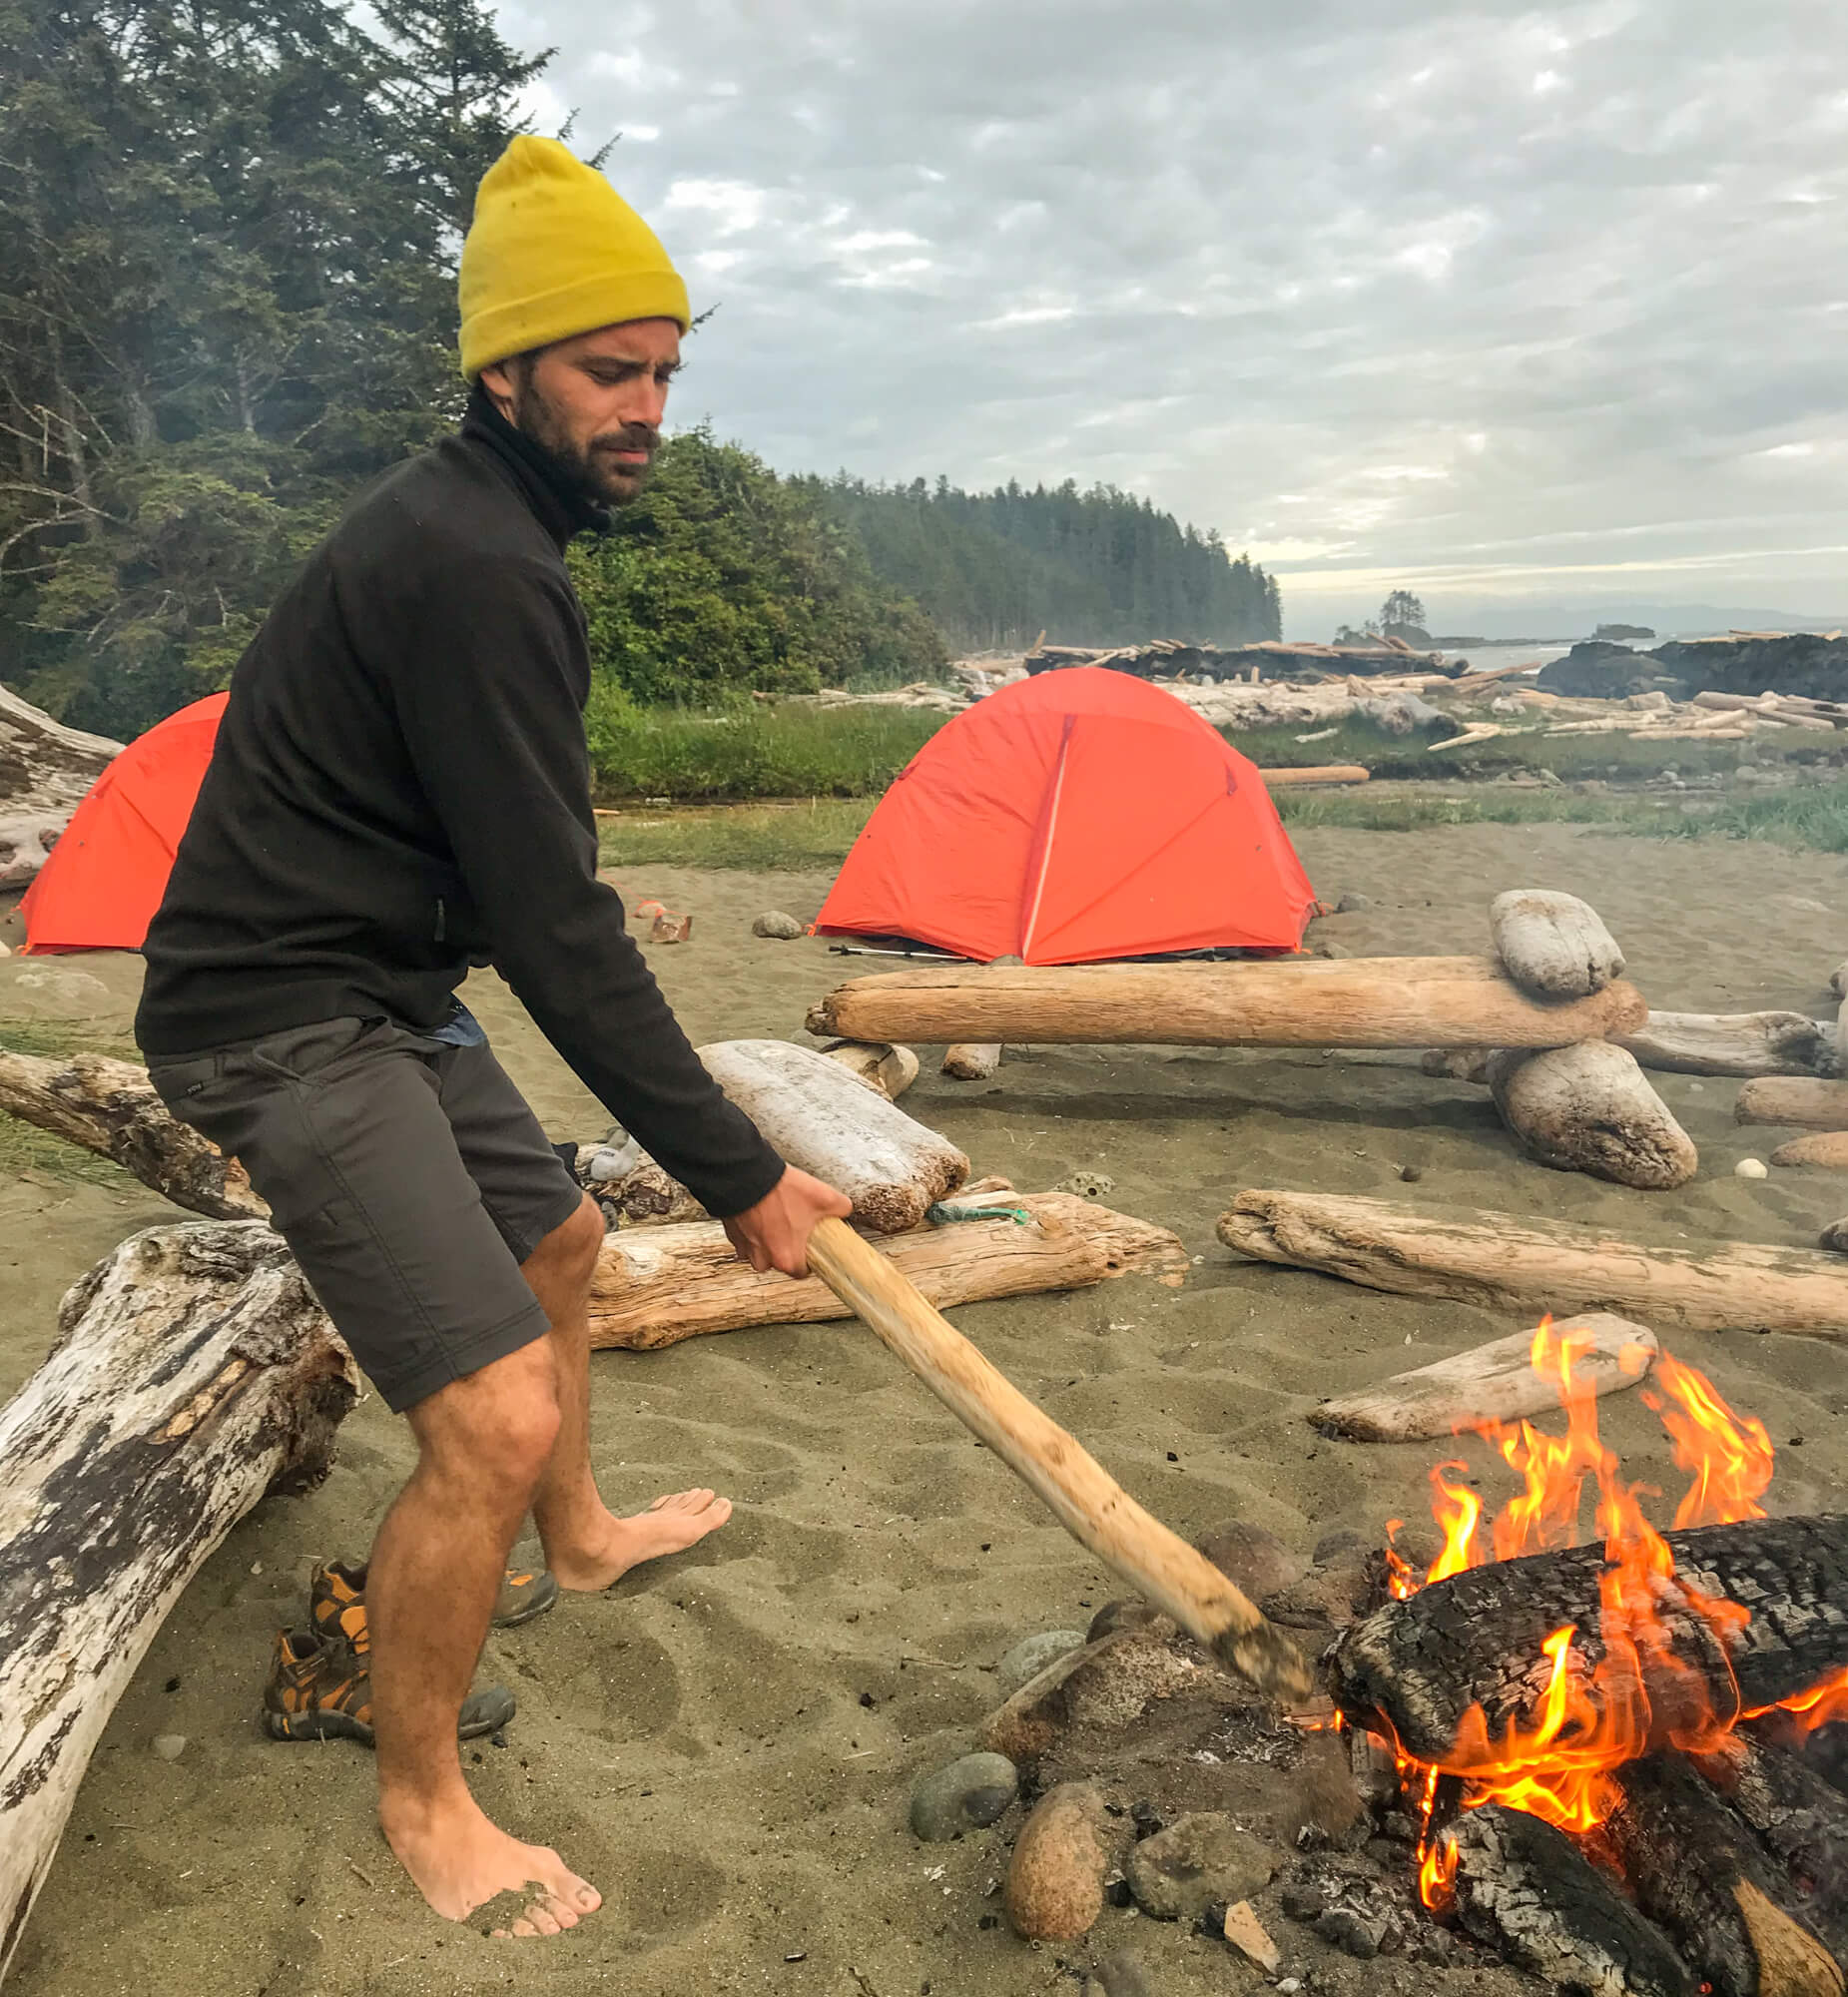
One of the best memories I have from backpacking the West Coast Trail was sitting on the beach next to a roaring driftwood fire after a long and grueling day on the trail . A couple natural firestarters, like these ones are great to have to help get your fire started.
Don’t forget, keep your fires below the tideline and only burn driftwood, don’t go foraging for kindling or wood anywhere else.
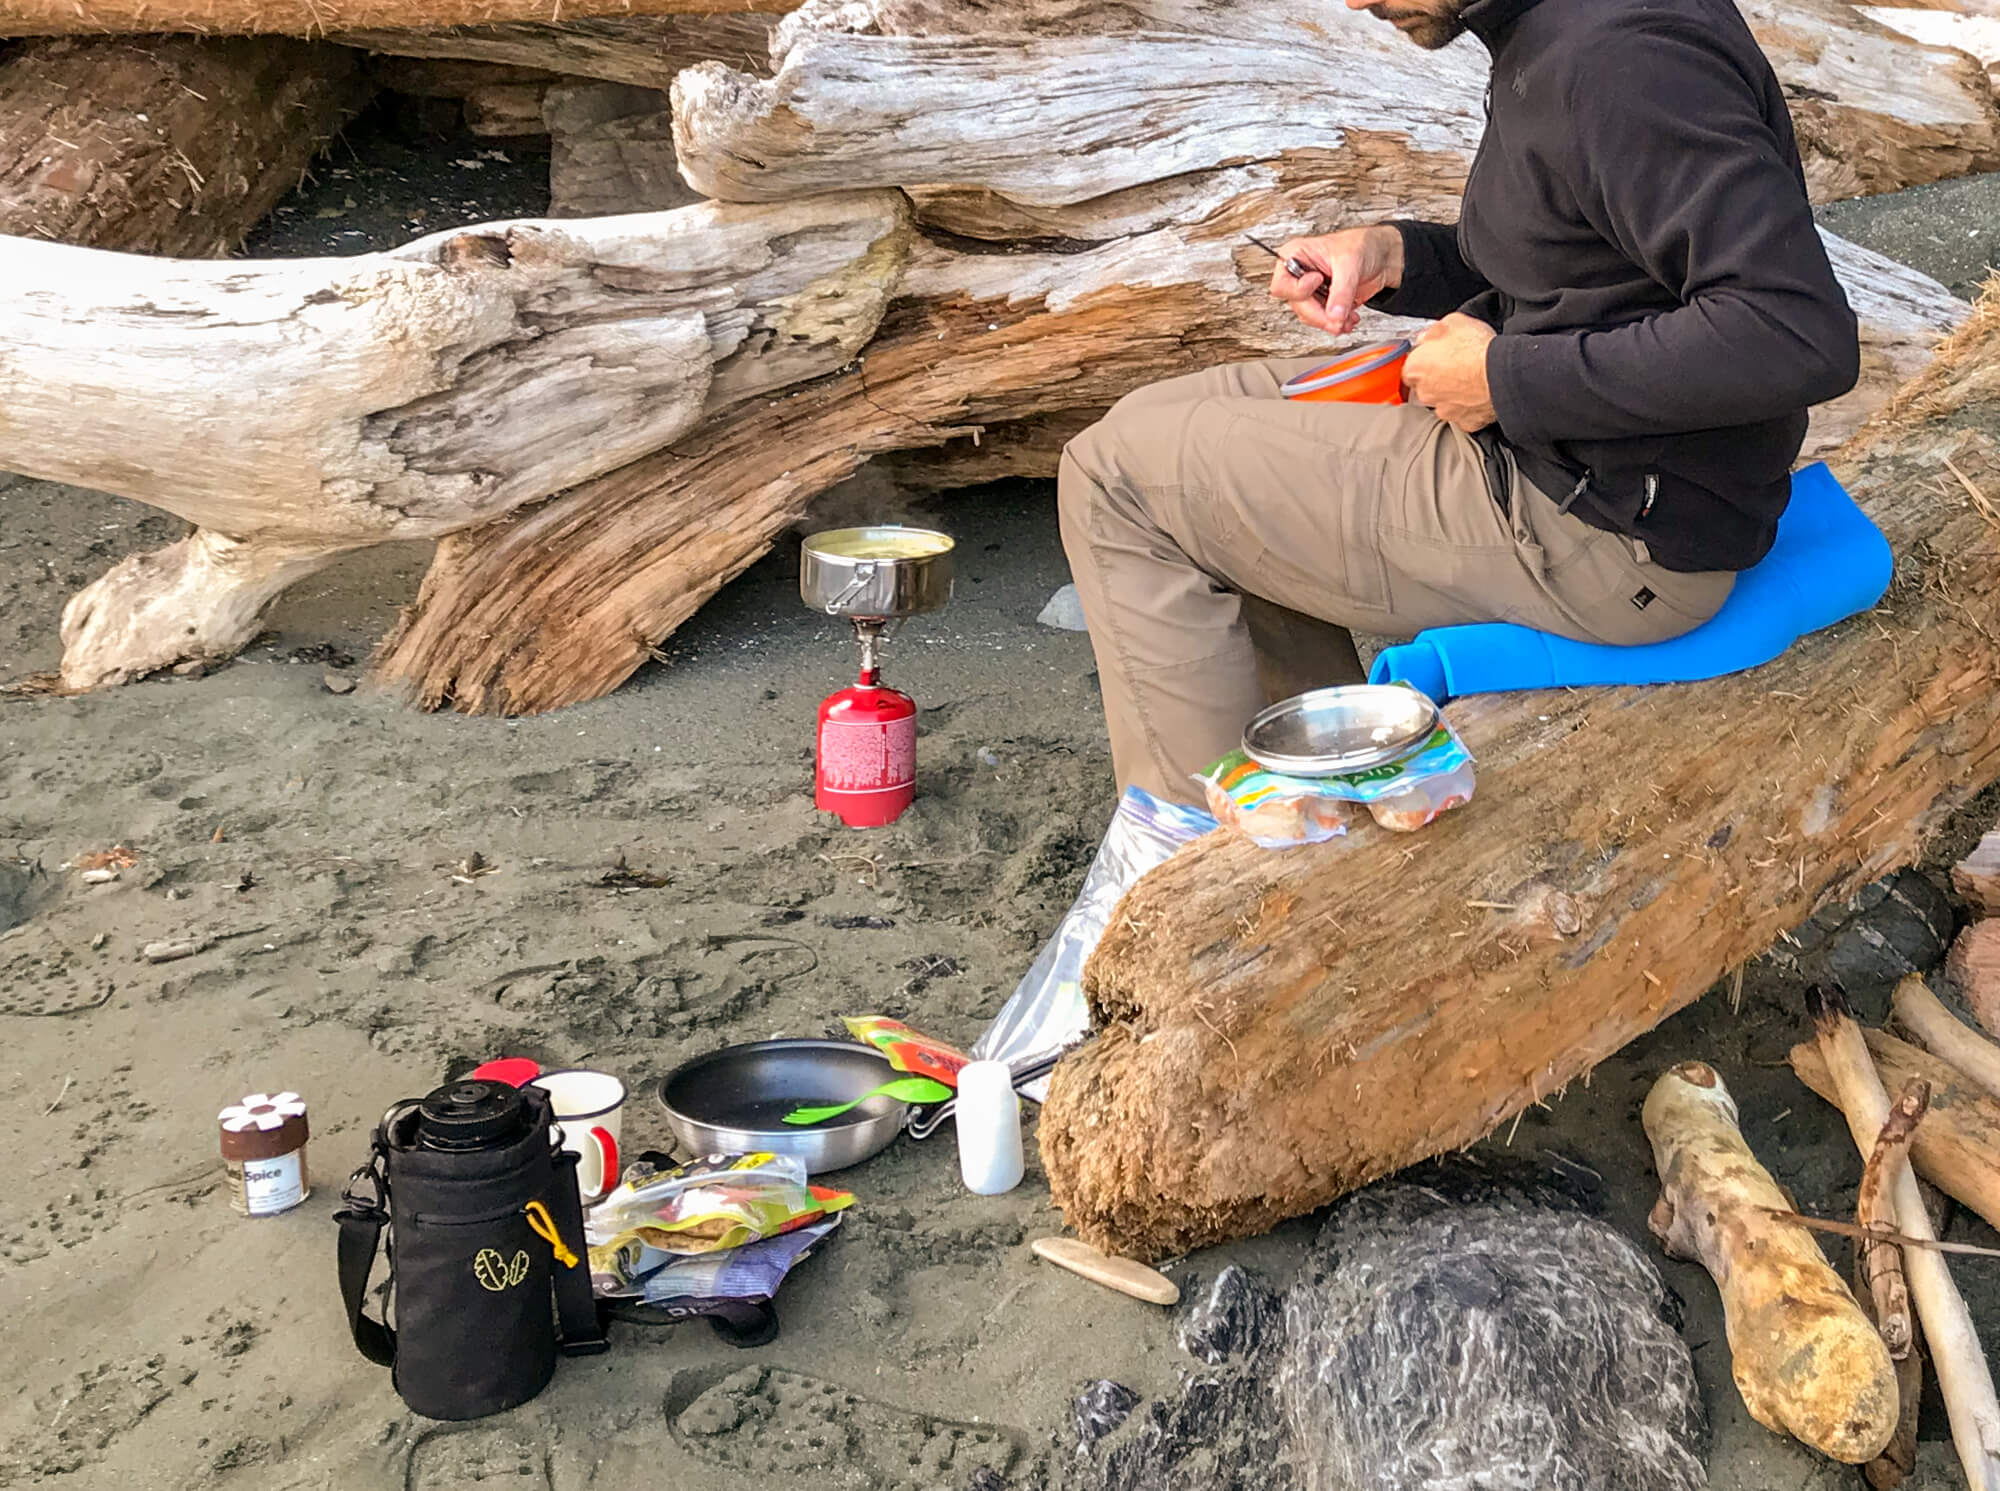
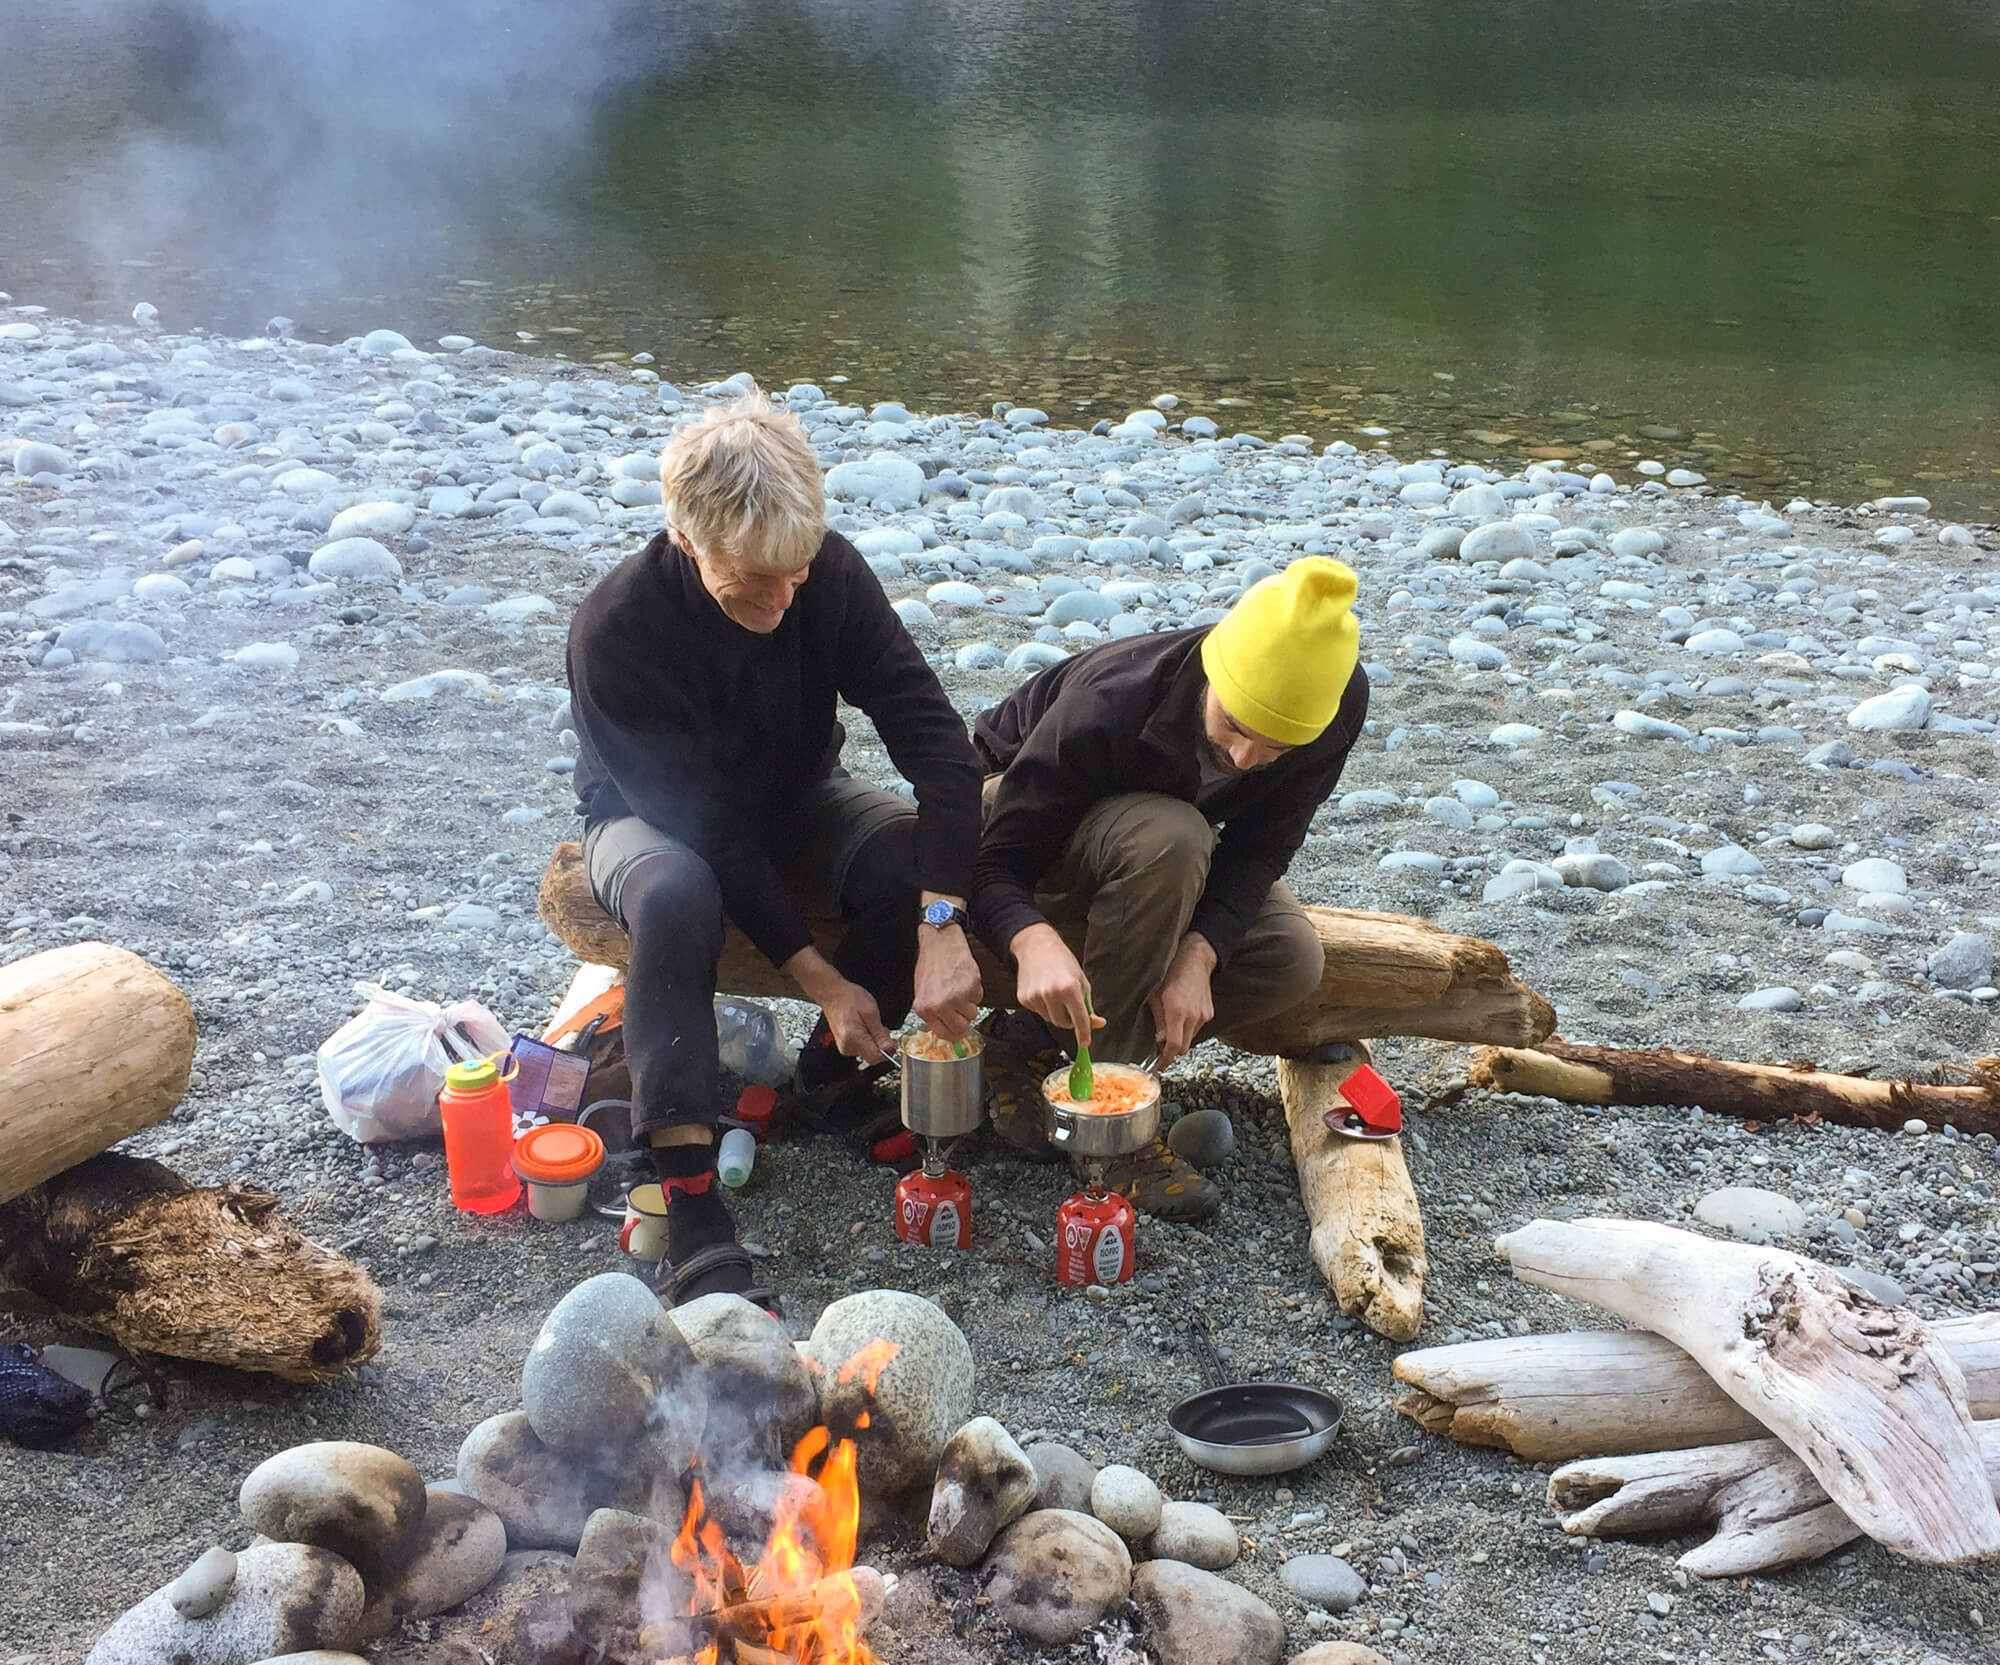
Best cookset for the West Coast Trail
The pot, eating utensils, and cup you use are extremely important to the weight of your backpack and its packability. Since I’ve been heaping so much praise on myself for my great packing skills over the last few items, let’s change it up!
What cookset did I use?
I’d brought along quite the setup on this hike… An enamel mug, an ok backpacking pot, a spork, a collapsible bowl, and a backpacking frying pan. Yikes! Let me be clear. There is no reason an enamel mug should ever venture into your backpacking pack. Same goes for the frying pan!
The rest of my setup was ok, but it was all purchased ad hoc and this made me creative with my daily packing to see where each piece of the jigsaw puzzle went. All you really need is a pot, spork, and cup (or use your Nalgene)!
What should you use?
GSI Microdualist - 475g
Packability and weight are key to a great backcountry cook set. That’s why I love the GSI Microdualist. Everything packs up inside the pot. I leave the case behind. Don’t need it. The forks suck, so I bring a spork, but everything else works like a charm and it’s perfect for 2 people. It comes with a pot, 2 cups and 2 bowls. All extra light and ultra packable inside the pot itself. My MSR Pocket Rocket even fits inside along with a small (4 oz) fuel canister. Everything that I eat and cook with goes inside the one tiny pot (except my spork). It even closes up nicely with a lid that doubles as a pasta strainer!
If you’re also considering buying the MSR pocket rocket stove, consider the MSR Pocket Rocket stove kit which comes with a pot and bowl and is a great choice for soloists.
Water Bottle or Water Reservoir
Nalgene - 175g
You need something to drink from and as a vessel to use for treating water if you’re using a Steripen. I used a Nalgene bottle for this trip on the West Coast Trail. Sure they’re a bit heavier than using a simple smart water like many ultralighters do, but you can’t fit a Steripen inside a smart water. It can also double as your coffee cup or even soup bowl as needed!
A hydration reservoir is another great option. It’s ultra convenient and provides constant access to water throughout the day, preventing you from having to stop, remove your bottle and replace it. This may sound like a small thing, but those stops can feel like momentum killers. At other times the water stops feel like lifesavers, so maybe you wan’t to keep the bottle system…
Ultimately, both options are fine choices for the West Coast Trail.
Additional water storage
Even on a hike with an abundance of water like the West Coast Trail, it can be nice to have a water storage container for cooking meals, doing dishes, or for filling up your bottle without having to wander to find the creek.
What did I use?
None and it was a drag to consistently have to go back and forth to the nearest creek with my cooking pot and precariously avoid tripping and spilling it on the way back!
What should you use?
The MSR DromLite Bag is perfect for this type of trip. The 4L MSR Dromlite bag is an easy and convenient way of storing or carrying extra water.
What first aid kit should you bring for the West Coast Trail
Blisters, cuts, and scrapes are all part of the game on this adventure so you need to bring something to look after these minor annoyances and prevent them from becoming major annoyances. You can certainly build your own first aid kit, but there are likely better things to spend your time on leading up to the West Coast Trail. The best bet it to purchase a pre-built first aid kit, like the ones from Adventure Medical as they include you standard items such as blister bandaging, antiseptic wipes etc. Then the only thing you need to remember to add is some Ibuprofen / other pain-relief medication, Insect sting / anti-itch treatment and antihistamine to treat allergic reactions. There you go, that wasn’t hard at all!

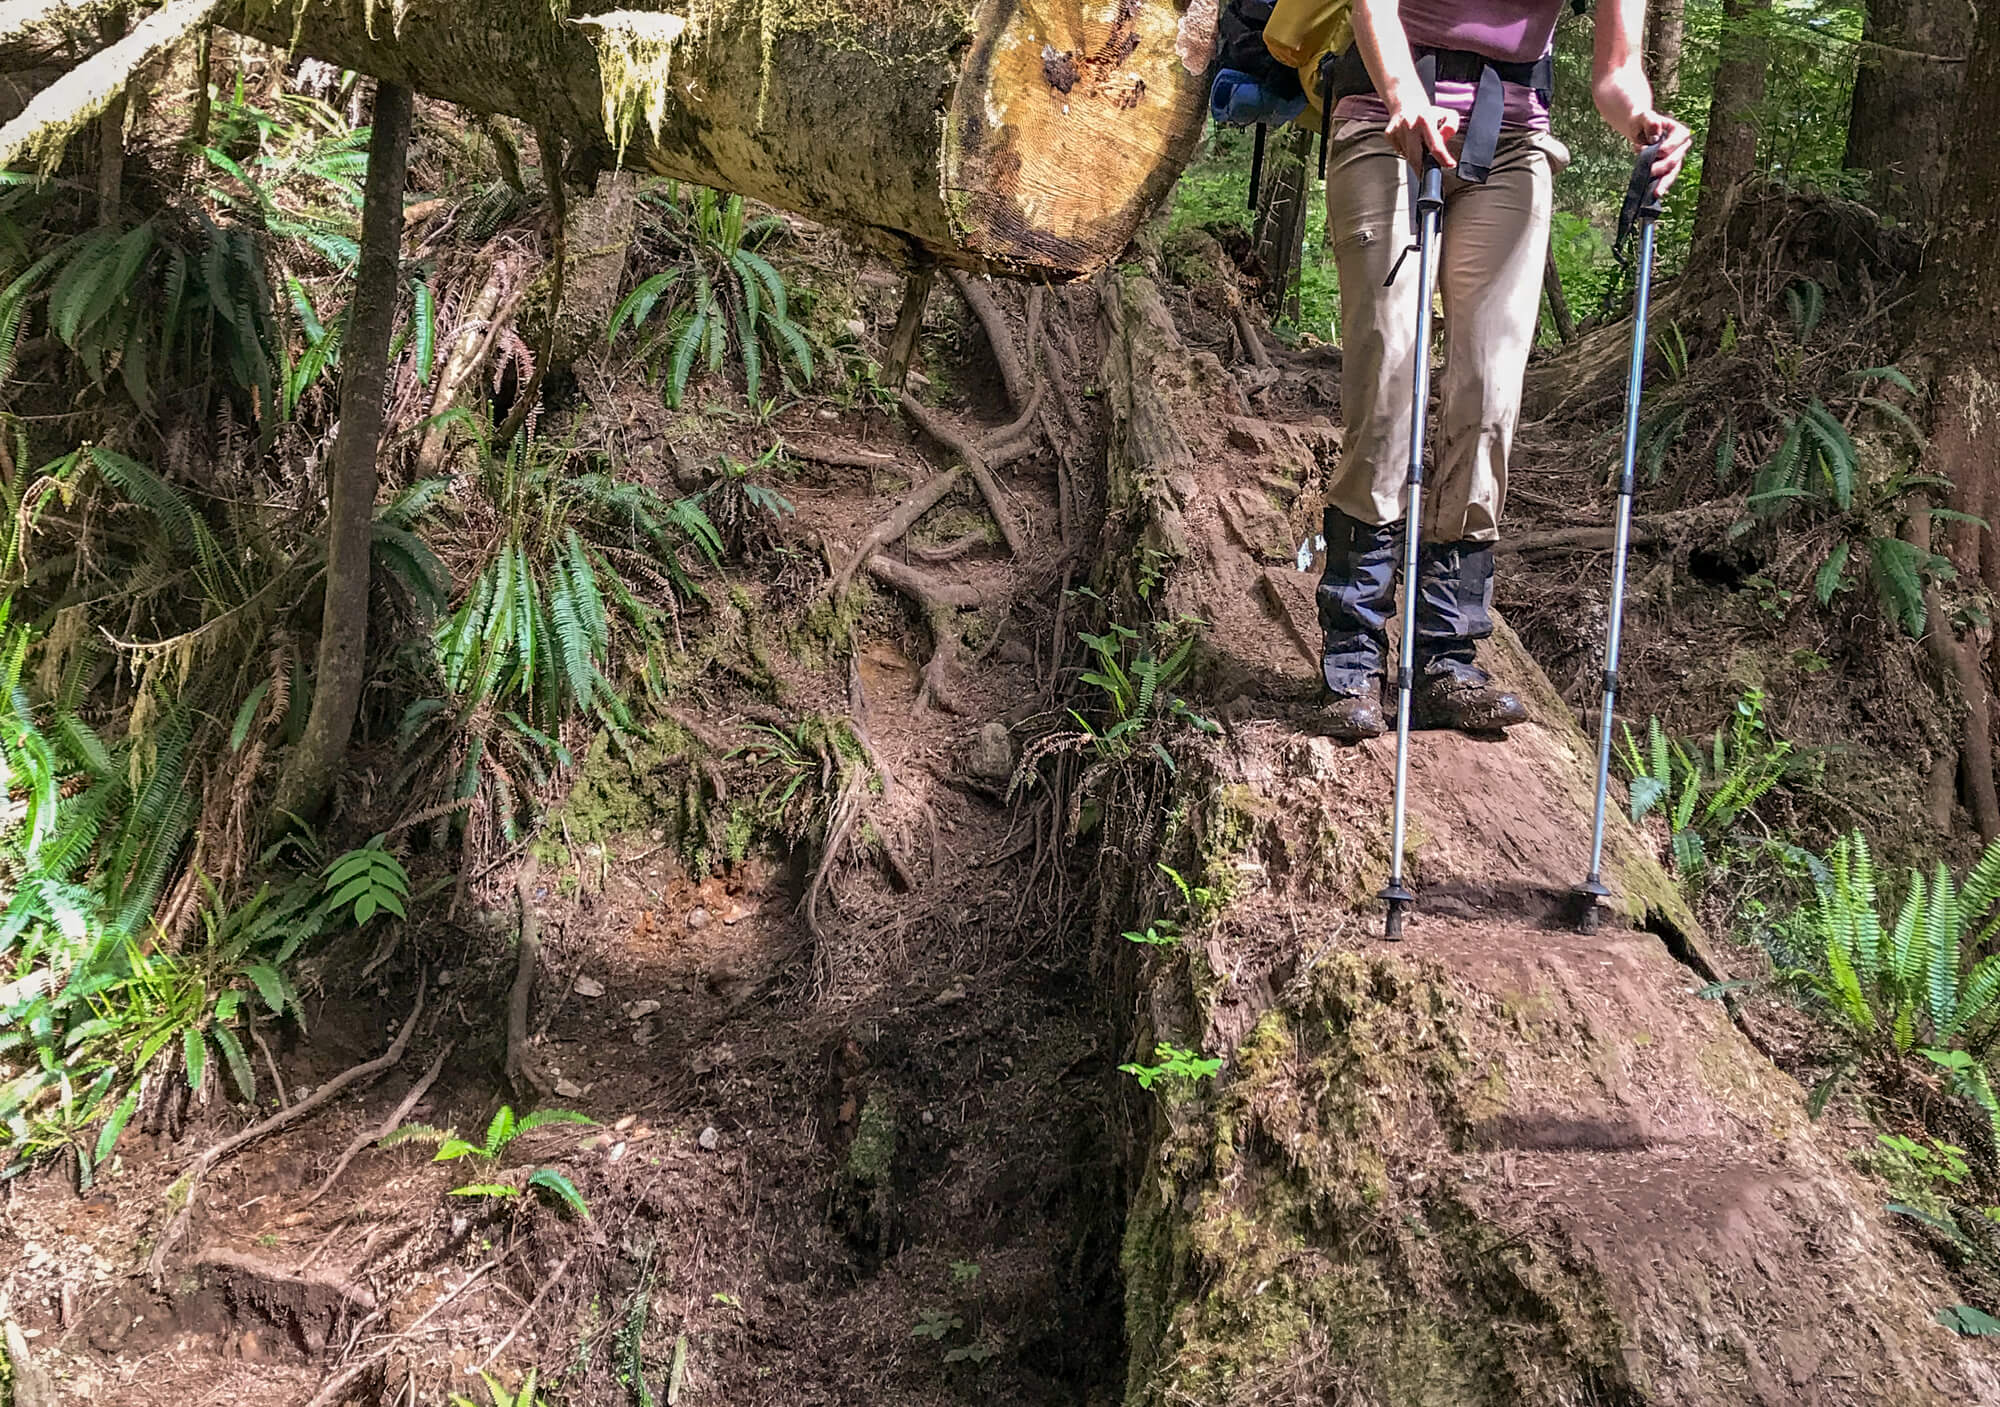
Do you need Trekking Poles for the West Coast Trail?
Trekking poles are a piece of backpacking equipment that many new backpackers (especially the most youthful) are initially hesitant to use. I know I certainly was! That all changed for me after hiking the Howe Sound Crest Trail and struggling to walk or run from knee pain for weeks after. Poles make a huge difference in reducing the load on your legs and knees, helping you cover more ground with less effort. There an non-negotiable part of my backpacking kit now! That said, the West Coast Trail is one hike where are reasonable argument against poles could be made. During the heavily laddered sections or the difficult large slippery rock section (near Owen Point), poles can be useless. You’ll be forced to stow them on your pack or awkwardly carry them with one hand. Ultimately, I believe that these sections are too short to warrant not bringing poles, as you’re still going to make great use of them for the vast majority of your hike!
What trekking poles did I use on the West Coast Trail?
On the West Coast trail, I was still in my phase of believing that trekking poles were just for retirees hiking in Switzerland. My knees are likely to regret this one day, especially with that 60lb pack I carried.
Which trekking poles should you use?
The Leki Vario trekking poles I purchased as my first pair have been terrific, but they don’t make this model anymore. Any Leki Trekking poles or Black Diamond poles are a great choice! You pay more for lightweight materials such as carbon fiber.
Best headlamp for the West Coast Trail
When I backpacked in the Grand Canyon a few years ago there were signs everywhere asking people to use the red light mode on their headlamps. At night time only faint red lights poked in around the campsites. It was like there was a big secret that I hadn’t been let in on and I had to spend the entire trip shamefully holding my headlamp in my sleeve to dim its light and cover up my ignorance. After learning more about Grand Canyon status as a dark sky park and red lights night vision saving abilities, it all made sense and I’m now a disciple of the red light movement. So let’s work together for more red lights! The West Coast trail can be crowded and there is nothing worse than constantly being blinded by every other backpacker when darkness sets in. Get a headlamp with red light mode, throw it on when you go to the washroom or walk through camp late at night. You won’t believe the difference it makes it your ability to see the unadulterated night sky. Together we can preserve night vision on the West Coast Trail!
What did I use?
Can’t remember, but it did not have red light mode.
What should you use?
The Black Diamond Spot 400R is a great headlamp with 6 modes including the night vision saving red light. This headlamps is reasonably priced and consistently receives the best in class awards, by the people that give away best in class awards to headlamps. It’s rechargeable and features ample life for your trip with the option to run it on AAA in a pinch.
GPS for the West Coast Trail
The West Coast trail is well marked and easy to follow. However, a GPS app is helpful to monitor progress and see where you’re at relative to your itinerary. GAIA is the best option with the premium version you can download maps and use the GPS without a connection. While you’re unlikely to get lost on this trail, some of the buoys used to mark beach exits can be camouflaged and this app helps you be 100%. Plus, you can actually verify that you truly have gone only 1km in the last 45 minutes!
What did I use?
Nothing and this was a mistake. We repeatedly asked hikers coming the other direction about distance and timing only to get answers that were completely detached from reality! This little problem could have easily been avoided by using GAIA to determine our progress, estimated remaining distance and the elevation profiles.
What GPS should you use?
GAIA features downloadable map layers and is the best companion for any intrepid adventurer. The premium plan allows use you to download maps and layers for use offline (required for the West Coast Trail). Don’t waste your money on All Trails. Avoid using the record function to save battery as it will drain your phone much more rapidly.
Battery backup / power bank + charging cable
After recommending a GPS smartphone app and a rechargeable headlamp it’s a good idea to pack a power bank to give your phone or headlamp a boost as needed. Additionally, don’t forget to keep your phone in your sleeping bag at night to help prevent killing the battery!
Luxury items to pack for the West Coast Trail
We arrived exhausted after at the incredible campsite at Cullite Cove (side note: stay here) to find a couple already camped out and taking in the breathtaking view of the Pacific Ocean. Not only were they enjoying the view, but they were doing so while cuddling in a hammock! Exhausted from our day, we quickly set up our tents, made dinner and went to bed, as they enjoyed a glorious sunset from the comfort of a hammock. For them, the enjoyment they got from that hammock certainly outweighed the weight penalty, but that might not be the case for you! That’s why we call this section of the West Coast Trail packing list, luxury items!
Should you bring a backpacking chair on the West Coast Trail?
There are numerous great logs and rocks you can sit on so there is no real need for a backpacking chair. That said, getting off the ground or having a truly comfortable spot to sit might be worth the weight penalty for some backpackers. If you can’t imagine being comfortable sitting on a log or rock, check out either the Big Anges Skyline UL stool (539 g) or the Helinox Speed Stool (450 g).. Both weigh in at around 1 lb and can make the weight cut in some backpackers kits.
What did I use?
A small sit pad of cut out foam! It helped take the edge off a little, but I probably wouldn’t pack it again due to its bulk. There are plenty of comfy logs to sit on.
What should you use?
Totally your call. If its worth a 1lb and the bulk to have a comfortable spot to sit who am I to tell you otherwise. Make sure it’s as light as possible though. At a 1lb even the ultralight chairs are 10% of many ultralighters total base weight (base weight = items excluding food/water).
So, what about that hammock?
After introducing the concept of a backpacking Hammock above I undoubtedly left many of you thinking about packing one. Is it worth it for snuggle time or the insta worthy pics? Personally, I don’t think so. A hammock can be great for less weight/space conscious adventures like sea kayaking or car camping, but similar to a backpacking chair it doesn’t fit into my personal backpacking calculus. I love my ENO doublenest hammock, but it weighs in at almost a pound and a half. This is a significant amount of extra weight and bulk for something you don’t really need. If you’re hammock camping as an alternative to a tent this is fine, but just to have it as a luxury is excessive weight for limited purpose.
Should you bring a tarp on the West Coast Trail?
The West Coast Trail is a unique hike in the sense that you form a large amount of camaraderie with other backpackers you continually run across along your journey. A fast way of making friends is to be the person that packed a tarp for cover at camp! A tarp can be a great way of staying dry(er) and sheltered while cooking, eating or hanging out during a downpour, but like all luxury items comes with a weight penalty typically around 1lb. Additionally, if you’re not looking to make fast friends during every downpour, leave the tarp at home.
What did I use?
Nothing, I did not pack a tarp for the WCT. While I can certainly see why people would, I believe this is a luxury item. A good shell and rain pants will keep you about as dry as possible. Besides, once you’re wet a tarp will do little to warm you up or dry you off. If you truly need to warm up your best bet is to get out of your wet clothes and into your tent.
What tarp should you use?
If I looked at the forecast in advance and it indicated torrential rain everyday, I might consider packing a tarp like the MEC Silicone Scout Tarp, but I’ve never taken a backpacking trip where I wished that I had a tarp in addition to another shelfter solely for the purpose of cooking, eating and hanging out.
What clothing should you pack for the West Coast Trail? What should you wear?
Packing clothes for the coastal environment of the West Coast Trail can feel intimidating. What materials are best? Will you stay dry and warm? Like any challenging environment it’s best to stick to layers and avoid cotton (even at the underwear level).
Best shell jacket for the West Coast Trail
When your core is warm, your body will be warm this is why your shell jacket is such critical piece for hiking the West Coast Trail. It must have a good degree of waterproofing/water resistance via either a Durable Water Repellent (DWR) finish or a Gore-tex finish. This will ensure your upper body stays as dry and as comfortable as possible, even if you encounter days of torrential downpour. Purpose built waterproof shells for hiking and backpacking resist rain on the outside while simultaneously allowing breathability, which prevents your own perspiration from getting you wet and making you cold. Equally important, when you’re exerting yourself! If you want to get into the nitty gritty of it, check out this article on How Rain Gear works. Ultimately, you need a great shell!
What shell did I use?
I used a MEC shell jacket that I bought in 2016 before going hiking in Peru. It’s been a great piece of gear that continues to perform well with an occasional bit of maintenance to refresh it’s weatherproofing! I used this Jacket during several days of pouring rain on the West Coast Trail and with the hood up I stayed nice and cozy all day long despite heavy exertion inside my jacket and pouring rain outside!
What shell should you use?
If I had to buy a new shell today I’d buy the Arc’teryx Beta shell which is the best all around shell jacket.. Arc’teryx gear is expensive, but impeccably designed. I was skeptical for years, until I purchased a few pieces of their trail running gear and got hooked. This shell has one numerous awards as the best of the best for hiking and backpacking and will be my choice when my existing shell eventually requires replacement. If you’re looking for something more reasonably priced go for the Patagonia Torrentshell.3L
Best puff jacket for the West Coast Trail
A puff jacket is great for warming up at night or during cool mornings. They’re also terrific for layering underneath your shell jacket for extra insulation on chilly days. As a bonus, this is a rare backpacking item that is also great for your day-to-day life and may even be classified as runway chic in some cases! How fun is that? Looks are only skin deep though, and your biggest decision is once again synthetic or down? Unlike the sleeping bag, it’s more important to choose synthetic insulation here. Afterall, it’s a lot harder to keep a jacket dry than a sleeping bag! If you already have a great ultra lightweight and compact puffy down jacket, you’ll likely be ok, just make sure to use it solely as a mid-layer on rainy/misty days and don’t skimp on the quality of your shell!
What puffy did I use?
I used my Patagonia Nano Puff Hoody which is still my go to life, travel and backpacking jacket. It’s kept me warm on numerous backpacking trips and adventures around the world! This is a rare spot of brilliant packing on my first trip if I say so myself!
What puffy should you use?
The Patagonia Nano Puff Hoody! If you’re looking for a new versatile puffy, do yourself a favour and get this one! I love this Jacket and I will have it forever even when it has patches all over it! You will too!
What shirts should you pack for the West Coast Trail?
For this trip 2-3 shirts is sufficient. Pack 1 sun hoodie and 1-2 quick dry athletic style shirts. You have one shirt that you wear during the day/backpacking and a second shirt to change into at camp or sleep in. You can throw in one more to add a margin for error and allow for a bit more alternation. Anything more than 3 shirts is overkill and you’re packing too much, I think I packed 4-5 when I hiked the West Coast Trail. Yikes!
Shirt 1: sun hoodie
A few years ago, I went hiking in 40 degree heat through the Grand Canyon, I was shocked to see hoardes of thru hikers wearing hoodies! Did I miss a tech convention at the South Rim? Was this some weird prank? In fact, they were sun-hoodies and they are nothing short of the best backpacking item you’ll add to your kit! Typically rated at SPF 50 these babies cover all the easy to burn spots including your neck, ears, and top-of-hands! They’re also ultralight, comfortable and breathable. I gave my mom one for gardening, but she finds it so comfortable she wears it around the house constantly! Beyond the comfort and breathability, they all but eliminate the need for sunscreen anywhere, but your face! Sure, it rains a lot on the West Coast Trail, but sunny days or weeks do happen! Even if it is raining your sun hoodie is likely to be just as comfortable as any other quick dry base layer item you’d be packing anyway, so best make it multipurpose! I didn’t have one of these when I first hiked the West Coast Trail, but I’d definitely bring it, if I did it again. I don’t leave for a backpacking trip without my Sahara Sun Hoodie!
Shirt 2: quick dry hiking tee / athletic shirt
I’m a big fan of the Patagonia Capilene cool shirts which are available in mens and womens and short and long sleeve versions. However, any quick dry athletic shirt will work fine for this hike as long as it is made from synthetic material or merino wool. Absolutely nothing made from cotton should be entering your bag!
Should you bring rain pants on the West Coast Trail?
The West Coast Trail is a hiking trip where rain pants are an item that you should pack! I don’t always view them as required packing as I find that as long as my core is dry and warm, wet pants aren’t that bad. Unfortunately, on the West Coast Trail, there is a chance that you could experience an entire week of torrential rain which compounds the discomfort. Rain pants are lightweight, and many can be put on and removed without taking off your shoes/boots making for easy layering or delayering.
What rain pants did I use?
None. Despite my gross overpacking, these were not items that I felt necessary to purchase. Fortunately, I did bring multiple pairs of pants so I managed my discomfort by rotating between the least wet pair. It would have saved me a lot of weight if I just had a pair of rain pants as opposed to carrying along a couple waterlogged pairs of pants!
What should you use?
I’ve been happy with the Black Diamond StormLine Rain Pants. They utilize a stretchy material that makes them move comfortable and less restrictive feeling than many of the competing pants. The Patagonia Granite Crest Rainpants are another great option.
What pants should you wear on the West Coast Trail?
Hiking pants are largely a matter of personal preference. Some hikers are comfortable being in shorts in everything but intense bushwacking or sub zero temperatures, other’s gravitate towards the flexibility of zip-off pants. Ultimately, there is no right or wrong decision! I typically bring a pair of zip offs and a pair of shorts and find this provides a good amount of flexibility for most backpacking trips.
Zip-off hiking pants
I never thought I’d see the day I embraced the zip-off, but they really are the best of both worlds! On cold mornings I’ll start off with long pants and then easily convert them to shorts trail-side! The only downside with the zip offs is that they can sometimes be tricky to get your boot or shoe through the pant leg, mandating a lengthy shoe-off-stop to make the switch! It’s still easier than having to dig through your pack for a pair of shorts and strip down to your underwear on the trail! I’ve had one pair that I’ve used for years, including on the West Coast Trail. There’s a limited difference between brands, the Quandary convertible pants are pretty good or see if you can snag another brand on sale before your trip.
Shorts
I bring a pair of shorts for hotter days or as something dry if my pants are soaked. You can go for a hiking short or trail running short. The later will save you weight and tend to be more breathable! I like the Arc’teryx Norvan Short.
Long underwear
A pair of merino wool or synthetic long underwear are great to have. You can wear them in your sleeping bag for an extra layer of warmth at night or as a last resort camp pant if your shorts & pants are totally soaked and gross! On colder hikes or if you run really cold you’ll want to layer them underneath rain pants or your hiking pants for extra warmth. I’ve had a pair of MEC brand ones that have worked well for me for the last decade.
What underwear should you pack for the West Coast Trail?
Many packing lists for the West Coast trail leave underwear as an afterthought. They tell you to bring a few pair and call it a day. So, you pack your favourite cotton underwear and start hiking the West Coast Trail decked out in all the other fancy new gear you bought. You’re hiking for a while, everything is going great, you’re sweating a bit, but everything is under control. Then you stop for 10 minutes, grab a snack only to realize that you’re feeling kinda cold, wet and clammy down below. Thanks Calvin Klein or Victoria Secret for making these amazing water absorbing undergarments!! The moral of the story here is pack athletic underwear that are designed for high output activities. I’ve had the best luck with Patagonia Sender underwear they don’t seem to wear out as fast a lululemon. They make womens too! Bring 2 pairs of underwear if you’re really brave, 3 if you’re kinda brave or 4 if the thought of only 2-3 grosses you out too much…
What socks should you pack? How many pairs?
A great pair of hiking socks keep your feet warm even when they’re soaked and wet on the trail and help prevent blisters. Darn Tough are the only way to go for hiking socks. They’re guaranteed for life/replaced free of charge and they don’t stink. So go ahead and try to get holes in your socks. I find 3 pair works well. You rotate between a pair for hiking and a pair for camp and then reserve 1 sacred pair for sleeping (as needed), wearing in the tent or a last resort.
What hat, toque, or headwear should you pack?
Pack a ballcap/trucker hat for hiking if you’re going the sun hoodie route. If not, consider a brimmed hat or tilley hat to prevent sunburn on your ears and the back of your neck. They look a bit funny, but are effective. Bring a toque (winter hat) as well, as keeping your head warm is one of the easiest ways to warm up on cold mornings or evenings. Buff neckwear are popular as they can be worn as a bandana or a neck tube to provide sun protection or warmth as needed.
Originally, I packed only 1 of 3. A toque, which I wore almost every morning and evening. I would have been cold/uncomfortable without it. If I were hiking it again, I’d definitely bring a ballcap/truckerhat as I never hike without one anymore. I have to do everything I can to fight forehead wrinkles these days!
Sunglasses
Because you’ve been taking the time to read this list in such detail you’re going to have one of the finest packed backpacks the West Coast Trail has ever seen and other backpackers are going to be envious. Throw on your favourite pair of shades and block out the haters. Most importantly though, it does get sunny from time to time out here despite what you might think. So bring ’em and plan a celebration for the moment you get to pull them out of your pack!
I don’t think you really need a specific or special pair of sunglasses as long as you weren’t planning on bringing designer shades that cover half your face you should be fine.
Gloves
On most hikes I don’t find I wear my gloves that much while hiking. I wear them alot in the morning while I’m preparing breakfast, packing up, or not moving enough to warm my extremities up. The West Coast Trail was different as all those pesky ladders are wet and cold and require your hands to climb up.
What gloves did I use?
My dad bought us all a matching pair of orange gloves from Canadian Tire with hearty grips to them. Adorable right? They actually worked pretty well, but were bulky to carry around. I will say that the grip and warmth that they provided on the ladders and for use on the cable cars was excellent.
What gloves should you use?
A thin, weatherproof glove. I use the Black Diamond Mont Blanc Gloves for hiking now and they’d work well on the West Coast Trail. They have a grippy silicon palm that would be great for the ladders, plus at 58 g (2 oz) you won’t even notice them in your pack!
Should you wear trail runners or hiking boots on the West Coast Trail?
The benefit of carrying a lighter pack is you can wear a lighter shoe! Trail runners are lightweight, comfortable, and don’t have the same break-in period as backpacking boots. Almost every backpacking trip I take now is in trail runners, but are they the right choice for the West Coast Trail? Let’s unpack this one further.
What did I use?
I had a light pair of Keen high top hiking shoes. They weren’t as hefty as a typical backpacking boot, but were substantially meatier than the trail runners I wear now. The ankle support saved me from a couple twisted ankles and the height was helpful for the muddy sections of the trail and for keeping sand out. When I hiked the West Coast Trail, I was new to backpacking and I definitely benefited from the stability that comes with the larger surface area of a boot. Additionally, with a 60lb pack they helped to buffer the impact of rocks and roots on the soles of my feet. Unfortunately, I seem to have overburdened them with the West Coast Trail and they disintegrated shortly after!
What should you use?
After backpack a lot in trail runners, I’d have a hard time going back to boots. If you have a lot of experience backpacking with trail runners and have a lightweight setup you should be fine here with a trail runner. Don’t forget to bring gaiters to help keep the mud and sand out! If you’re greener to backpacking, go for boots. Boots provide more stability with their larger surface area which is important as your body adapts to carrying a large backpack over rough terrain. If your pack is heavier and you wear a trail runner, you’ll feel every root and rock on the sole of your feet and you can even injure yourself this way. Lastly, boots are warmer and do a better job of keeping large volumes of mud and water out which can be beneficial on this backpacking trip. If you’re going for boots make sure to put some miles on to break them in well advance of your hike. Trail runners are more forgiving on this front.
For cold weather or if I need to carry more weight I’ll use my Scarpa Kailash hiking boots which have been terrific.
For trail runners I’ve been happy with the La Sportiva Bushido II trail runners, but I’m planning on trying the thru hiker favourite Altra Lone Peaks out of curiosity this year.
Do you need gaiters for the West Coast Trail?
Prior to hiking I did a limited amount of research on what to bring. Fortunately, somewhere in the 5 minutes of packing pre-reading I did I was advised to bring gaiters as they do a great job of keeping the sand out of your boots. Beyond the sand, they also do a great job of preventing your hiking pants from getting soaked with mud on your first foray into a mud pit. All around they were a great item to bring on the West Coast Trail, something that was made clear by the envious comments we received from other hikers!
What did I use?
I used MEC’s generic nylon gaiters for this hike. They served the purpose, but they’re bulky and heavy (360g). Plus at nearly knee-height they’re a bit overkill for this hike and made beach walking on the warm days quite hot. I guess there’s a reason they’re labelled as ideal for “Alpine climbing and mountaineering, Winter and expedition camping, and Snowshoeing” with hiking or backpacking not making this list!
What should you use?
I’d go with a lightweight mid-height gaiter for this backpacking trip. A gaiter like the Kahtoola Mid Gaiters would be the perfect choice. You shave off a lot weight and considerable bulk off the MEC nylon gaiters, but keep the functionality, and hopefully sand and blister free feet!
Camp shoes
There’s no better feeling than getting your campsite set up and getting out of your wet and muddy boots (or trail runners) at the end of a long day! This is what camp shoes are for! Sure, they’re not always necessary especially for those using trail runners, but warm feet and comfy shoes are unquestionably one of camp’s biggest luxuries! Plus, they can help give your shoes/boots some extra time to dry out.
What did I use?
Another item, another egregious packing error. I basically packed a 2nd pair of hiking shoes as my camp shoes, a pair of vibram soled, merril water shoes. I told myself to pack them for river crossings, but realistically I was looking for an excuse to use a purchase I’d felt copious amounts of buyers remorse over. As camp shoes they were alright, but allowed far too much sand in without making it easy enough to get it out. The biggest downside was that they weighed in at least as much as a pair of trail runners! If you’re going to bring camp shoes, make sure they’re comfortable and as lightweight as possible.
What should you use?
There is no feeling like setting up your tent and slipping into a nice comfortable pair of Crocs. Wait. What? Yes. Crocs! The mid-aughts and pandemic favorite footwear have stayed cool with backpackers all along. They’re lightweight, comfortable and as ugly as ever. This is the camp shoe of choice for many backpackers. Just make sure to remove your decorative croc charms, if you’re counting grams in your backpack!
Do you need to bring bear spray on the West Coast Trail?
The West Coast Trail is black bear country and if you’re lucky you might have the opportunity to see one of these incredible creatures in the wild. Parks Canada advises all backpackers to carry bear spray and know how to use it, so it’s probably best to follow their guidance here. If you’re travelling via plane you won’t be able to bring this along with you, so you’ll have to track it down before starting your hike. If you can’t, I personally wouldn’t get bent out of shape about it as there are no Grizzly’s on Vancouver Island and you’re typically hiking in a large group on a very populated trail. Additionally, there are numerous National Parks with very active black bear populations that actually ban anyone from carrying bear spray (Yosemite, Sequoia), so I’m not exactly sure of Park’s Canada’s rational here. That said, I lack the domain expertise to explicitly challenge their guidance, so best to bring it if you can. Most importantly, always make sure to store your food properly and keep any scented items out of your tent.
Tootbrush and mini toothpaste (or tabs)
I count out a few toothpaste tabs for the number of days I need and put them in a mini-ziplock saves the annoyance of bringing a tube.
Sunscreen
If you followed my advice on the sun hoodie, you shouldn’t need a lot of sunscreen, just enough for your face basically. Leave the Costco size at home here…
Lip Balm
Keep you lips protected on the sunny days.
Bug spray
This wasn’t the buggiest hike that I’ve done, but there are times you’ll notice them. Bring bug spray. I’ve been pleasantly surprised with the Natrapell lemon eucalyptus, it doesn’t leave me feeling nearly as sticky/gross afterwards as the ones containing deet do
Duct tape
Bring some duct tape if you need to fix a tent pole or bandage a blister.
What food should you pack for the West Coast Trail?
A long, tough day of backpacking can burn over 5000 calories. You’re going to be hungry and need to pack the right kind of food to minimize any additional weight in your pack. Before we dive in here are a couple basic tips to follow in your food selection and food packing for the West Coast Trail:
- Remove any bulky packaging. Ex. If you buy noodles in box take them out and put them in a ziplock bag.
- Remove excess air from packaging. Open packaging that has excess air and use a small ziplock or simply reseal it after pushing the air out.
- Line up all meals and snacks in advance and group together breakfast, lunch, dinner and snacks for each day. This guarantees that you’ll pack properly and know what rations look like for each day on the trail.
- Aim for items with limited cook time. Ideally things that require only the addition of boiling water. You can find many great things at the grocery store that often costs less and tastes better than the freeze dried meals you’ll find at REI and MEC.
Sample West Coast Trail Backpacking Menu
I made a ton of errors when I backpacked the West Coast Trail. I packed dried lentils, which take an impossibly long time to cook and I brought pre-packaged curries that contained excess water weight. Sure, we had plenty to eat, but it weighed too much and took up way too much space in my pack.
Here’s a sample menu for backpacking the West Coast Trail to get you started on your meal prep.
Breakfast
Oats with nuts, dried fruit, cinnamon and sprinkle of sugar.
Purchase a big bag of quick cook oats. I like these. Then divide up a small ziplock bag for each breakfast. Add walnuts, your choice of a dried fruit, and cinnamon to each bag. Every morning you’ll boil water, take out what you need for coffee then add a bag of your homemade oat mixture to the remaining water for a quick and easy hot breakfast!
Coffee
Just because you’re traveling lightweight doesn’t mean you need to go without a half decent cup of joe! Canadian Heritage Coffee Roasters makes this incredible backpacking coffee. It’s micro ground which means it tastes similar to french press and miles ahead of the instant coffees of old. If you’re a coffee snob in real life, this is your backpacking coffee!
Trail snack 1
Some kind of snackbar
A hundful of nuts, dried fruit, or jerky
A nice accoutrement to your snackbar. You might not need this extra item at every snack stop, but there will be times!
Lunch
Option 1: Tortilla with nut butter or plant-based tuna
Pack some of these almond butter pouches and then spread them on a Tortilla for a caloric filled lunch! I also like to bring a few of these plant-based tuna pouches and put them on my favourite backcountry bread, a tortilla.
Option 2: Cold Soak Salad
A cold soak salad is the closest thing you’ll get to a gourmet lunch on the trail. This is an area where pre-buying a backpacking specific food is worthwhile, unless you have the energy to make and dehydrate your own. Check out Outdoor Herbivore for a few great options.
Snack 2
Some kind of snackbar
Dinner
The highlight of your daily meals! It’s ok if you start dreaming about it anytime after about 9am. Get creative here! To rehash what I said earlier, there is no need to buy the expensive freeze dried meals, look for items at the grocery store that are already dry, have a limited cook time, and require only water! Here’s a few options:
Option 1: Right Rice
Right Rice is “rice” made from lentils and chickpeas. You boil water, add the contents and wait for ten minutes. It’s high in fibre and protein and all the flavours are delicious! This is a perfect dinner for backpacking! For extra flavour, calories and protein, I’ll mix in a pack of this plant-based tuna replacement.
Option 2: Mac & Cheese with Chickpea Pasta
This isn’t the kraft dinner you grew up with, but this incredible mac and cheese with chickpea pasta may be one of my favourite backpacking meals!
Chickpea pasta offers way more nutritional value than your standard mac noodle. It’s high in protein and fibre and will keep you going on this tough hike. By using a plant-based mac we don’t have to worry about milk/dairy spoilage. Simply cook the noodles, then drain most of the water leaving about a 1/2 cup behind with the noodles.
Pack a couple tbsp of cashew butter in some plastic wrap and add this the water with the packet of seasoning! Delicious!
Option 3: Brown Rice Ramen
This organic. brown rice ramen is ready in minutes and rich with flavour. This is the perfect meal to warm up with after a rainy day. For a standalone dinner, I’ll often down a couple packs.
Option 4: Red Bean Chilil
Spicy chili done to perfection. This incredible red bean chili needs a little bit more fuel, as it needs to simmer for a few minutes after boiling, but it’s oh so worth it!
Option 5: Black Bean Soup
Made with completely organic ingredients and packed with 34g of protein this Black Bean Soup is one of the easiest and most delicious backpacking meals I’ve had.
How to make your own meals for the West Coast Trail
If you have the time, energy, and willingness, making your own dehydrated food well in advance is the best ways to eat in the backcountry! Pick up a food dehydrator with this awesome cookbook and you’re guaranteed to be eating the best meals on the West Coast Trail. The author of this cookbook founded Food for the Sole, one of my favourite backpacking meal companies that sadly shut down this year. Fortunately, their incredible food lives on in this cookbook, you just have to make it yourself! Going this route is time intensive and not for everyone, but for those of you that enjoy this type of thing the reward is worth the effort!
How do you store your food on the West Coast Trail?
The West Coast Trail might not feel luxurious in many ways, but by food storage standards it certainly is. Your parks Canada fees and tax payer dollars provide high quality bear caches at every site, so there is no need to bring a bulky bear can or Ursack. Everything scented needs to go in the caches. That means your sunscreen, toothpaste, bug spray and anything that smells. Never eat in your tent, bring or use smelly items in your tent. A dry bag (120 g) is great for storing your food and scented items in your pack, carrying your food to the cache and keeping everything together inside. The bear caches can get pretty full and a lot of people get the same bags, so write your name on your dry bag with a sharpie or add some distinguishing feature so you know which one is yours!
Final thoughts on packing for the West Coast Trail
I packed way too much, was disorganized and carried excess weight in many of the wrong areas when I hiked the West Coast Trail. Ultimately backpacking is an epic struggle between comfort at camp and comfort on the trail. If you’re planning on having full days on the trail and covering the West Coast Trail in a shorter amount of time you’ll be happier sacrificing creature comforts for a lighter pack. Likewise, if you’re planning on spacing the trip out over a longer duration with shorter hiking days, items that make camp more enjoyable are likely a higher priority. Hopefully, this post has provided with some insight on what to pack and what not to, not matter which route you’re going!
Question about packing for the West Coast Trail? Drop me a line in the comments below and I’ll do my best to help you out. Happy adventuring!
More adventures you might enjoy


Michael