
Planning your first backpacking trip can feel intimidating. What do you pack? What if you forget something? How do you store your food? How do you take a #2?
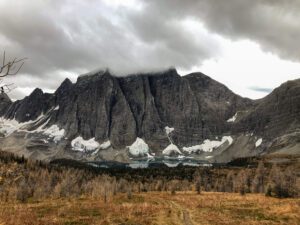
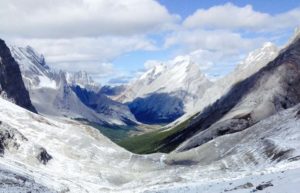
Maybe you’ve been drawn in by the idea of hiking past isolated mountain vistas, the thought of having your morning coffee by a glacier fed lake, or simply inspired by the desire to feel the sense of adventure and connection with nature that comes with a backpacking. Whatever your reason, a good backpacking trip can easily become the highlight of your summer, or year, assuming it’s planned correctly.
Unfortunately, it’s the latter that can serve as a major obstacle for getting into backpacking hiking and overnight camping. I’ll be the first to admit that prior to taking my first backpacking trip I was gripped with anxiety. Did I forget something essential? Would our gear work as planned? Fortunately, everything went off without a hitch and I’m certain it will for you too if you follow the simple steps I’ve put forward in this guide to taking your first overnight hike.
Research, plan your route, and pick an easy hike!
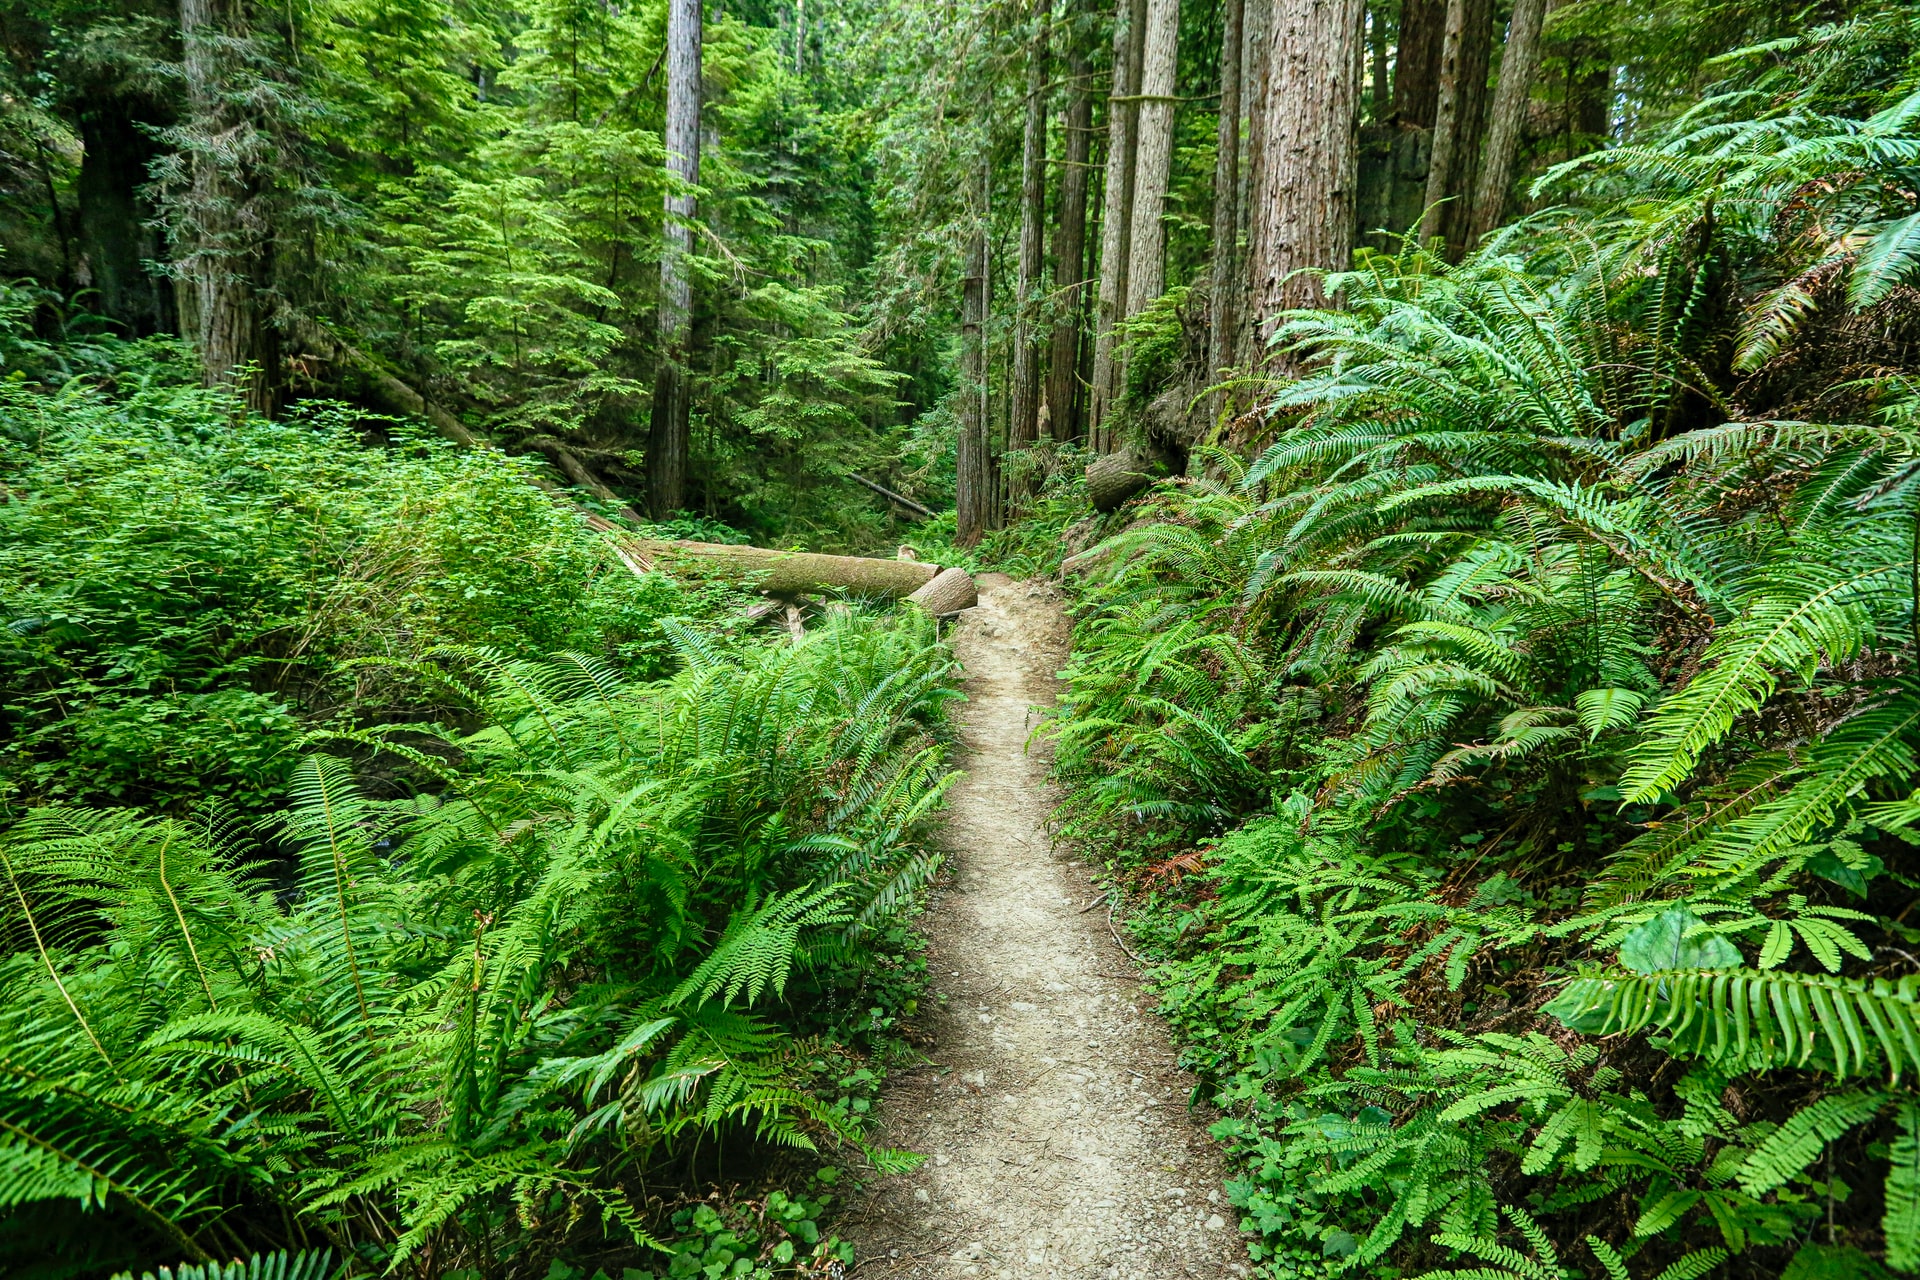
Planning an overnight hike thoroughly before embarking is a critical step. The last thing you want is to set off down the trail and realize that the hike is more than you bargained for and that your packing/gear setup was completely wrong. Take some time to do your research, air on the easy side of the difficulty spectrum and familiarize yourself as much as possible with the route in advance.
Research your first backpacking trip and plan your route
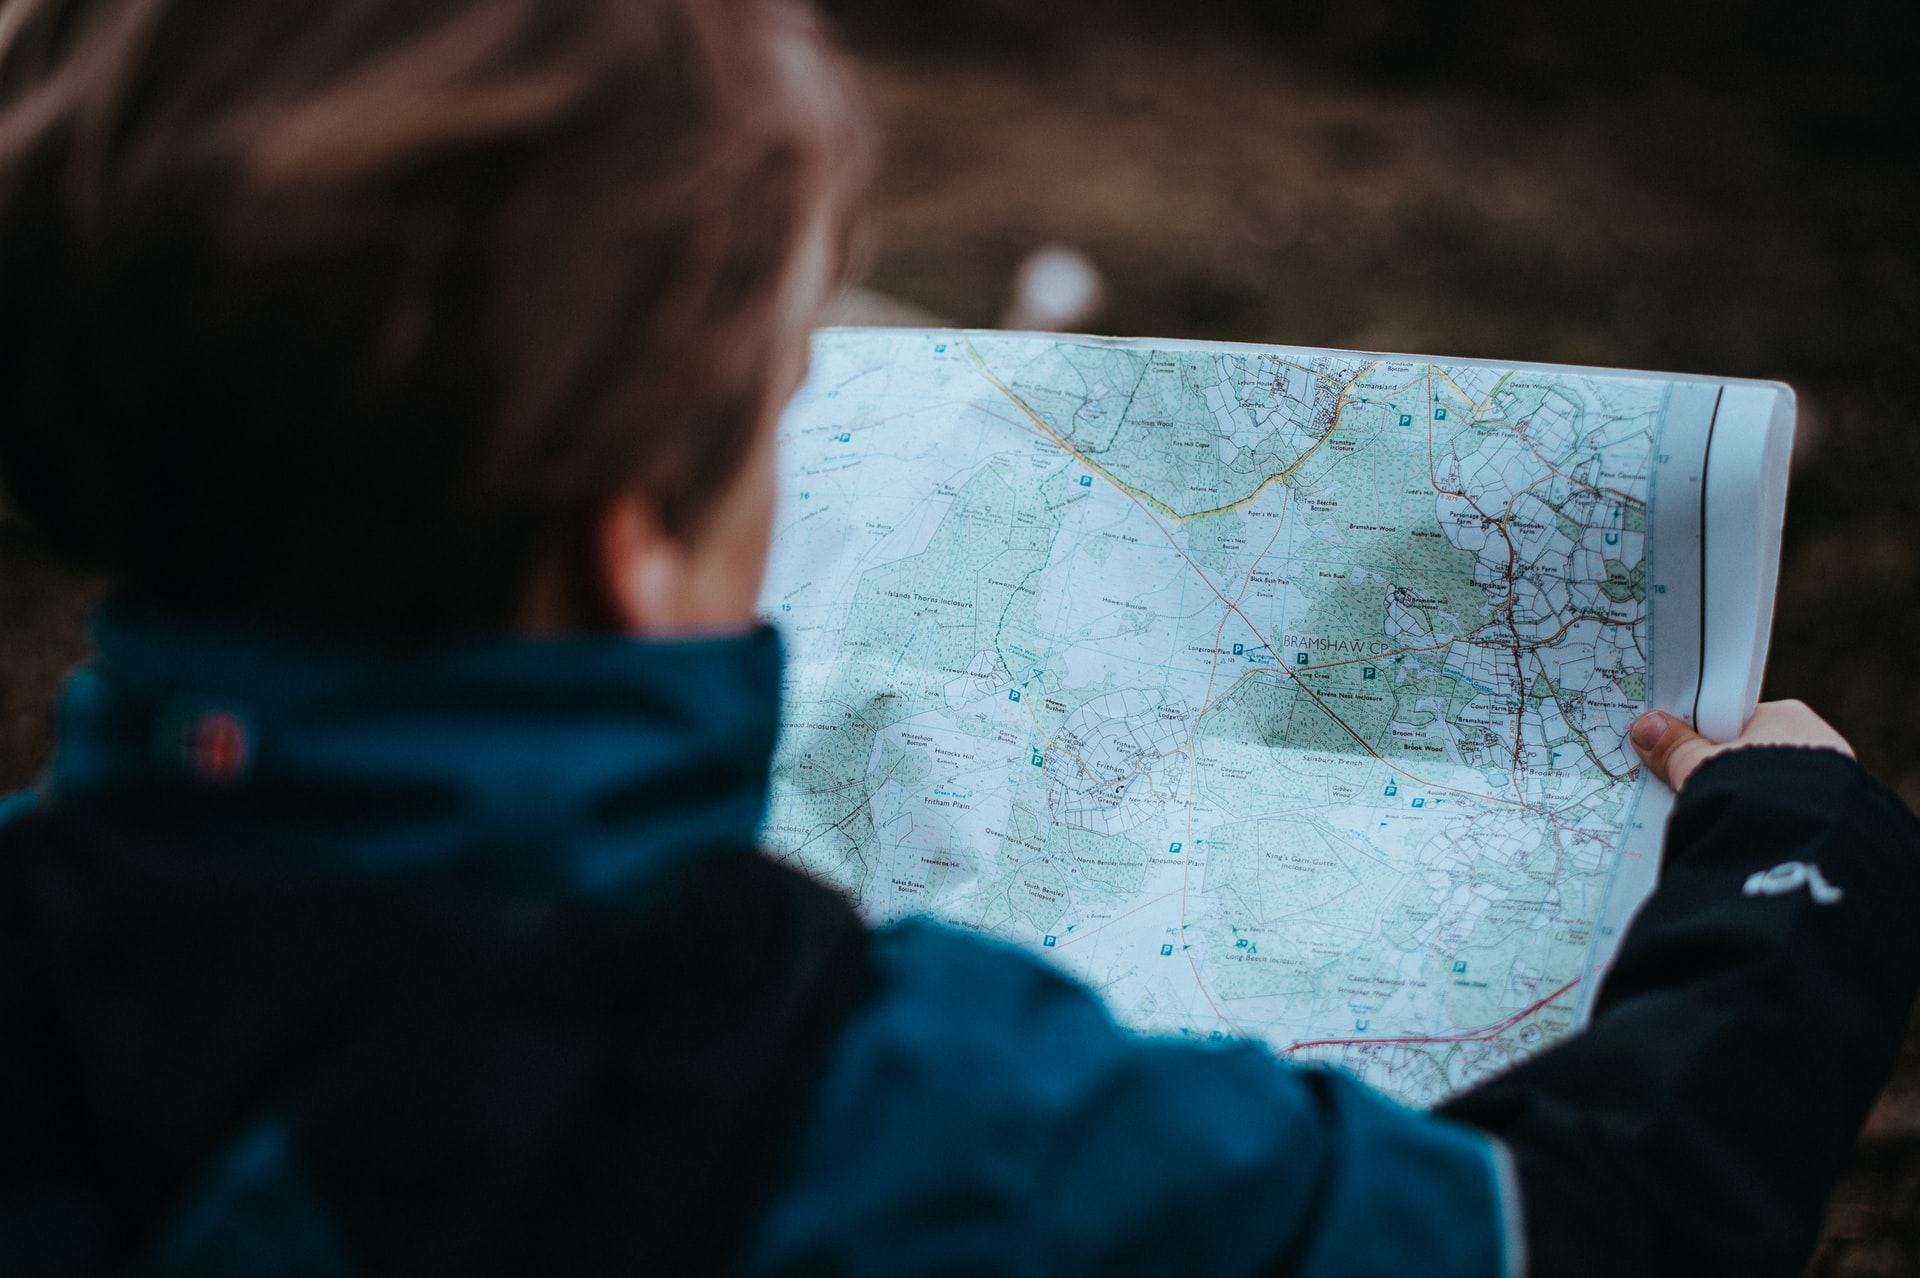
Maybe you heard about a hike or an area via Instagram, driving through a national park, or simply by old fashioned word of mouth. However your curiosity was piqued, take a look for blog posts or pick up a guide book written exclusively for the area you’re interested in from MEC or REI. National/state/provincial park websites are also great resources for learning more about a hike and frequently include pertinent information about closures, dangers, and trail conditions. By taking the time to do a bit of research you’ll be able to answer important questions before setting out like: Is the trail well marked? How difficult is it? Are there any nuances I need to be aware of? How long can I expect it to take? What are the unique transportation considerations (is it a loop hike or a through hike)? What are the water sources like?
Lean towards the easy side of the difficulty spectrum for your first overnight backpacking trip
The Howe Sound Crest Trail, West Coast Trail, Rockwall Trail, and John Muir Trail are all fantastic, but not for your first backcountry adventure. When choosing a trail, pick one you think will be easy and save longer or more challenging hikes for future adventures. Even if you’re accustomed to crushing epic day hikes , your first backpacking trip isn’t about pushing the envelope.
Instead, your first trip is all about getting comfortable with the preparation and execution components, the addition of a 35lb backpack and making sure everything works the way you want it to. Start small and if possible, select a hike that offers designated backcountry camping areas with a few basics like tent pads, outhouses, or bear boxes. These small “amenities” can really help make things easier on your first adventure, saving you the trouble of campsite selection, cat-hole digging (more on this later), and hanging/storing your food. Furthermore, it’s important to select a hike that follows a well-marked trail unless you have some experience wielding a compass alongside a topographic map.

How many nights for your first overnight hike?
For your first hike into the backcountry, make it short and sweet and go for 1 night. A short trip means far fewer meals to worry about, less planning, and a lighter pack. Plus, in the worst case scenario that the weather turns foul or something goes drastically wrong, you’re that much closer to your starting point. If you’re planning a more ambitious trip in the near future, use your first one-nighter as a test run and a great opportunity to try out your gear.
What gear should you pack for a backpacking trip?
Ok, so you’ve picked a fantastic trail for your first overnight backcountry camping trip, you’ve done your research, and you’re comfortable with the logistics. Now it’s time to pack! What do you already have? What do you need to bring? Before you drop thousands of dollars on new equipment, let’s dive into the gear list.
Backpacking and overnight hiking packing list
Backpack
For your first overnight hike, you’re going to want a backpack in the range of 50L to 65L with a sturdy adjustable harness and hipbelt. Maybe you have a great pack with similar specs that you’ve used for travelling (we’ve seen many people repurpose our Khmer Explorer Travel Set for overnight hikes with great success) or perhaps you have a friend who can loan you their pack. If you’re out of luck on both fronts, check out rental options. Typically, MEC & REI offer rental packs at affordable rates which are a great option for your first trip, especially if you’re not ready to fully commit to backpacking as a full-time hobby! Whatever route you choose, make sure to try the pack out before setting out to ensure it’s properly adjusted with the hip belt doing the majority of the work!
If you’re ready to invest in backpacking gear checkout the Gregory Focal or Women’s specific Facet which at ~2.5lbs provide a great compromise between barebones ultralight packs and the heavier feature-laden packs.
If you’re going to immediately strive for an ultralight set up, check out the Hyperlite 3400 southwest. It’s 100% waterproof and constructed from ultralight dyneema fabric.
Tent
A great tent is an investment that can last you for years. That said, it is definitely an investment in the sense that it can easily run in excess of $400. If you own a tent already and it’s reasonably compact/lightweight, it should serve you fine for your first backcountry camping adventure. Don’t own a tent? Once again, try to borrow one from a friend or look to rent one from your local outdoor gear shop and add in this vital piece of equipment once you get a better feel for how you like to backpack (ultralight, comfort, etc.).
For many new backpackers tents like the Big Agnes Copper Spur UL2 or the Nemo Dagger OMSO offer the perfect blend of functionality, livability, weight, and durability.
Sleeping pad
From foam mats to full inflatables there’s lots of variety on this front too (including price variety). For your first time out, opt for value (i.e. rent or borrow) once again and upgrade later. I used a basic foam mat for years, which I had terrible sleeps on.
A few years ago l I switched to a Therm-a-Rest. It’s incredibly lightweight, comfortable, and packs down to the size of a Nalgene bottle. This is probably one of my favorite backpacking items! Try it out. You won’t regret it. Sleep well!
Sleeping bag
Depending on where you’re hiking this can be something to give a bit more consideration to. If you’re heading into the mountains, weather can be inclement so you’ll want to ensure you have a bag with a decent temperature rating (or plenty of layers to compensate for a chilly night). Sleeping bags generally offer a choice between down and synthetic. Down tends to be more expensive, but more durable, lighter, and compressible with the only downfall (aside from the ethics question) being its extremely poor performance when wet. Synthetic performs better when wet and tends to be more affordable.
I’m in love with my Patagonia sleeping bag!! It’s unbelievably lightweight and packs down small. I found the 30°F / -1°C to be perfect for most outings – if it gets colder you can always layer up! Like all Patagonia products, it’s not cheap, but they stand behind their gear and the quality matches the price point. If you spend a lot of time in colder environments they also make a 20°F / -7°C version. These bags are a worthwhile splurge!
Backpacking pillow
For many hardcore backpackers a pillow consists of a dry bag stuffed with unworn clothing. Personally, I won’t leave home without a backpacking pillow no matter how light I’m travelling. Check out the Big Agnes Q-Core Deluxe Pillow It packs down ultra small and provides a new level of comfort after long days on the trail.
First aid kit
An essential item for treating everything from bug bites to blisters. The pre-built kits from Adventure Medical Kits have served me well on many adventurers. At the end of your trip write down any items you used and replace them so they’re ready for your next adventure. You can also build your own.
Swiss army knife
From cutting bandages to serving as the star of your backcountry kitchen, a swiss army knife is a must-have item for any trip into the backcountry.
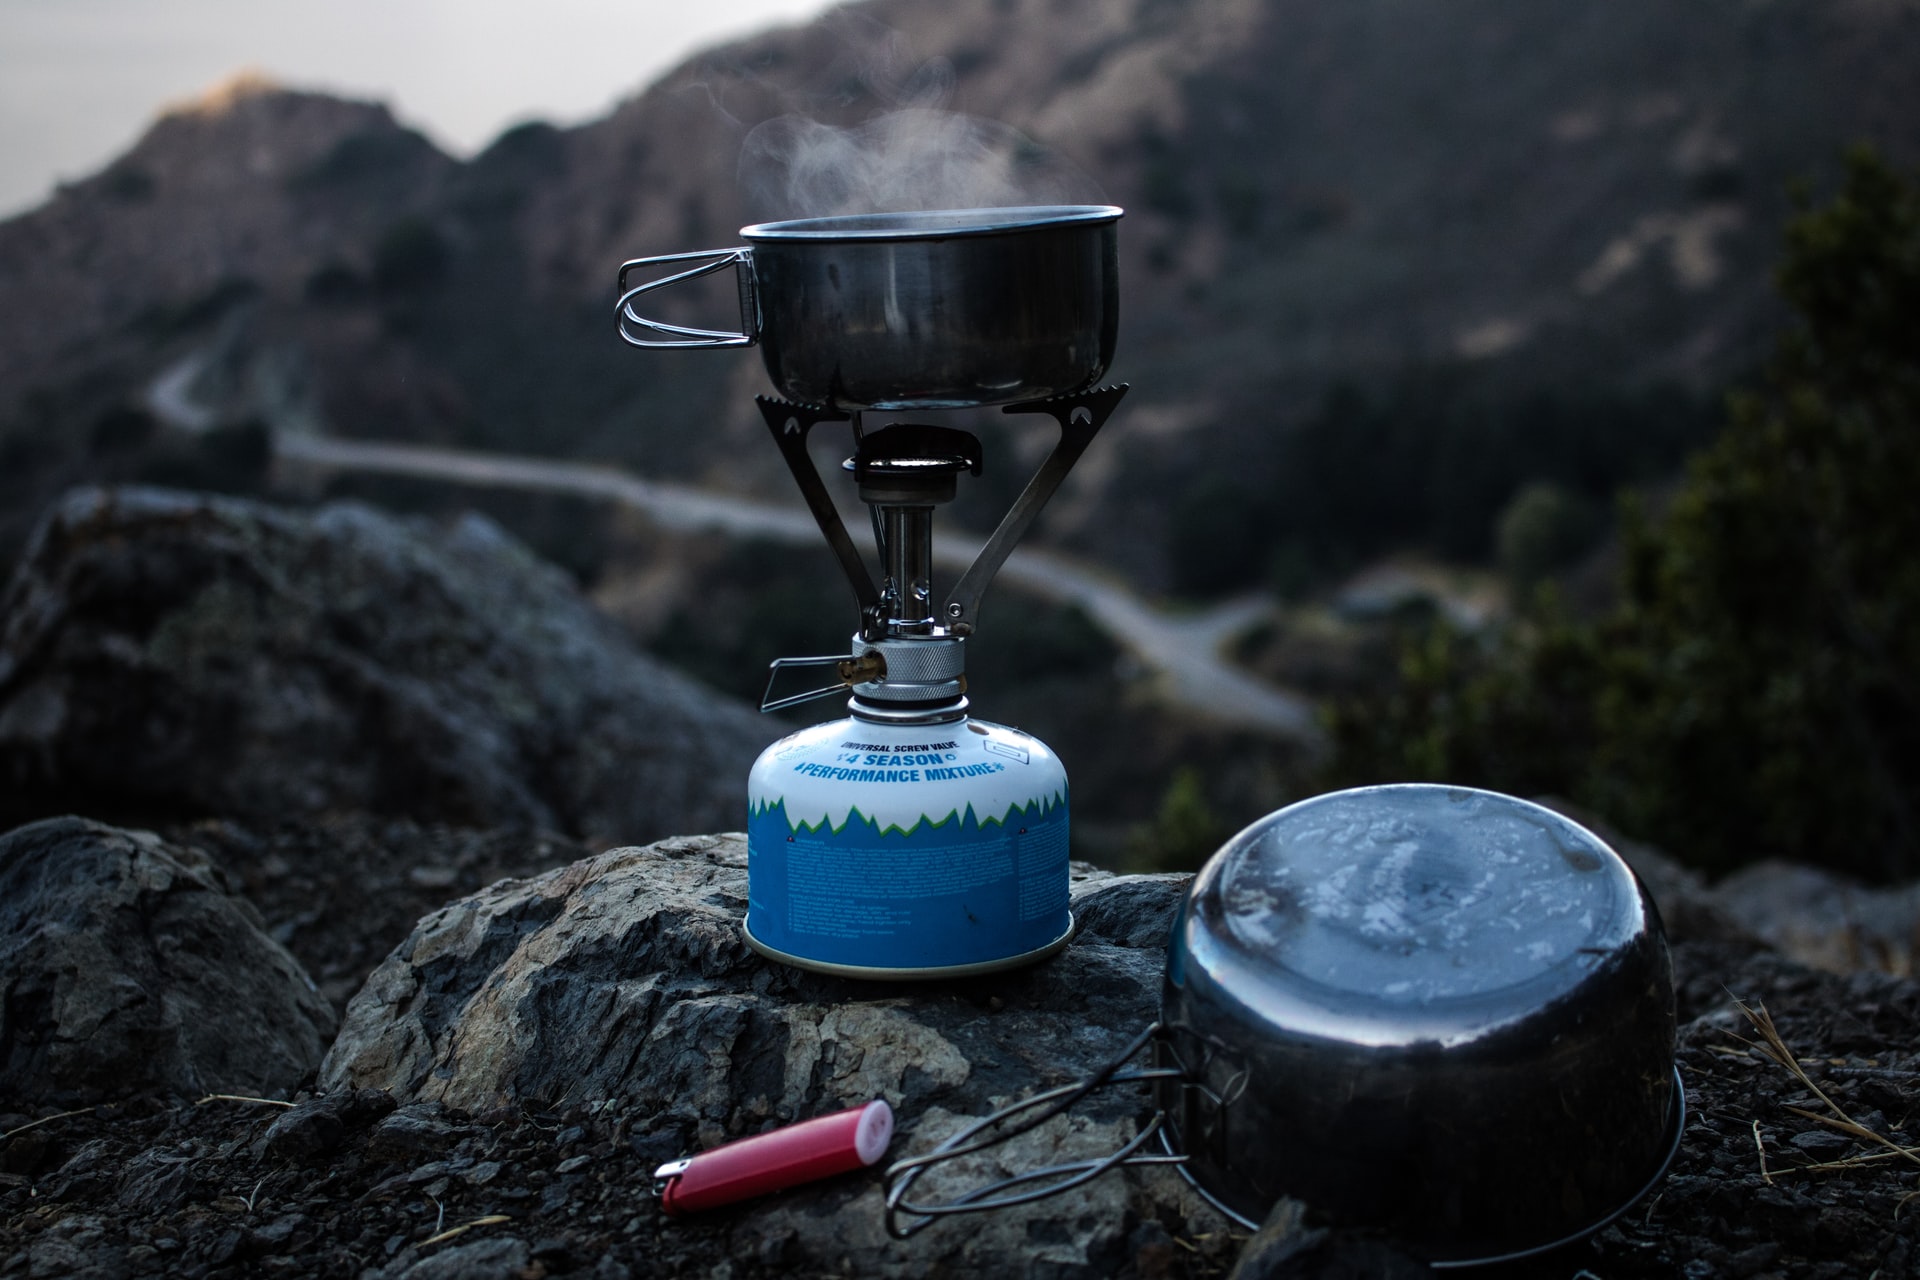
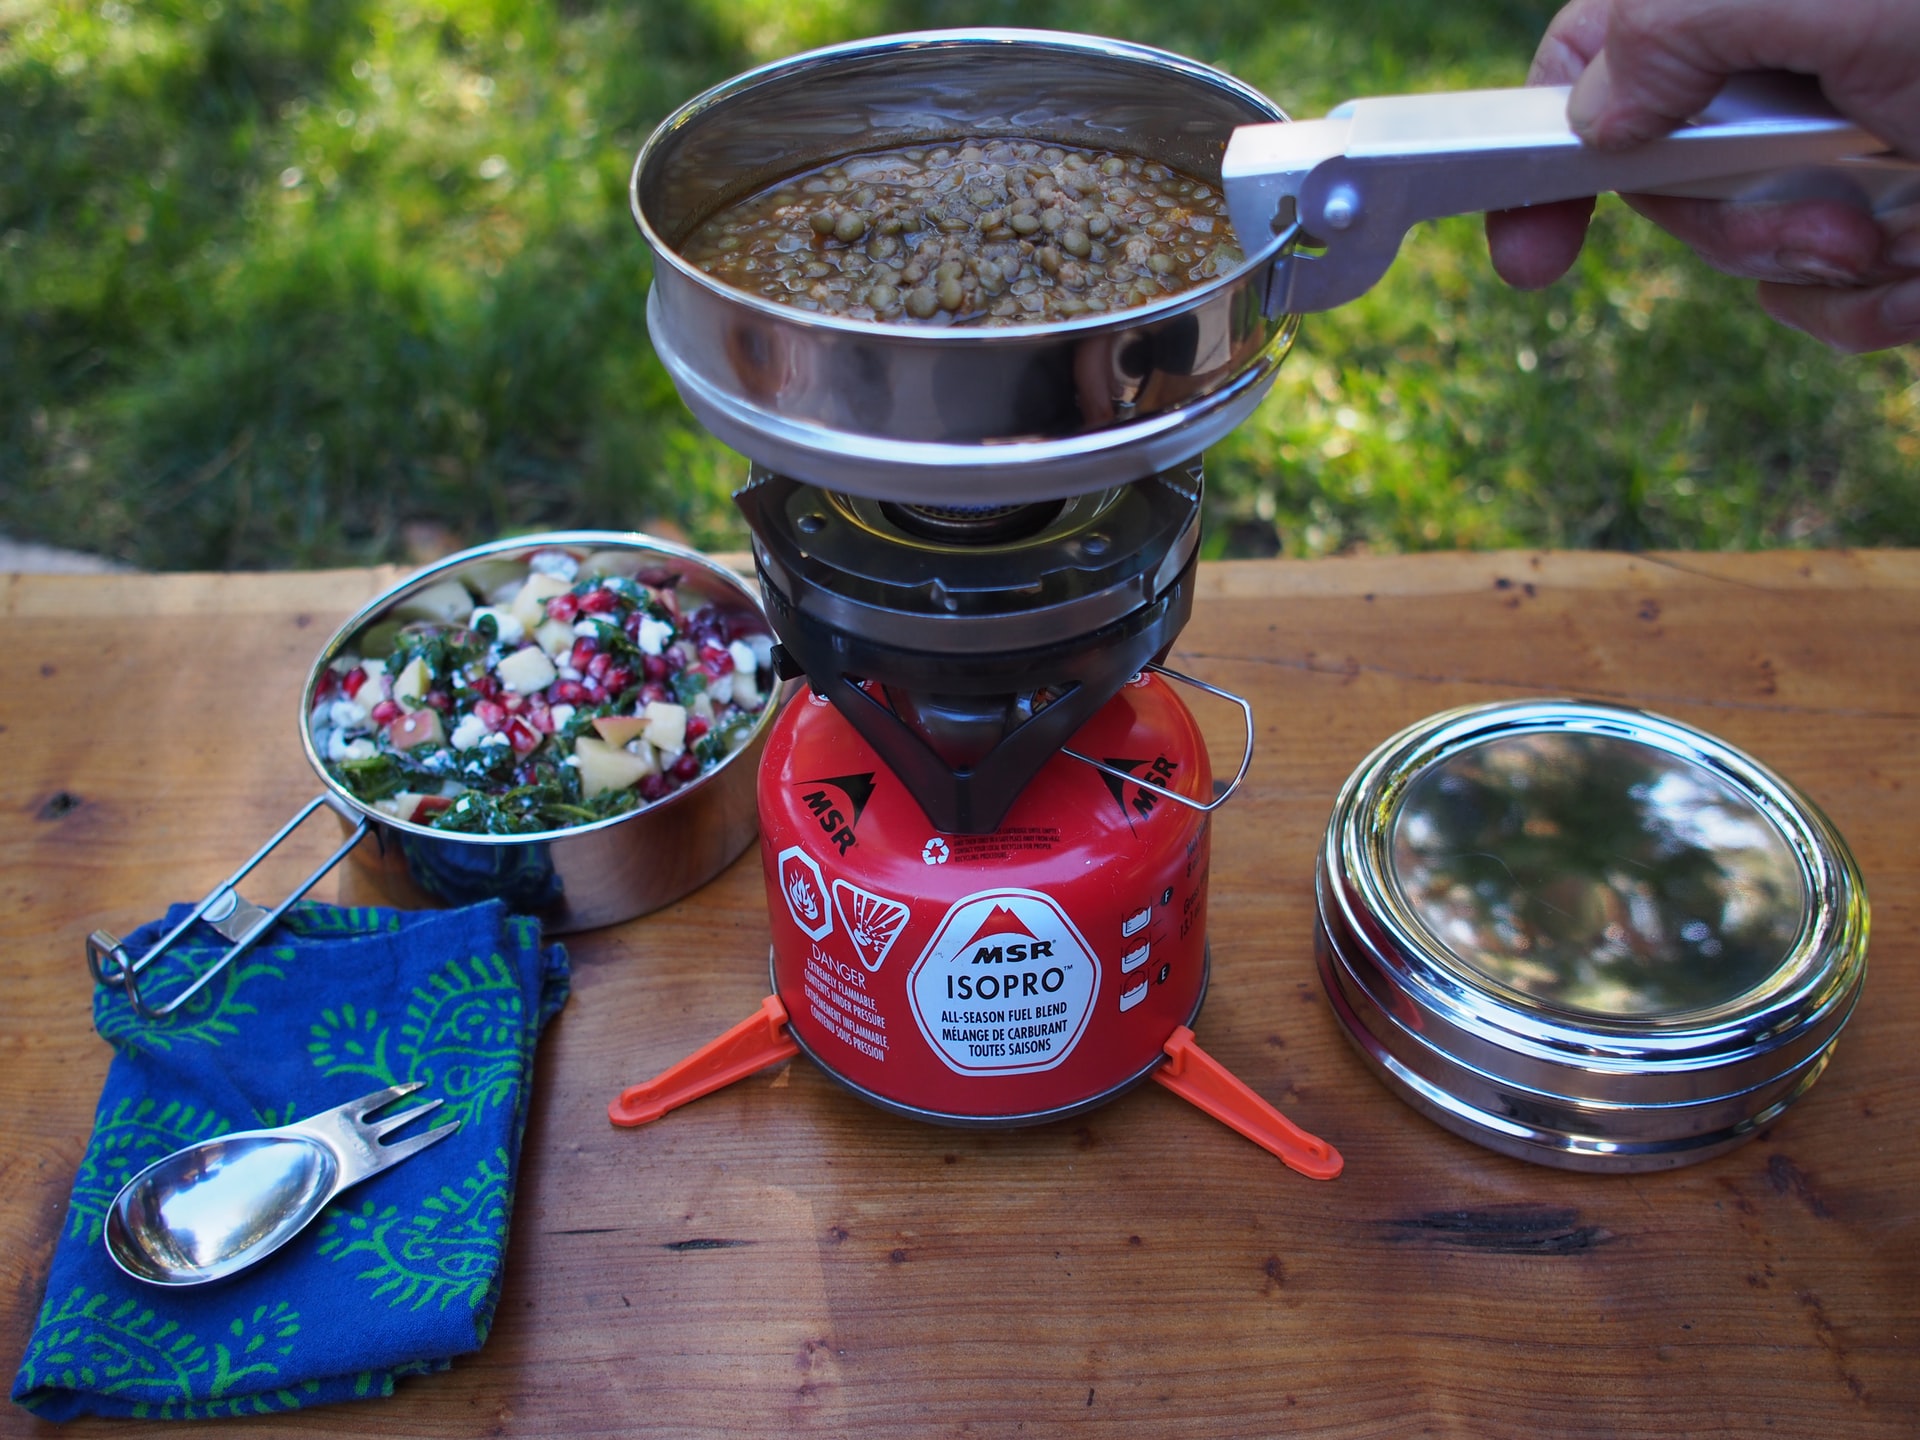
Stove and canister
A single burner canister stove like MSR pocket rocket is perfectly suited for all your cooking needs. Don’t forget to buy a canister too!
Cookware and utensils
A pot (which also doubles as a bowl), a cup for coffee/tea and a spork are all you need. If you’re looking for a value option, remove the handle from an old kitchen pot and bring along a pair of pliers.
I love the GSI Halulite Microdualist II, two-person cookset. It’s lightweight and I can fit my MSR pocket rocket and a fuel canister inside. Check out the MSR PocketRocket Stove Kit for an all-inclusive solution.
Water filtration system
For purifying water, I’m a huge fan of the Steripen. It’s a small, lightweight and efficient way to ensure water is safe for consumption using UV light to purify a litre in about a minute. It’s also a fantastic item to bring along travelling, so even if you decide backpacking isn’t for you, you’ll still be over the moon about your SteriPen. Other options include gravity filters and purification tablets. For the first time out, purification tablets are the least expensive option, assuming you can get past the somewhat chemical taste of your water.
Make sure to bring tablets as a backup though should you run into any technical problems/dead battery with your Steripen.
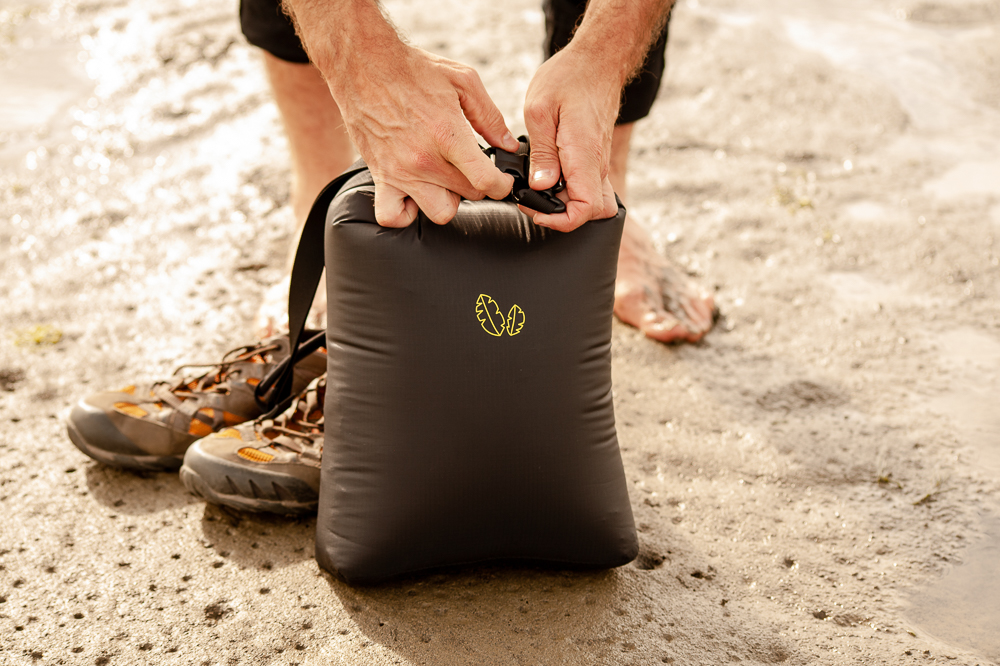
Dry bag
Dry bags like our No Sugar | Dry Bag Kit are great for stuffing and compressing clothes or your sleeping bag to ensure they don’t get wet even if you get stuck in torrential rain.
For a budget and ultralight option, line your pack with a contractors size garbage bag.
Bear canister & bear spray (Region Dependent)
If you’re hiking in grizzly bear country, you’ll want to add bear spray to your packing list and make sure that you know how to use it. Additionally, certain national parks like Yoesmite and Grand Teton may require that you’re equipped with an approved bear canister as well.
Additional items to pack for backpacking:
- Waterproof Matches
- Firestarters – For emergency situations
- Whistle (blast 3 times for emergencies)
- CampSuds / Biodegradable Soap – For dishes etc. or just use some water and a rock to clean.
- Water Bottle – Nalgene 1L
- Additional Water Bottle or Water Storage (depending on what your research has told you about water availability)
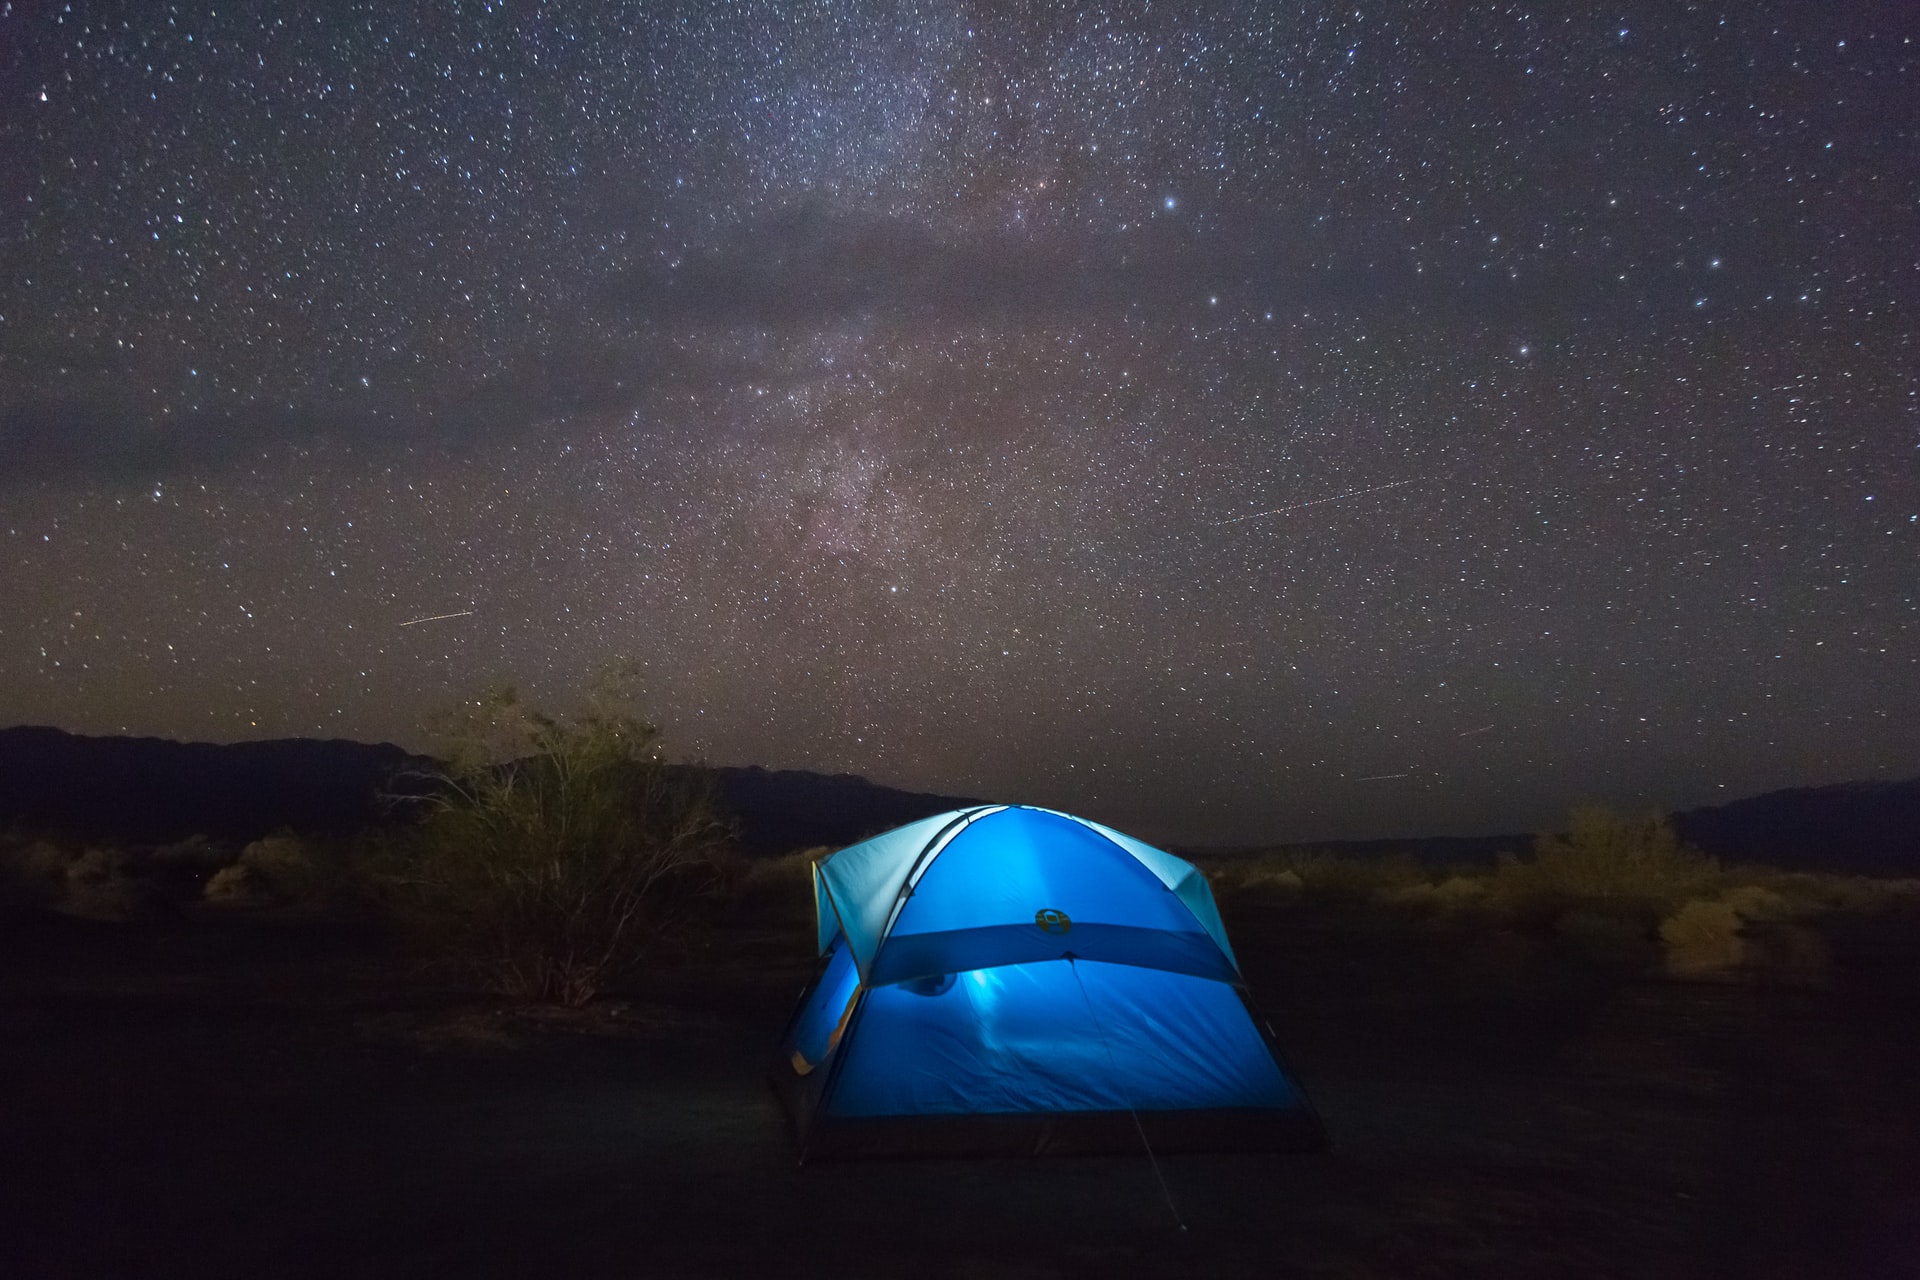
- Headlamp – The Spot 350 is the way to go with 6 modes including the night vision saving red light! Red light mode takes a minute to get used to, but once you do it’s a total game changer trust me! The stars never looked so good!
- Small USB Phone Charger (and cable)
- Bug Spray
- Sunscreen
- Sunglasses
- Toothpaste
- Toothbrush
- Toiletries / Hand Sanitizer
- Lip Balm
- Trowel
- Toilet Paper
- Compass
- Topographic Map
- GPS App ( I like GAIA app)
- Deck of cards
What clothes should you pack for a backpacking trip?
Here is a standard list of items for your overnight hike. Adapt, add, or remove accordingly depending on the weather/climate of your destination and the number of days you plan to go for.
Hiking boots/hiking shoes/trail runners
Whether you choose to hike with a boot, hiking shoe or lighter trail runner is largely personal preference. Trail runners provide the agility and weight advantage, but boots often get the edge for support/sturdiness, especially if your pack is on the heavy side.
I’ve had great luck with the La Sportiva Bushido II. When I’m carrying more gear/weight or if there’s a chance of snow, I’ll wear a larger more traditional hiking boot, like the Scarpa Kailash.
Camp shoes/sandals
Crocs are back! Well for backpacking camp shoes they never left… They’re lightweight and ugly as ever. Many backpackers find them to be the perfect camp shoe for resting sore feat after a long day in boots/shoes.
Personally, I still hate them. I have an old pair of Tom’s which I occasionally bring. They are light and less bulky than Crocs. If going with a trail runner, I’ll often ditch the camp shoe altogether and just loosen my laces. Your call!
Puff jacket
I’ve had the Patagonia Men’s Nano Puff® Hoody for years. It’s perfect multi-functional item for everyday, backpacking, and pretty much anything where you might need a bit of warmth. I’m still looking for an activity it doesn’t work for. They also make the Nano Puff in a women’s version.
Rainproof / windproof jacket
An essential piece for wind, rain, snow. I’ve had great luck with an older version of the MEC Flash Cloud. Also check out the Patagonia Torrentshell (or Womens version).
Rain pants
Mountain weather can change fast and rain pants are an absolute lifesaver to have in your backpacking kit. Many have the ability to quickly take them on and off without removing your shoes/boots allowing you to stay comfortable eveb if you get caught in a sudden downpour. Check out the Torrentshell in mens or womens.
Hiking pants
I never thought I’d see the day I embraced the zip-off pant. But hey, they’re really the best of both worlds for rapidly changing mountain environments and keeping warm in the evening when the temperature drops. Check out the Quandary Pant for a great option.
Sun hoodie
When I went backpacking in the Grand Canyon a few years back, I was shocked to see throngs of Arizona Trail thru-hikers wearing hoodies in the 40 C (100F) heat. Turns out they were onto something! A sun hoodie has been one of the best items I’ve added to my backpacking kit. They keep you burn free, are surprisingly cool, and let you get away with leaving the bottle of sunscreen at home. The Sahara Sun Hoodie (men’s/women’s) from REI has served me well or check out these ones from Outdoor Research (men’s / women’s).
A couple of base layer shirts
Avoid cotton shirts unless it’s a super leisurely hike. Merino wool is great as it stays warm when wet and won’t stink. Sweat wicking althletic shirts also work great. I have a few pairs of these Capilene Cool shirts that are great!
Base layer bottom
A merino bottom baselayer are perfect for warming up at night or during chilly mornings.
A couple pairs of merino wool socks
Socks are a critical part of your backpacking wardrobe. A great pair of merino wool socks are an essential investment. They stay warm when wet, don’t stink, and will last for years. Darn Tough Vermont makes the best hiking socks hands down. They’re guaranteed for life/replaced free of charge and they don’t stink. Really! I typically bring 3 pair. 1 pair for hiking, 1 pair to change into at camp, and a reserve to throw into the rotation as needed.
Underwear
Patagonia makes fantastic underwear with quality, durability, and comfort far exceeding lululemon, and saxx (I’ve tried both). You decide how many or how few you bring…. They also make womens’ underwear, but I am unable to advise on fit, form, function or durability on this front…
Additional essential clothing items
- 1 pair of shorts/extra change of pants
- Hat (Toque and sun hat)
- Gloves
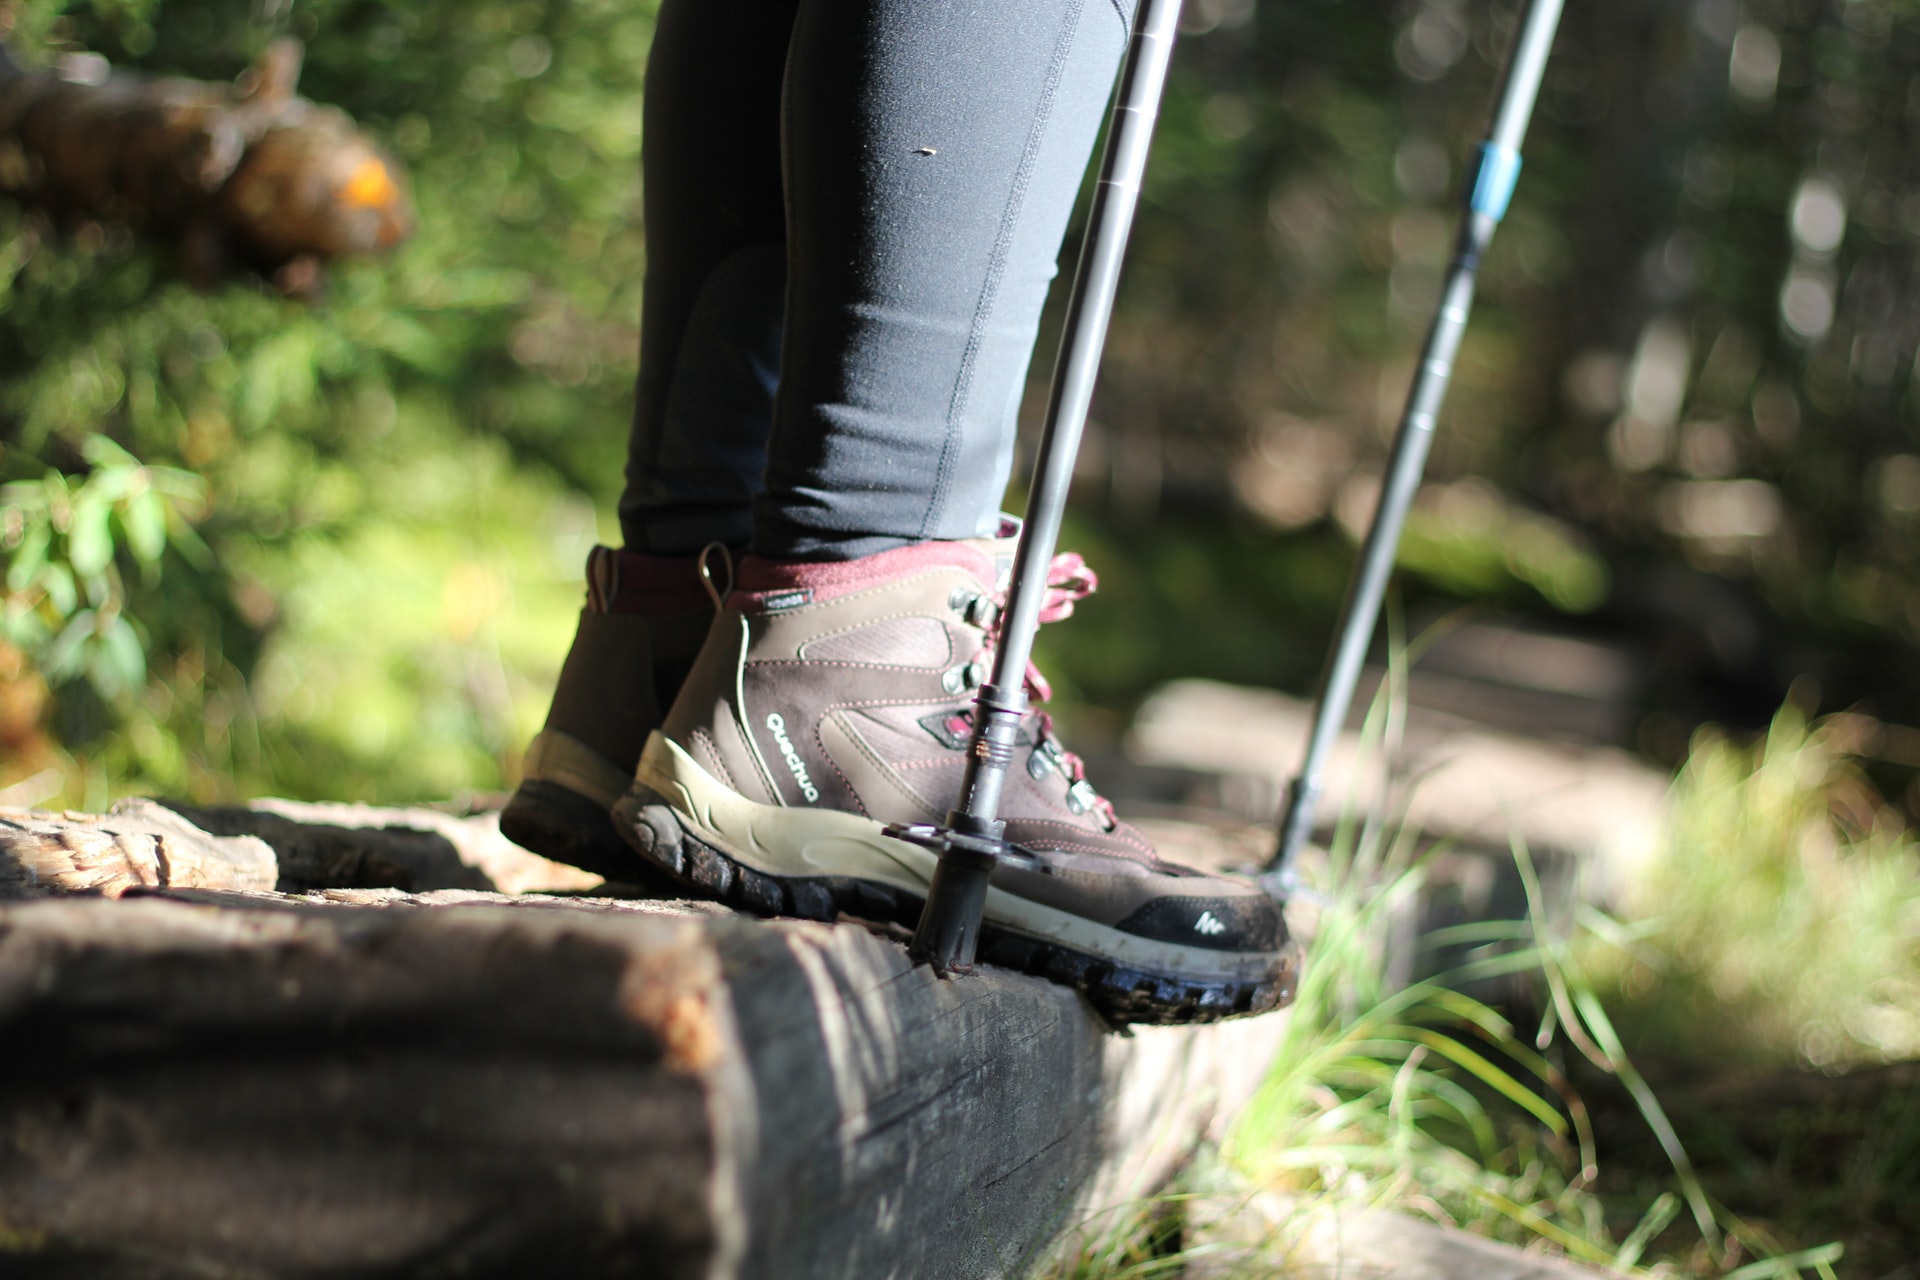
Should you bring hiking poles backpacking?
I once had an ego and thought I didn’t need poles. Then I completed the Howe Sound Crest Trail and my knees screamed at me for the next week. My overweight pack and lack of poles were to blame. Poles are great for reducing the strain of long grueling descents and providing extra stability on exposed sections. Do yourself a favor and get a pair of poles! For a reliable entry level option try these Black Diamond Poles or consider upgrading to the carbon fiber to save extra weight.
Meal planning for backcountry camping
Meal planning is one of the most critical steps of any backcountry adventure. Do it right and you’ll be eating like a king without the burden of carrying excess weight. Do it poorly, and you’ll either be hungry or severely overbunded by the weight of excess food. This is where the critical step of meal planning comes into play.
Start by counting out the number of meals and snacks you’ll be hiking or in the backcountry for and then allocate food to each. For simplicity, freeze dried meals (just add boiling water) like Backpackers Pantry are always an option, but at $10+ a meal, they’re definitely not for the price conscious. Alternatively, look for “just add water” items at your grocery store like ramen, instant soups, rices, etc. Additionally, numerous incredible recipes can be found for amazing DIY backpacking meals. Check out this list from Fresh Off the Grid for some inspiration!
No matter what you’re cooking, try to minimize the packaging you bring along. Don’t bring items in cans or glass jars and consolidate larger boxed items into more packable ziplock bags. Small steps like these save large amounts of weight and volume in your pack. It’s never a bad idea to pack more food than you think you need especially on your first couple of trips. I’d happily add an extra pound to my pack for the extra peace of mind to know that should the trip take longer or if I’m hungrier than anticipated, I came prepared.
To help you get started, here’s a summary of the meal prep I might use for a 3 night backpacking trip. I know, I recommended only heading out for 1 night for your first trip, but I figured I’d show a plan for an extra day to give you a few more menu options! Note this a plant-based meal prep, but much can be played with to accommodate different dietary preferences.
2 night backpacking trip meal plan
Backpacking breakfast (day 1)
Take the time to eat at home, on the road, or at the trailhead prior to staring. Make it a big one. It will be your last home cooked meal for a few days!
Backpacking snacks (day 1)
Inevitably, you’ll break up a big day on the trail with a couple short stops to take in your surroundings or an incredible viewpoint. This is also a great opportunity to graze by grabbing for your favourite bar (Cliff, Lara, Kind, etc.), fruit leather, nuts, or trail mix. Typically, I’ll go for 1 bar in the mid morning and 1 bar and an apple in the afternoon to help keep the energy up!
Backpacking lunch (day 1)
Sandwich or wrap made prior to departure.
Backpacking dinner (day 1)
Chickpea Plant Based Mac and Cheese.
Up the protein game with chickpea pasta like this mac and cheese from Banza. Use powdered coconut or cashew milk to avoid carrying liquids on the trail. Add plant based bacon bits or real bacon bits depending on your dietary preference. Finish up with your favourite chocolate bar or candy.
Backpacking breakfast (day 2)
Quick Oats with Dried Fruit.
Stoked Oats are my personal favorite. Don’t forget the coffee! Starbucks Via instant takes up no space and doesn’t taste like instant coffee. For coffee snobs who don’t mind carrying a bit of extra weight, consider purchasing an Aeropress for gourmet coffee in the backcountry.
Backpacking snacks (day 2)
We had a good thing going on Day 1. So, let’s stick with it! Pack a couple servings of bars, nuts, trail mix or fruit leather.
Backpacking lunch (day 2)
Tortillas with Refried Beans.
Backpacking dinner (day 2)
Lentil Rice & “Tuna”
I‘m a huge fan of finding things in the grocery store isle that are packed with protein, but basically just add water.. The right rice “Tuna” is the way to go. It combines lentil “rice” with a plant based tuna for monster satisfaction.
- Boil water
- Add Right Rice and stir. Wait a few minutes.
- Add plant based Tuna or regular fish in a package (no cans!). Stir to combine.
Eat and enjoy!
Finish off your feast with your favourite chocolate bar or candy.
Backpacking breakfast (day 3)
Repeat breakfast with Day 2’s breakfast! Embrace the oats!
Backpacking snacks (day 3)
Final set of snacks from Day 1. For a third time a couple servings of bars, nuts, trail mix, or fruit leather.
Backpacking lunch (day 3)
We’re keeping it simple once again. Either do tortillas again with refried beans, or a bagel with some form of nut butter.
Backpacking dinner (day 3)
Hopefully you’re off the trail by this point. Treat yourself to a hard earned beer and dinner out!
How much should your backpack weigh for a backpacking trip?
As a baseline, your pack should not exceed 20% of your body weight. Following this rule will ensure you remain nimble enough on the trail and avoid overburdening yourself. Unfortunately, for any petite readers, this rule becomes much more challenging, requiring you to choose between going ultra lightweight or breaking this rule.
How do you take a poo while hiking  ?
?
 ?
?Human waste is a major source of pathogens (disease causing agents), so it’s absolutely essential to take the proper steps to maximize decomposition and environmental harm. If you’re new to pooping in the woods, here are the steps to follow:
- Find a spot with dark, rich soil at least 100 meters from any water sources or potential water sources.
- Use the trowel (from the packing list) to dig a cathole at least 6 inches deep. If possible, try to unearth the soil like a plug which allows for easy replacement when you’re done.
- Do the deed.
- If using toilet paper, you have to bag this out. Do not put it in the cathole as it takes substantially longer to decompose and break down. If you’ve ever wandered across some used TP on the trail you know how disgusting this is. So don’t do it to someone else! Use a plastic bag or ziplock. You can even wrap the outside in duct tape so you don’t have to see it. Alternatively, you can also try natural wipes. Smooth stones, sticks, snow, or moss (where it’s abundant) all work great. Avoid plant leaves (think poison ivy…).
- Once you’ve finished, put in a bit of fresh soil and replace the plug.
- Give your hands a good wash or hand sanitization away from a water source once again.
Waste and leaving no trace
Leave only footprints, take only memories. We’ve all heard the expression before, but this applies even more intensely to your journey into the delicate backcountry environment. It is absolutely essential to carry everything you brought in out, properly dispose of waste, and follow leave no trace guidelines.
Everything you pack in must come out with you. That means everything. Be careful when opening bars/packaging that you do not leave wrappers or small pieces behind. If you see other people’s garbage on the trail, be a hero, and throw it in your garbage bag.
From day hikes to backpacking trips everytime you set out, ensure you’re following and familiar with the Leave No Trace 7 Principles:
- Plan Ahead and Prepare
- Travel and Camp on Durable Surfaces
- Dispose of Waste Properly
- Leave What You Find
- Minimize Campfire Impacts
- Respect Wildlife
- Be Considerate of Other Visitors
Leave No Trace Seven Principles © 1999 by the Leave No Trace Center for Outdoor Ethics: www.LNT.org.
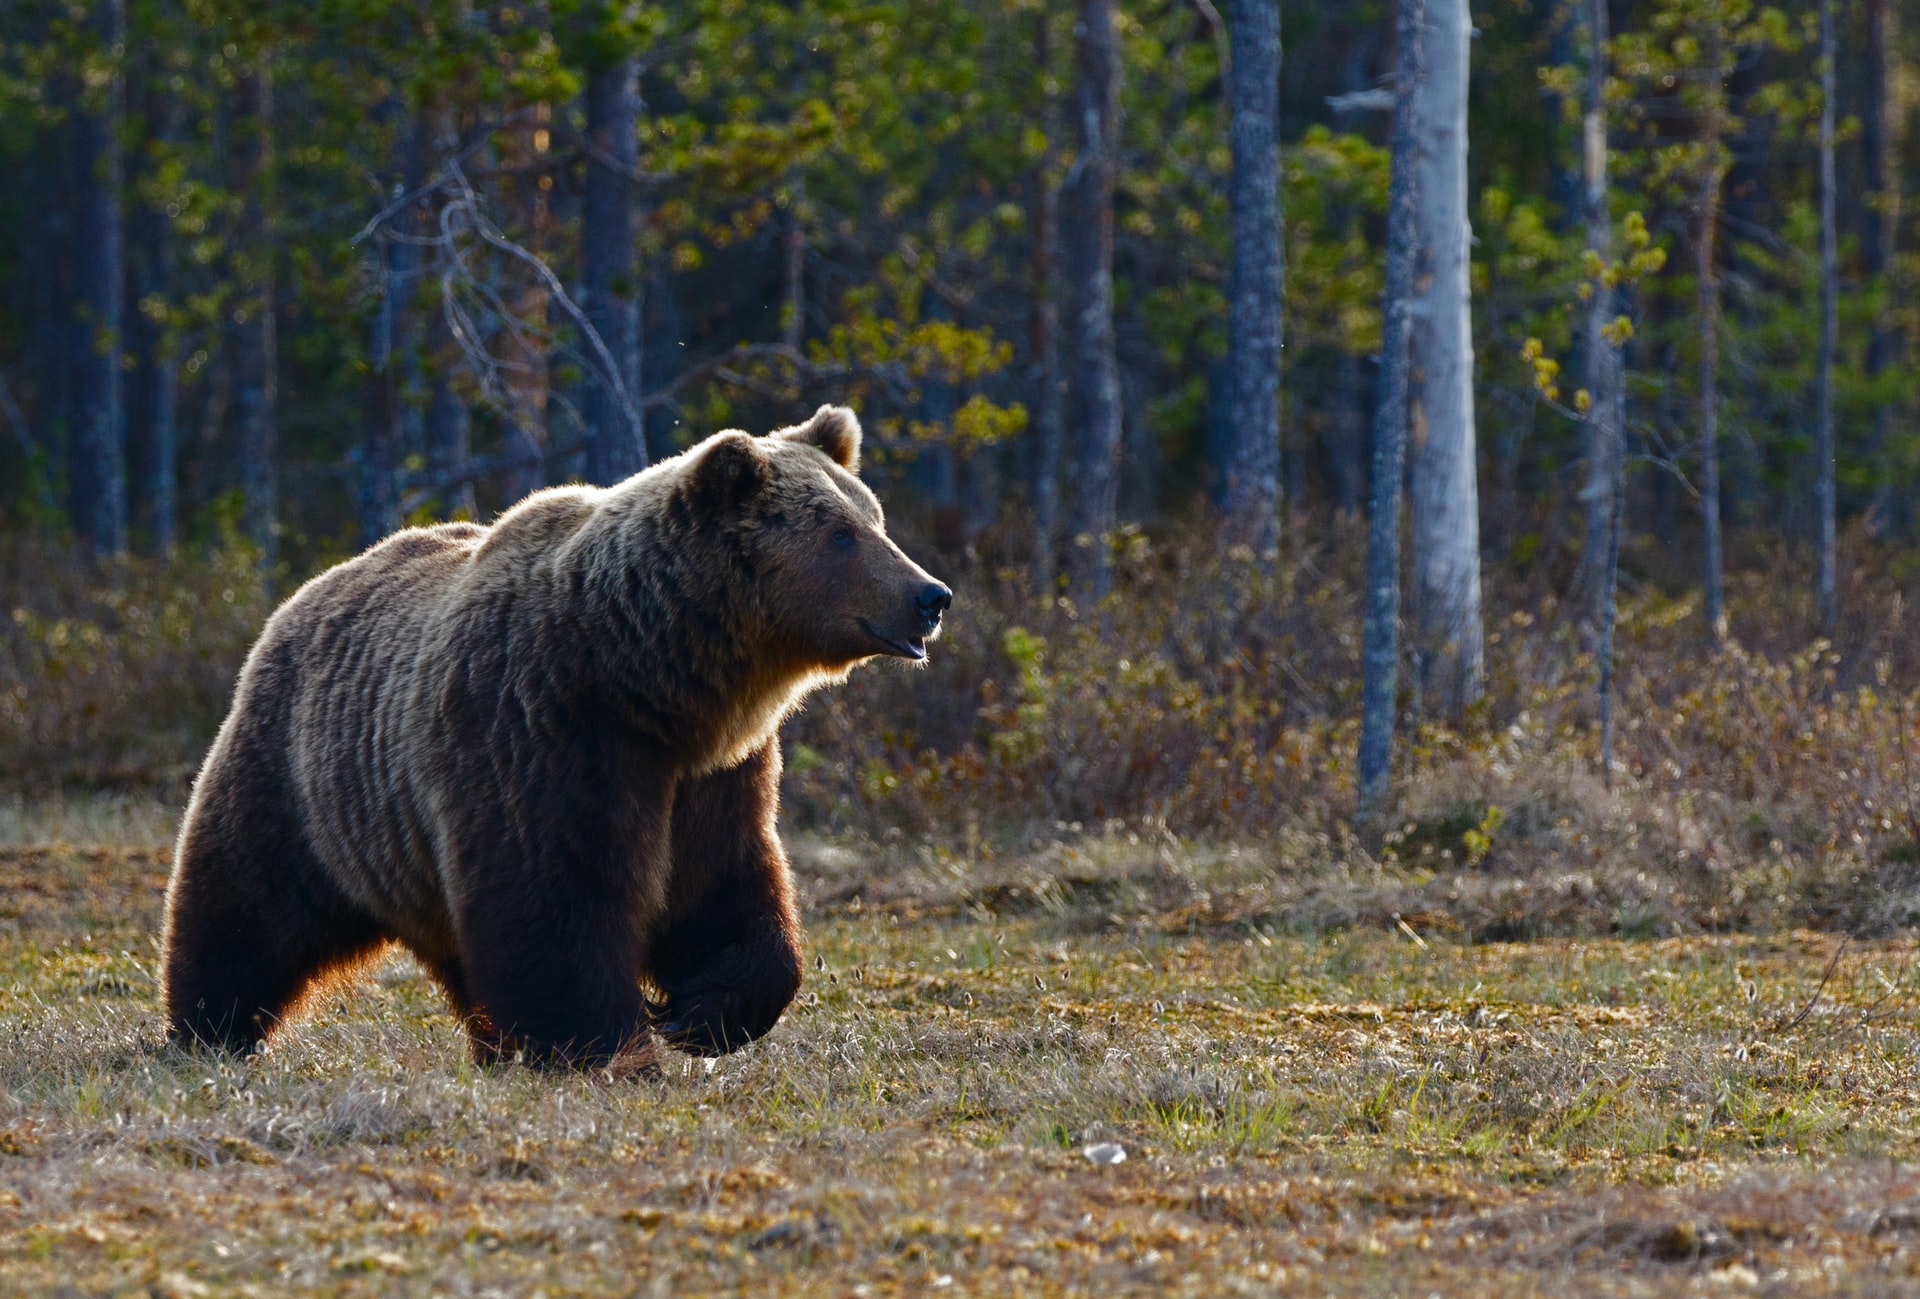
How to stay safe backpacking in bear country
Bear attacks are extremely rare and the vast majority of aggressive bear action is driven by protection of food, space or territory. For your own safety and the safety of the bears it is important to take precautions when hiking in bear country. Here’s a few steps to take to ensure your safety:
Travel in a group
By travelling in a group you’ll make more noise and emit more human smells. Bears, which are generally human averse, are thus more likely to remove themselves from your presence long before you have any idea they were there.
Make noise
Clapping, loud talking, your worst singing, and shouting will encourage a bear to vacate the area before you and your group arrive. Make additional noise when a fellow hiker, ranger, or advisory has made you aware of a bear in the area to ensure you give it ample notice of your presence.
Store food properly
When it comes to storing your food, you can hang your food, use a designated campsite bear locker (likes the ones on the Rockwall Trail) or use a bear canister/Ursack. Making your own bear hang is quite an art that even many experienced backpackers fail to master. Unless you’re ready and able to commit to mastering it by following this comprehensive bear hanging tutorial, get a bear canister. For several people go with the BV500 for solo adventures the BV450 works great. This is unquestionably your best and safest bet when hard infrastructure bear lockers or pulley systems are not available and required in many US National Parks. To save weight Ursacks are also a great option, but they need to be tied to a tree and don’t prevent your food from being crushed and smashed by a hungry bear.
Mind your surroundings and the time of day
Walking near a river? It may be more challenging for bears to hear you, so make extra noise to alert them of your presence in advance.
Travelling upwind/against the wind? Bears have a highly acute sense of smell, but against the wind you may reach them before the smell of you does, so be extra loud. It’s also important to make extra noise when travelling through berry patches or undulating terrain where you might sneak up on a bear buffet. Lastly, be extra aware during the early morning and evening as these are times that bears tend to be the most active.
Look for the signs
Keep your eyes open for tracks and fresh scat (poop). If you notice these signs, make lots of noise. Additionally, if you happen to come across any decomposing carcasses, make lots of noise and vacate the area as bears are often drawn to a free and easy meal.
Bring bear spray and know how to use it
Bear spray has been proven to be an effective deterrent against aggressive bears so it’s a great item to bring along. Learn how to use it before you head out, pop the safety off and give it a test just make sure to be aware of the wind direction in advance. Remember to keep it handy in a holster (don’t put it inside your pack). Unfortunately, it only works in close contact with bears and not as repellent. So do not go rubbing it on yourself. If you’re flying to your adventure, you’ll have to buy bear spray when you arrive at your destination, as it’s a prohibited item on most airlines (checked luggage and carry-on). Additionally, this tends to be more commonly purchased item for hiking in Grizzly country, in black bear country it isn’t as common. In fact, several US National Parks, like Sequoia, explicitly ban it. So, don’t bring it on the Rae Lakes Loop!
Cook away from your camp and properly store your food
As mentioned earlier, bears have an extremely acute sense of smell. For this reason it’s absolutely essential to remove any items that smell from your camp area. Fragrant items like toothpaste, sunscreen, and soap should all be placed in your food storage bag and hung or placed in a bear canister. Set up a triangle. Your campsite/tent should be 100 meters away from the area you cook in and the spot you hang your food should be 100 meters away from the cooking area and the storage area. Preferably both food spots (kitchen & storage) will be upwind from your campsite as well.
Know what to do if you encounter a bear on the trail
If you see a bear from a distance, respect its space and consider going back the way that you came. If you must get around the bear, take a very wide girth around. If you happen to encounter a bear in close proximity on the trail, remain calm, unholster your bear spray, remove the safety and stick with your group. Back away slowly in the direction that you came and talk calmly to the bear to help it identify you. DO NOT RUN! Running can trigger the bear’s prey instinct.
In the unlikely event that the bear decides to charg, this is the time to use your bear spray. The vast majority of charges are bluff charges. In the worst case scenario where a bear actually attacks, do the following:
Grizzly Bear – Lay on the ground on your stomach as the bear makes contact (not sooner as this could trigger a mauling), playing dead and covering your neck and head for protection. In most attacks Grizzlies will bite or swipe a couple times before moving on. If the attack persists, fight back.
Black Bear – Fight back. Attack the muzzle concentrating on the nose and eyes.
Final thoughts
By taking the proper steps to research, plan, and prepare, your first backcountry hiking trip is sure to be one of the best adventures of your year. After cutting your teeth on the experience, I’m sure that you’ll likely find yourself hooked. You’ll become more efficient at planning, you’ll dial into your gear setup, and constantly be on the hunt for your next backpacking adventure. The hardest part is taking the first trip, which hopefully you’re now just a little bit closer to doing!
Happy adventuring!
Did I miss any advice that would have been helpful? How did your first backpacking trip turn out? Let me know in the comments below!
Rae Lakes Loop | The Ultimate Guide to Backpacking Rae Lakes
Rae Lakes loop is one of the most coveted backpacking trip in SEKI National Park with a seemingly endless supply of Sierra Nevada superlatives. This guide breaks down everything you need to know to make this incredible backpacking trip happen.
Rockwall Trail | The Ultimate Guide to Hiking the Rockwall
The Rockwall Trail is one of the Canadian Rockies’ premier backpacking trips. For 55km you’ll be treated to a seemingly unending supply of sublime Rocky Mountain scenery. Here’s how to make it happen with must-read tips for getting a permit and beating the crowds.
Banff Hiking Trails | 6 Must-Do Hikes in Banff
Banff is filled with incredible hiking trails. Here are 5 must-do hikes for your Banff trip itinerary.
Michael


2 Responses
Hi, I see many sites saying you should take bear spray, but I have found a much better deterrent is a Klaxon horn. Very small, but very, very noisy. If you have to use a spray it means you are already far too close and now depending on luck ( is the wind in the right direction? am I going to spray myself? etc). The loud horn, in my experience, scares away all animals large and small and no one , human or bear or cougar, gets hurt.
Hey Chris,
Thanks for your comment. Small air horns are definitely effective in making animals aware of your presence and preventing an encounter in the first place!
Happy hiking!
Michael