
Mazunte, Oaxaca | The Secret Beach Town I Hope You Don’t Find
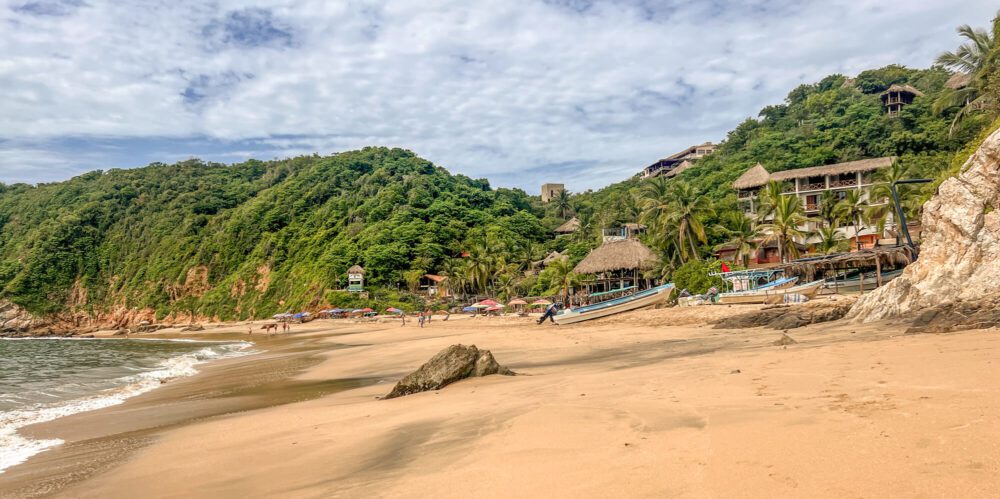
The perfect hippy beach town you’ve never heard about, but need to visit.
Big Pine Lakes | The Ultimate Guide to the North Fork Trail
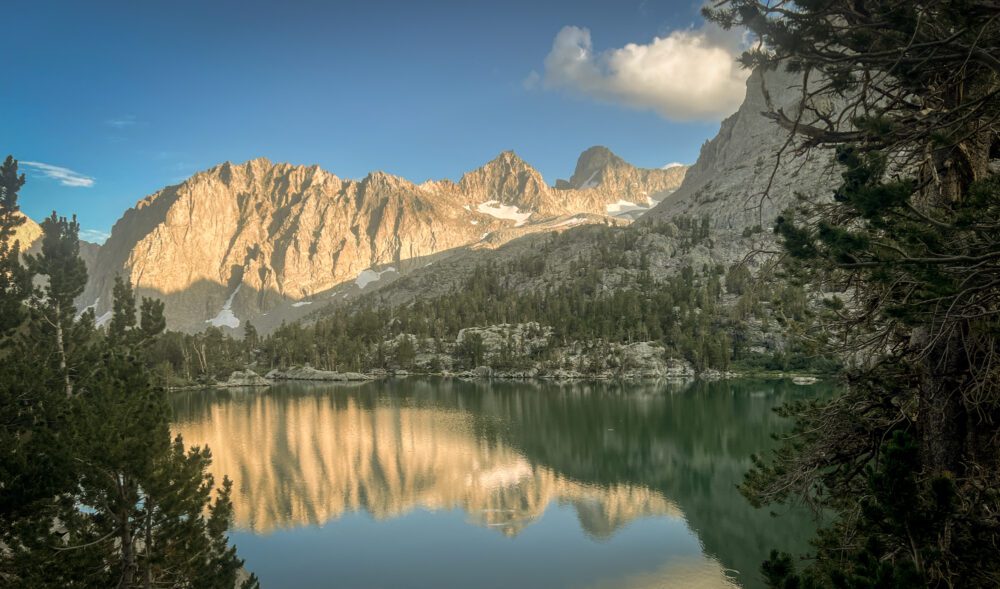
The Big Pine Lakes are a sublime section of the Sierra Nevada moutains perfect for a weekend backpacking trip or epic day hike. This is the ultimate guide to planning and making this epic adventure happen.
Kananaskis Backcountry Camping | Best Spots for Backpacking
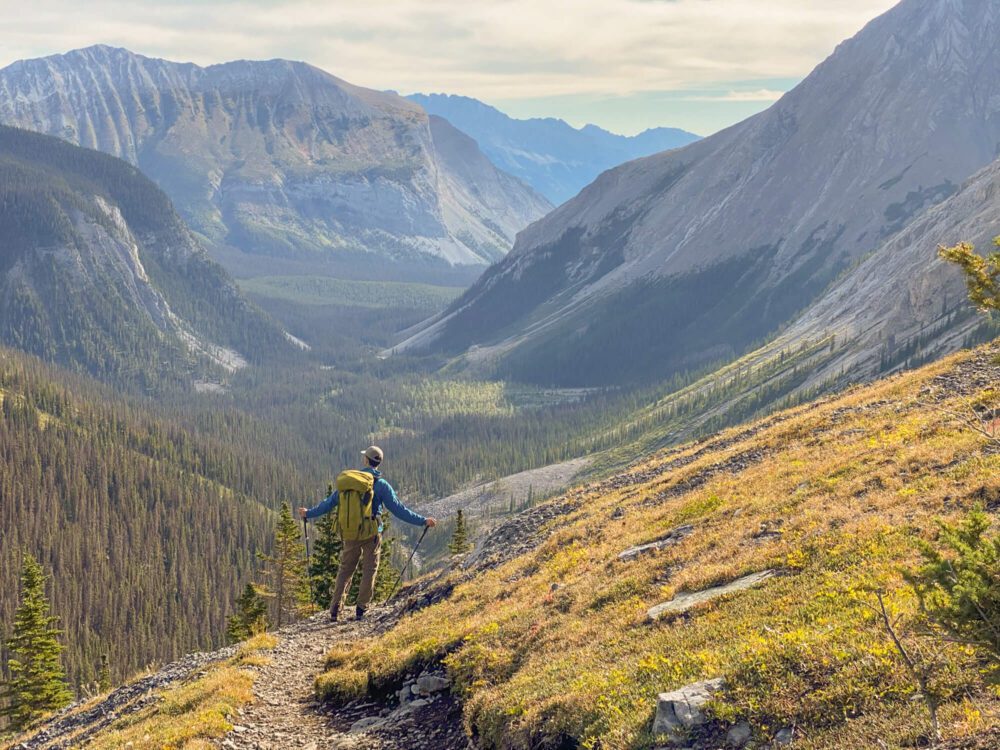
Kananaskis Country is a sublime section of Rocky Mountain wIlderness that provides some incredible opportunities for backcountry camping and overnight hiking. Situated just south of Banff National Park, Kananaskis receives far fewer visitors than its world famous neighbor, but offers up an incredible array of jaw dropping peaks, lakes, and glaciers. For the intrepid backpacker, […]